Week 24: 5 - 11 December
Dec. 9, 2022For me, one of the most interesting things about this entire building process has been the challenging of misconceptions around the building process. Until now I had never really spent a lot of time thinking about how modern European houses were built. I knew they were mostly made of brick walls, but in my head that was the only difference. I have come to realise that I was so wrong! Even in our house, I knew it was panel wood frame but I still made so many assumptions that have been wrong.
This week was a big one. Again, going back to the idea that this is a “wood frame”, albeit from panels, I assumed that the entire flooring structure would be wood as well. It turns out that I was wrong. The floors are concrete. So basically, what happens, as you’ll see in the photos below is that on BOTH levels, a layer of foam goes down on top of the existing subfloor (this is the concrete floors you’ve seen every week on the main floor and the wood subfloor that you’ve seen on the upper floor) and then concrete is poured over that.
This was absolutely amazing to me and so I was really happy to be able to see some of the work in progress. We weren’t originally scheduled to be there but the morning of the work, the concrete guys called us to tell us that the well wasn’t working and they needed water to make the concrete. Of course, panic ensued because I was home with the car and Stano was 15km away in the office.
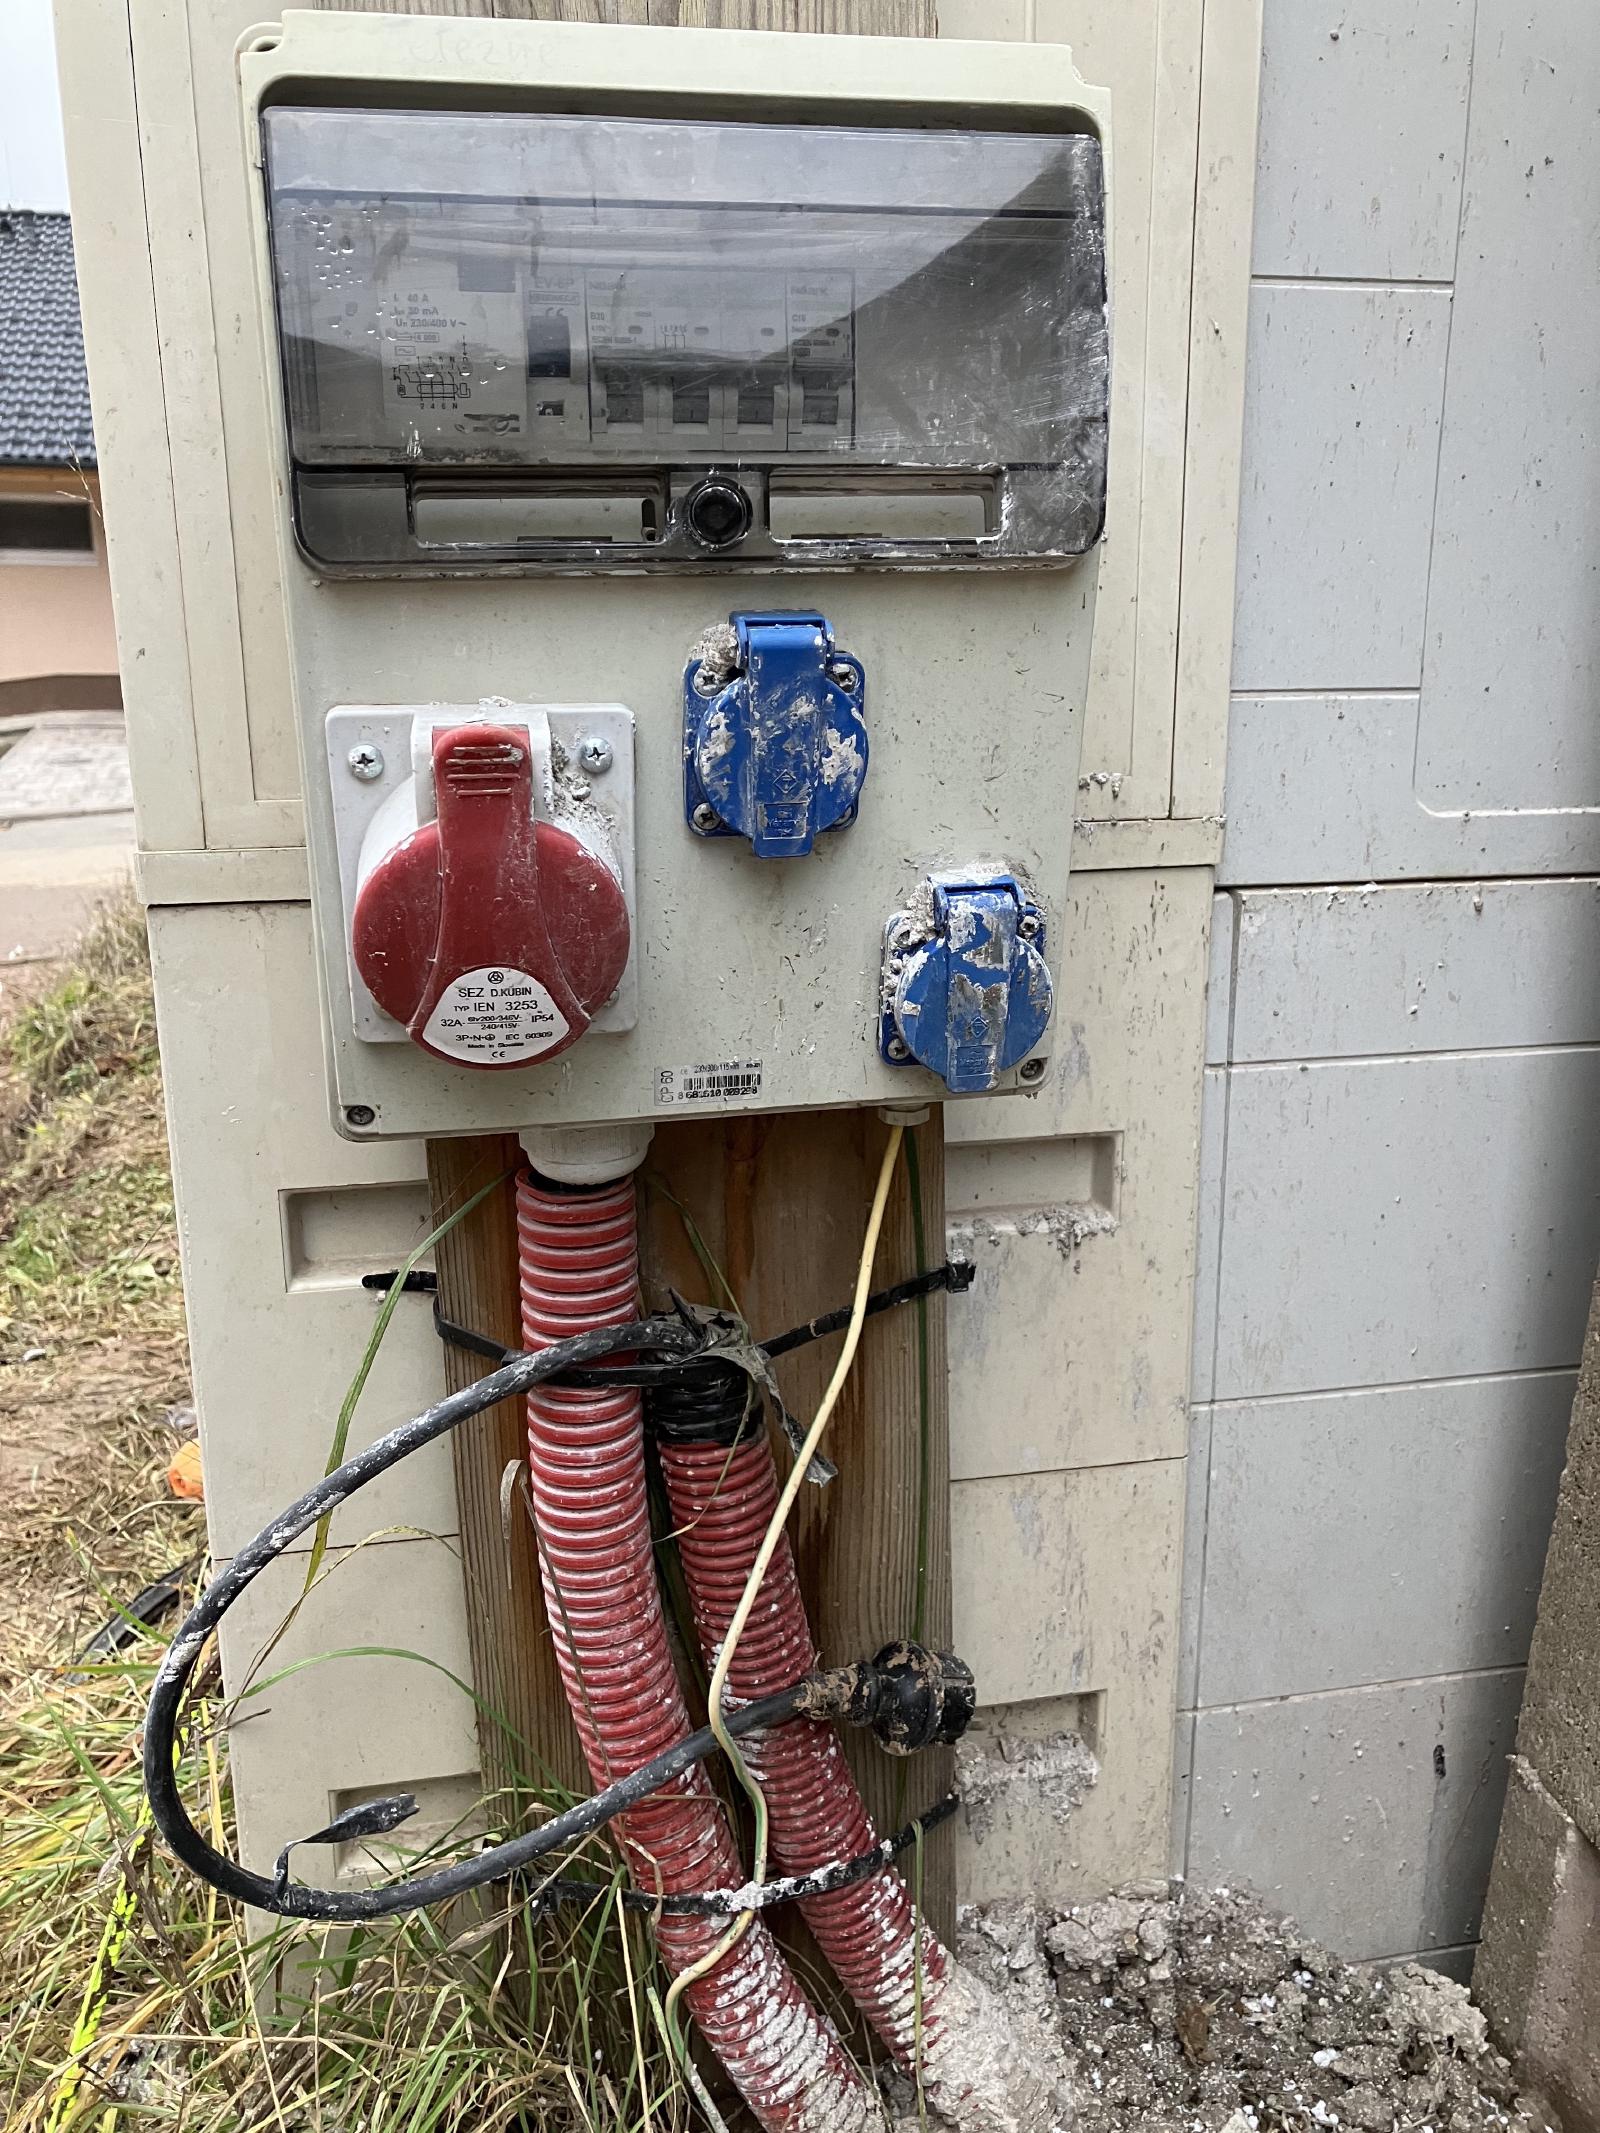
I grabbed the puppy, ran to the car and went to the office. We got to the house and were happy to discover that the builders had opted to connect to the water from our neighbor’s house (the one with the pool that I’ve showed several photos of) and so were able to continue. We still needed to figure out why the well wasn’t working and discovered that when our neighbor’s builder had built the retaining wall which was right next to the electric box, they had accidentally buried the electric cable under concrete. Oops. Fortunately, it wasn’t too hard to get out but it did cause a few minutes of worry as we wondered how difficult it would be to extract and whether or not the cable had actually been damaged.
You can see the end result in the photo below. This is our temporary construction electric box and the black muddy cable is what had been buried under the concrete. It’s all good now though so work continued.
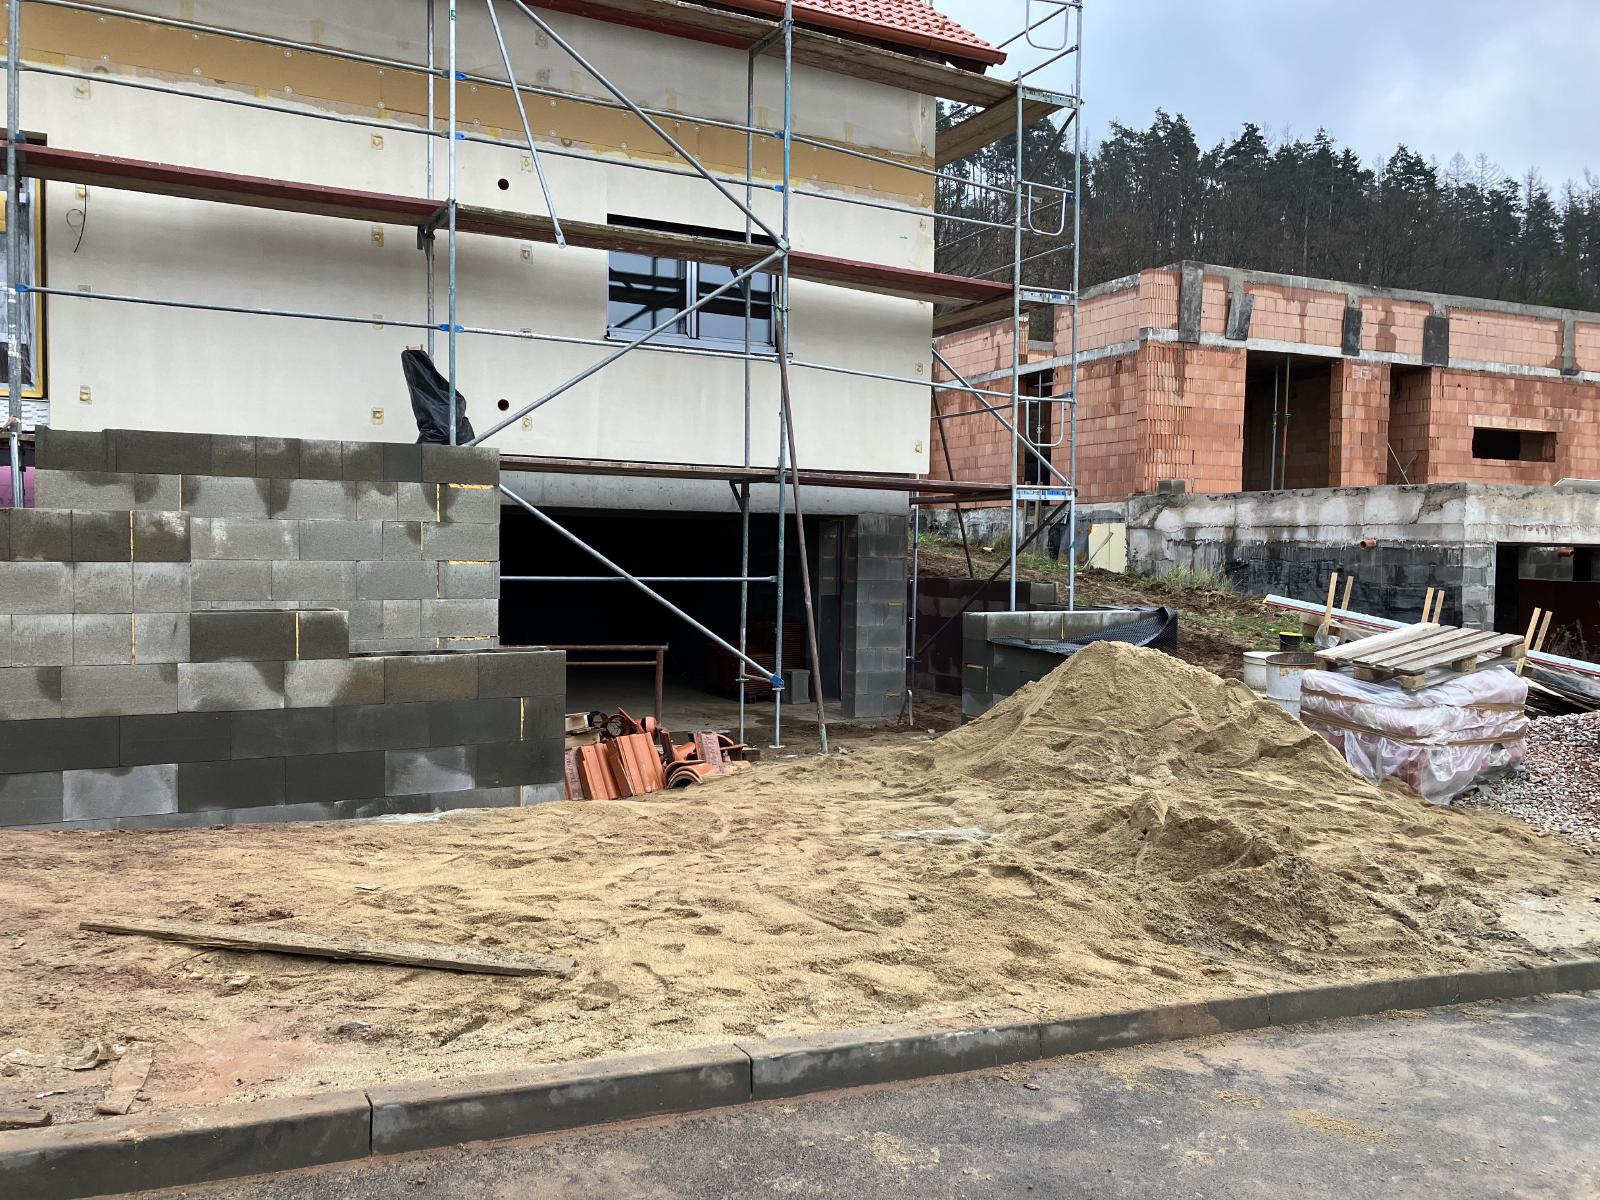
Making Concrete - Before
We arrived at the house on Wednesday morning to find two new huge piles of
sand and a funny looking concrete mixing machine.
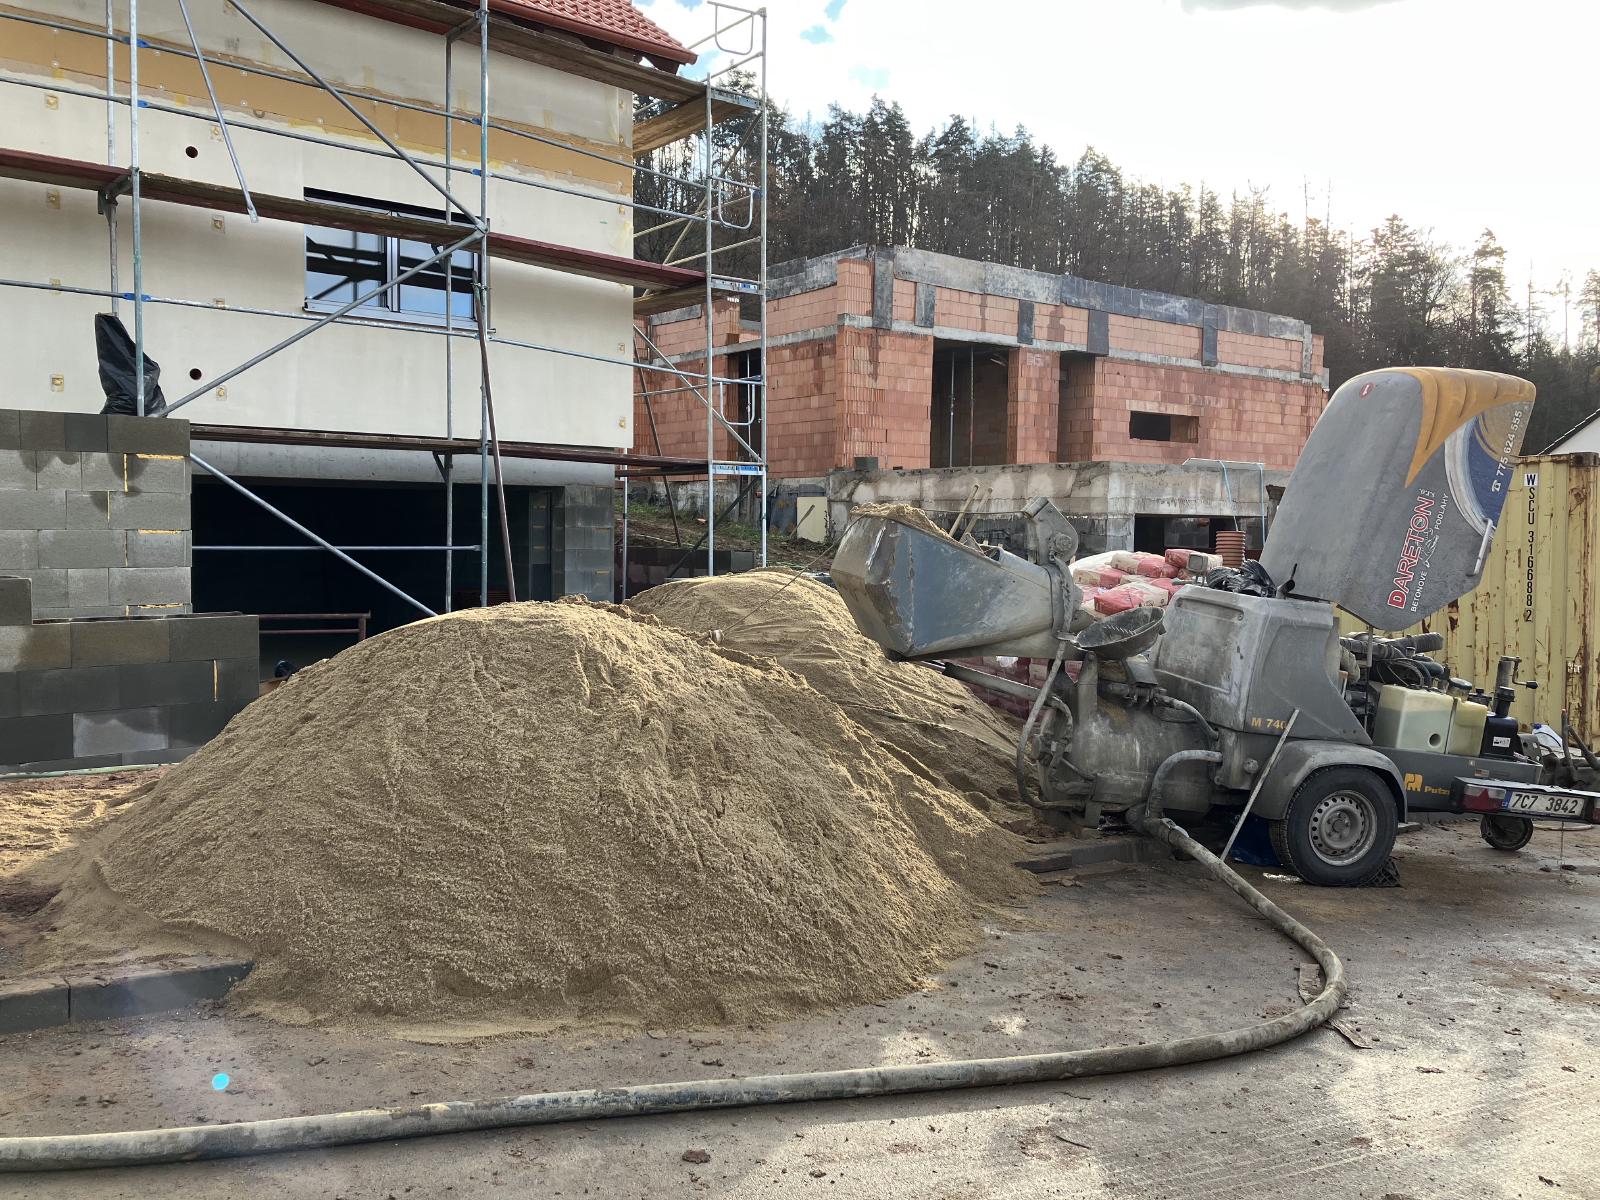
After the concrete is done, almost all of the sand is gone.
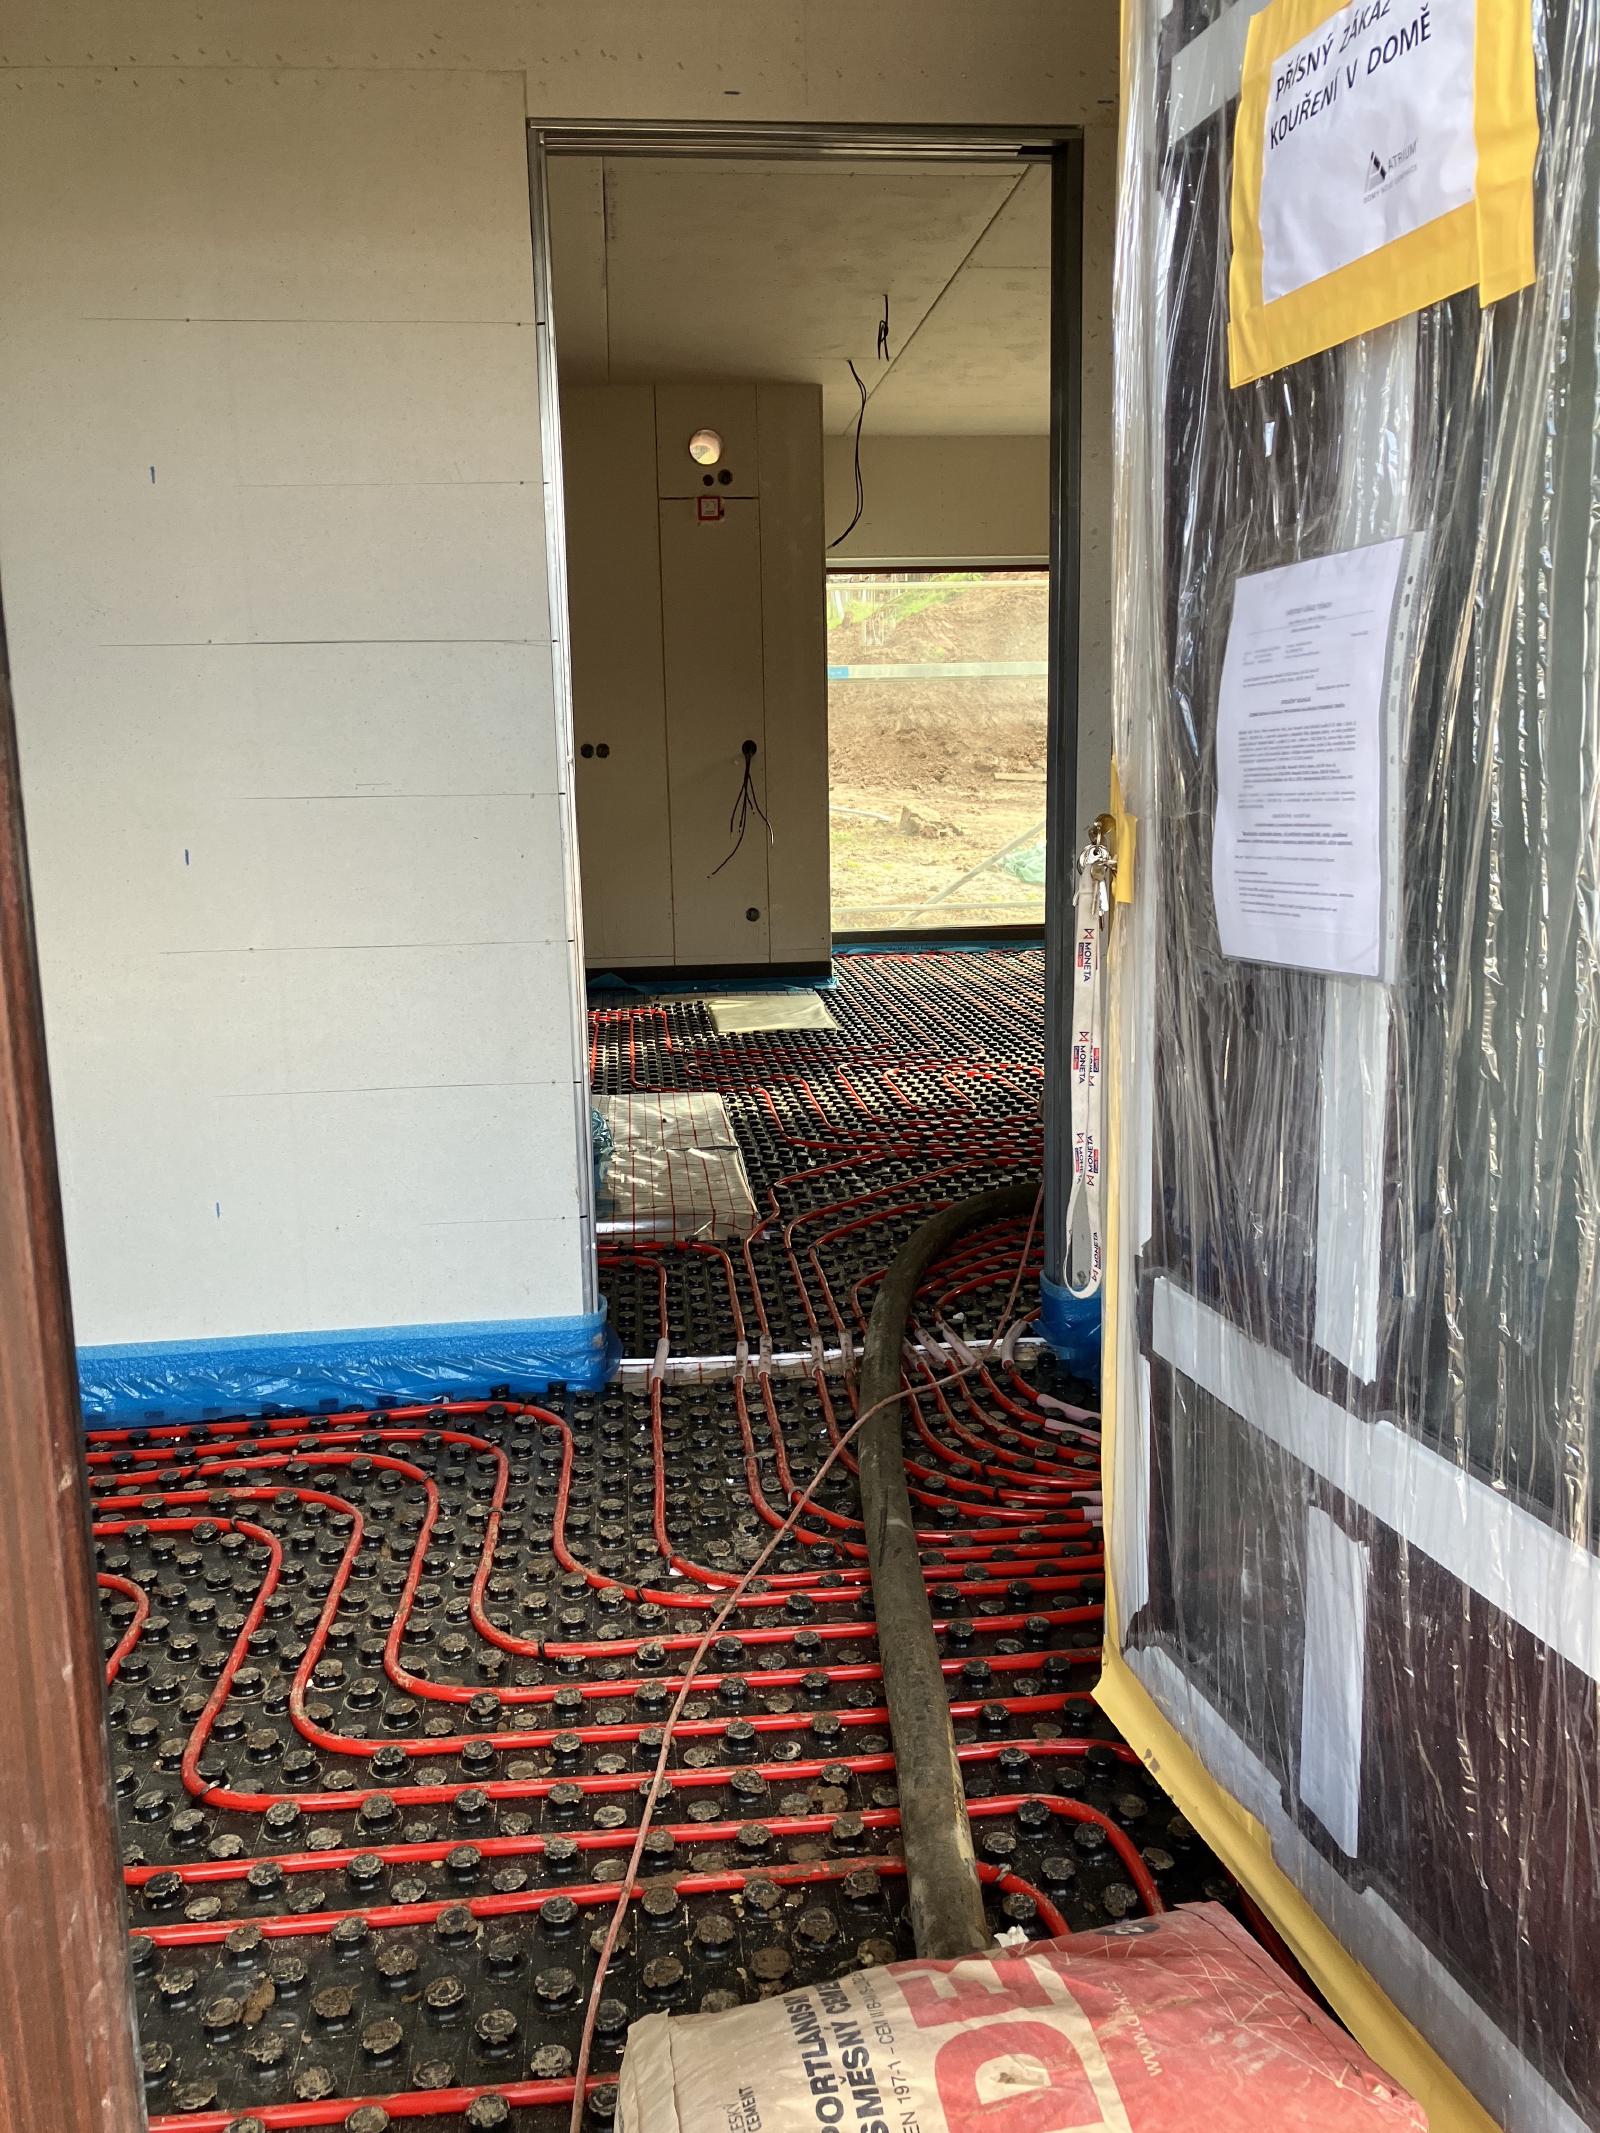
This is a view from outside, looking into the entryway. What you see here is
the radiant floor heating system. The red tubes will be for the hot water to
go through to heat the main floor. Underneath the radiant floor heating
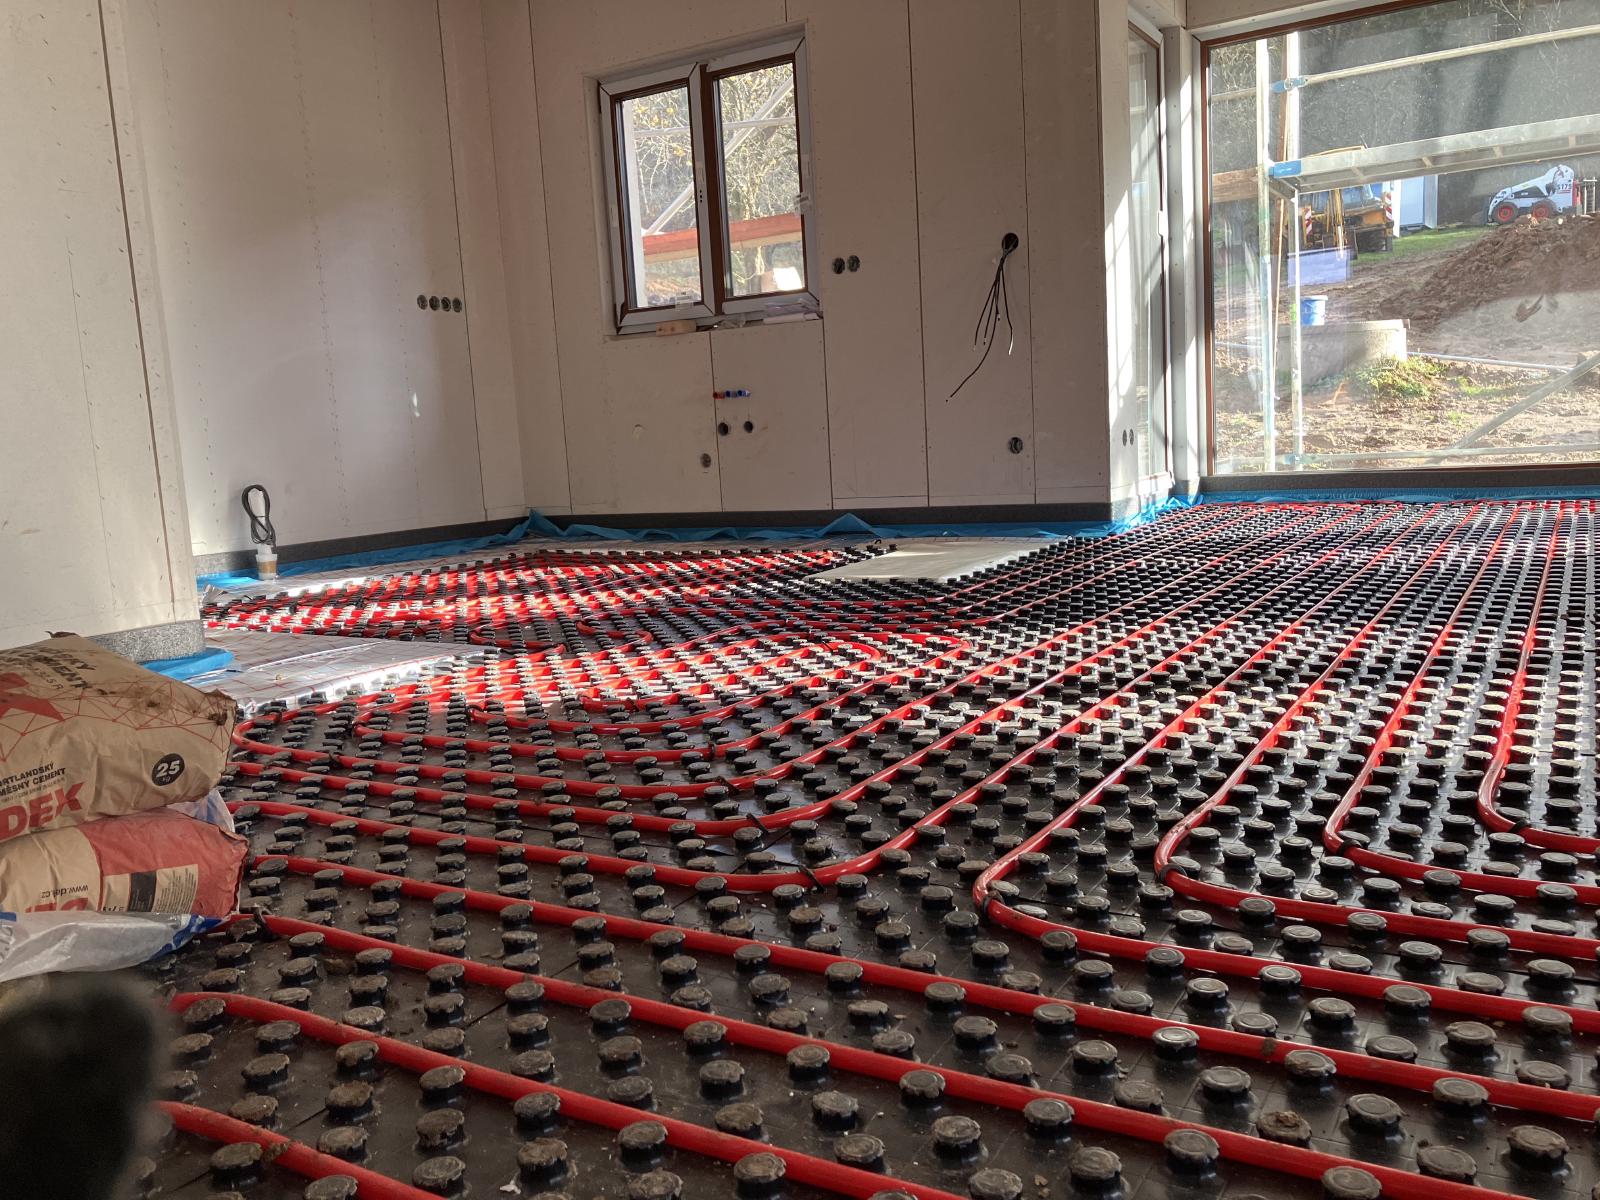
structure is a layer of that white foam. As you look into the kitchen area,
you can see some rectangles in the floor where there is no heating. This is
where cabinets will do and so it ensures that we won’t be heating our cabinets.
This is just another view of the kitchen, from the stairs to the basement.
You can see into the kitchen more of the floor areas that don’t have radiant
heating because of the location of the cabinets.

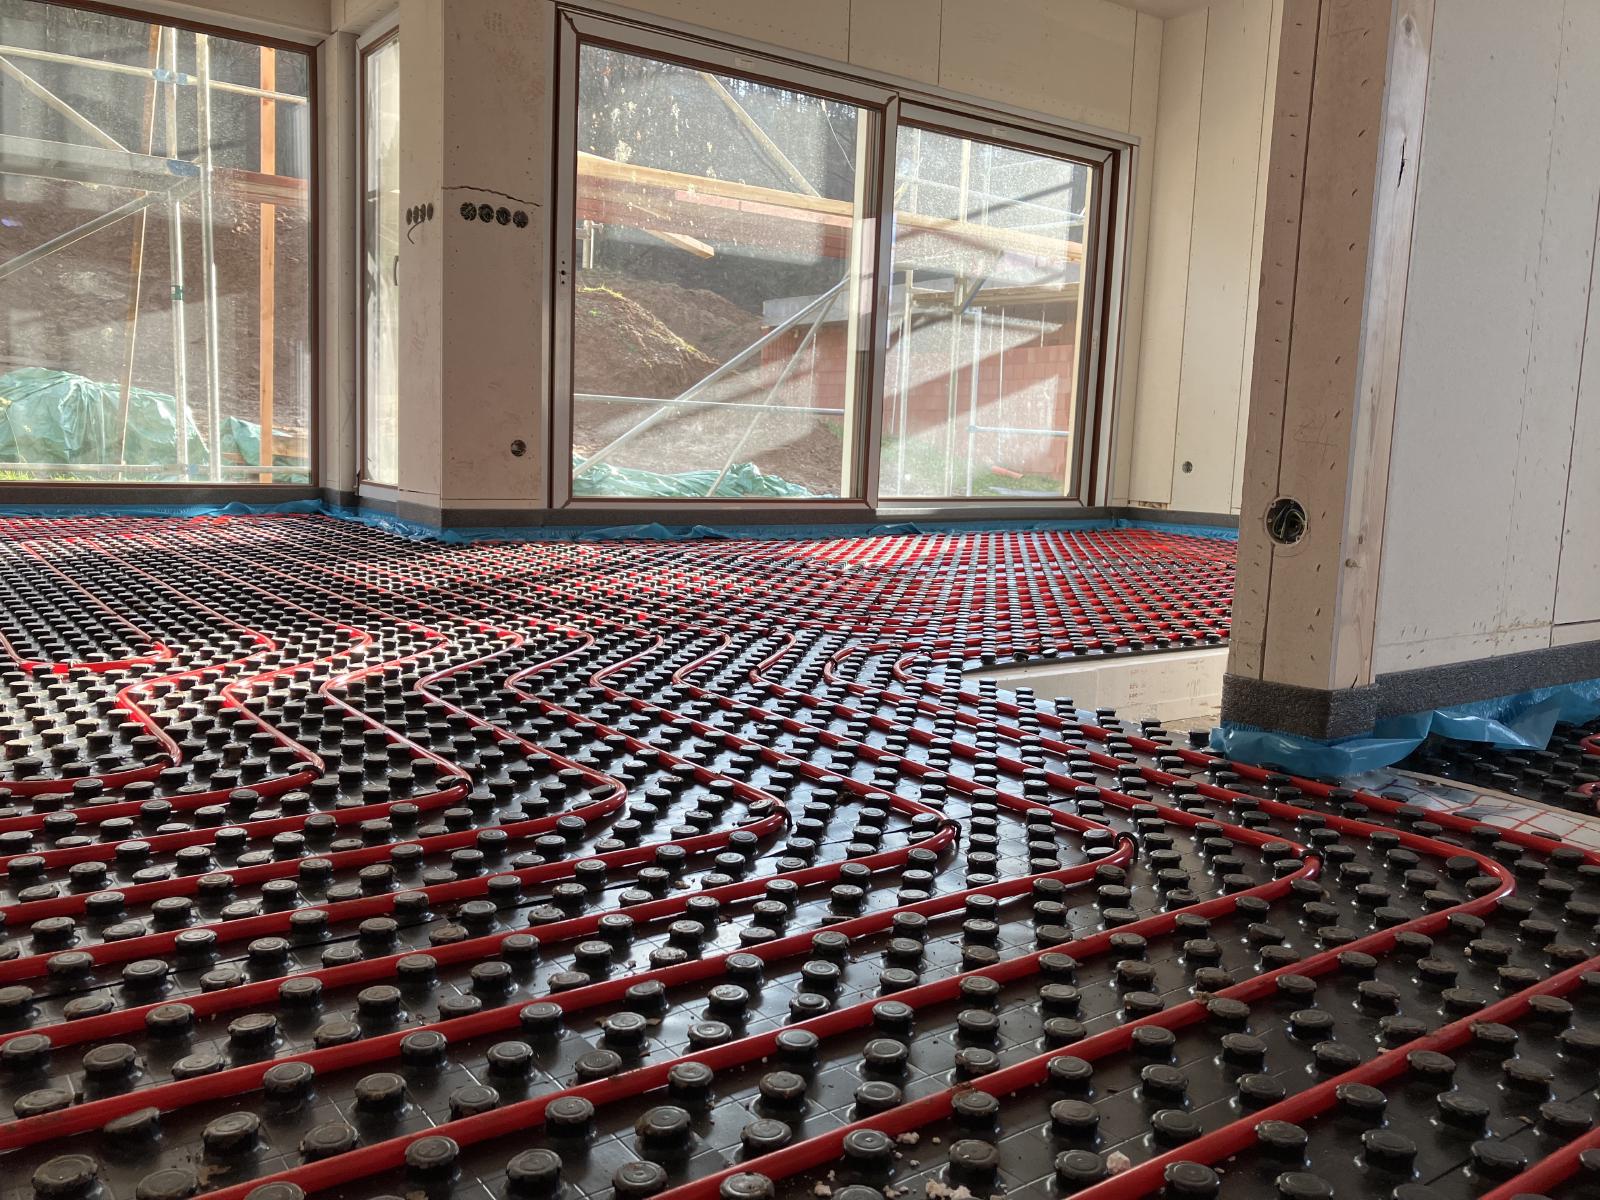
In this view, you can actually see a peek into the layers in the floor. The
area in the middle of the picture, where there is no foam or heating is where
the fireplace will go. Beyond that you can see the under layer of white foam
with the radiant heating layer above it.
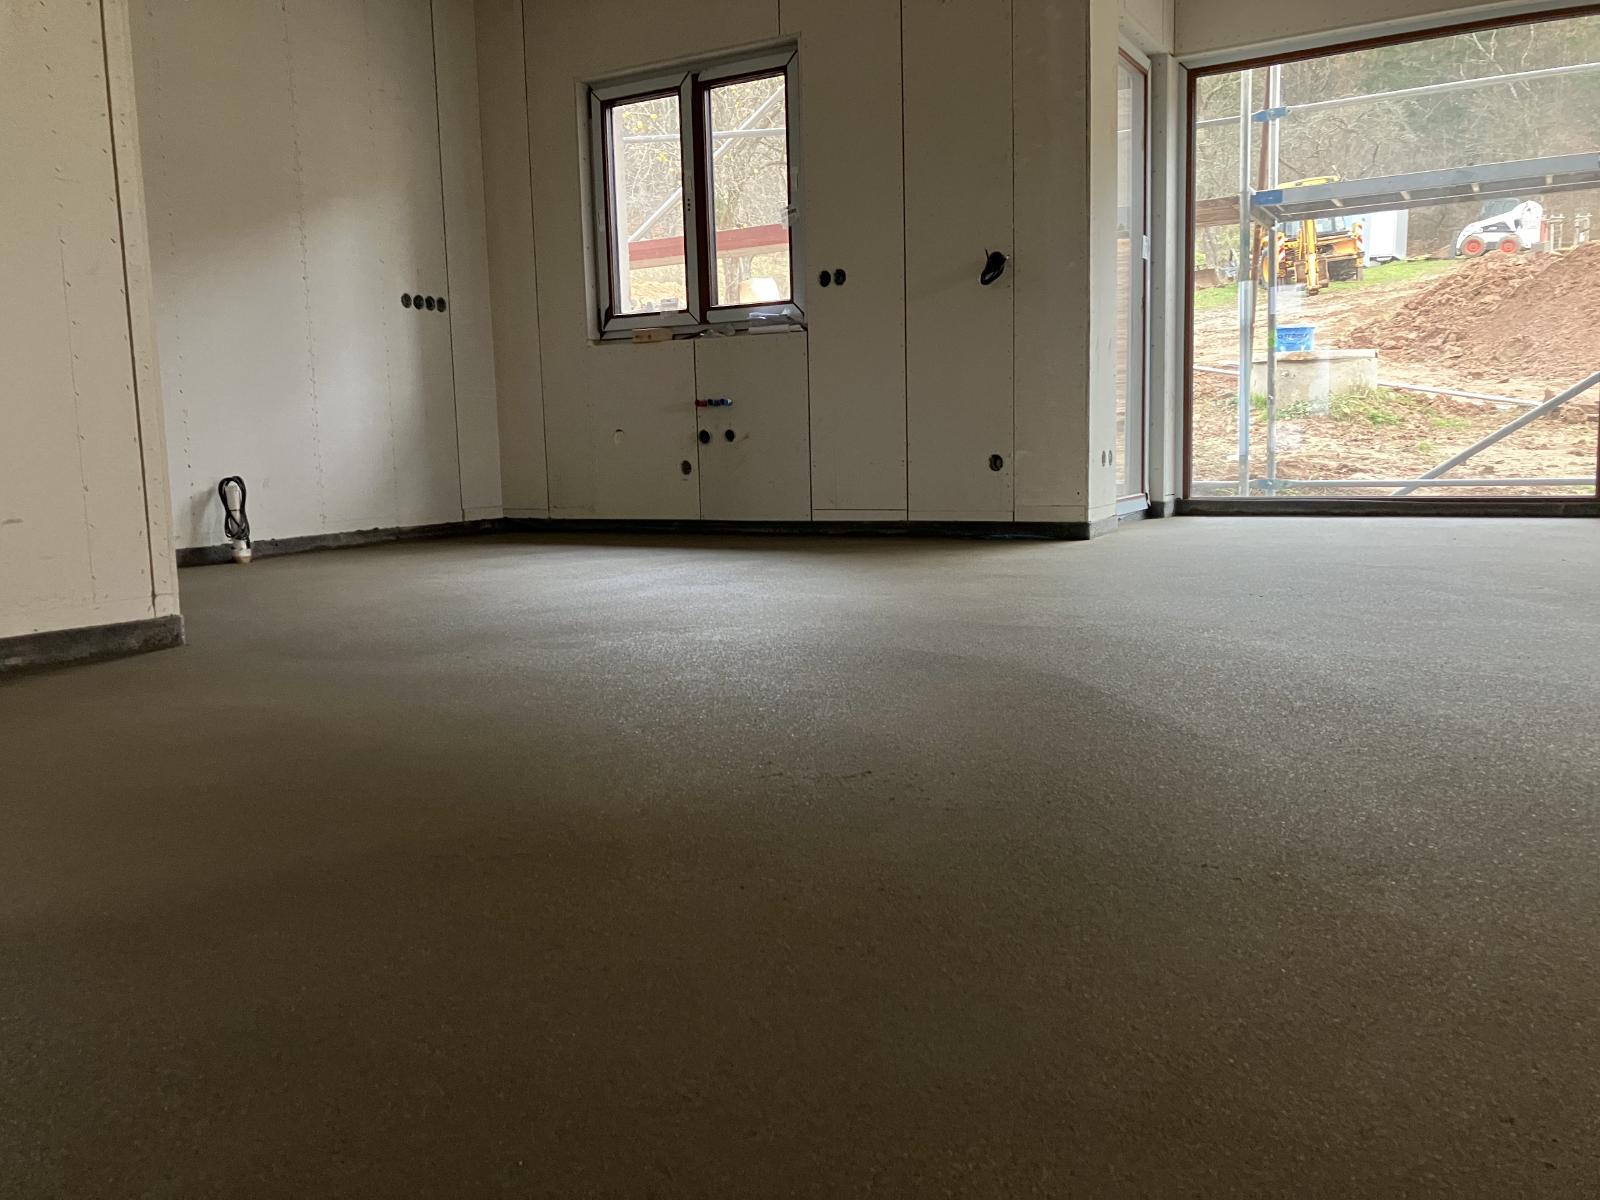
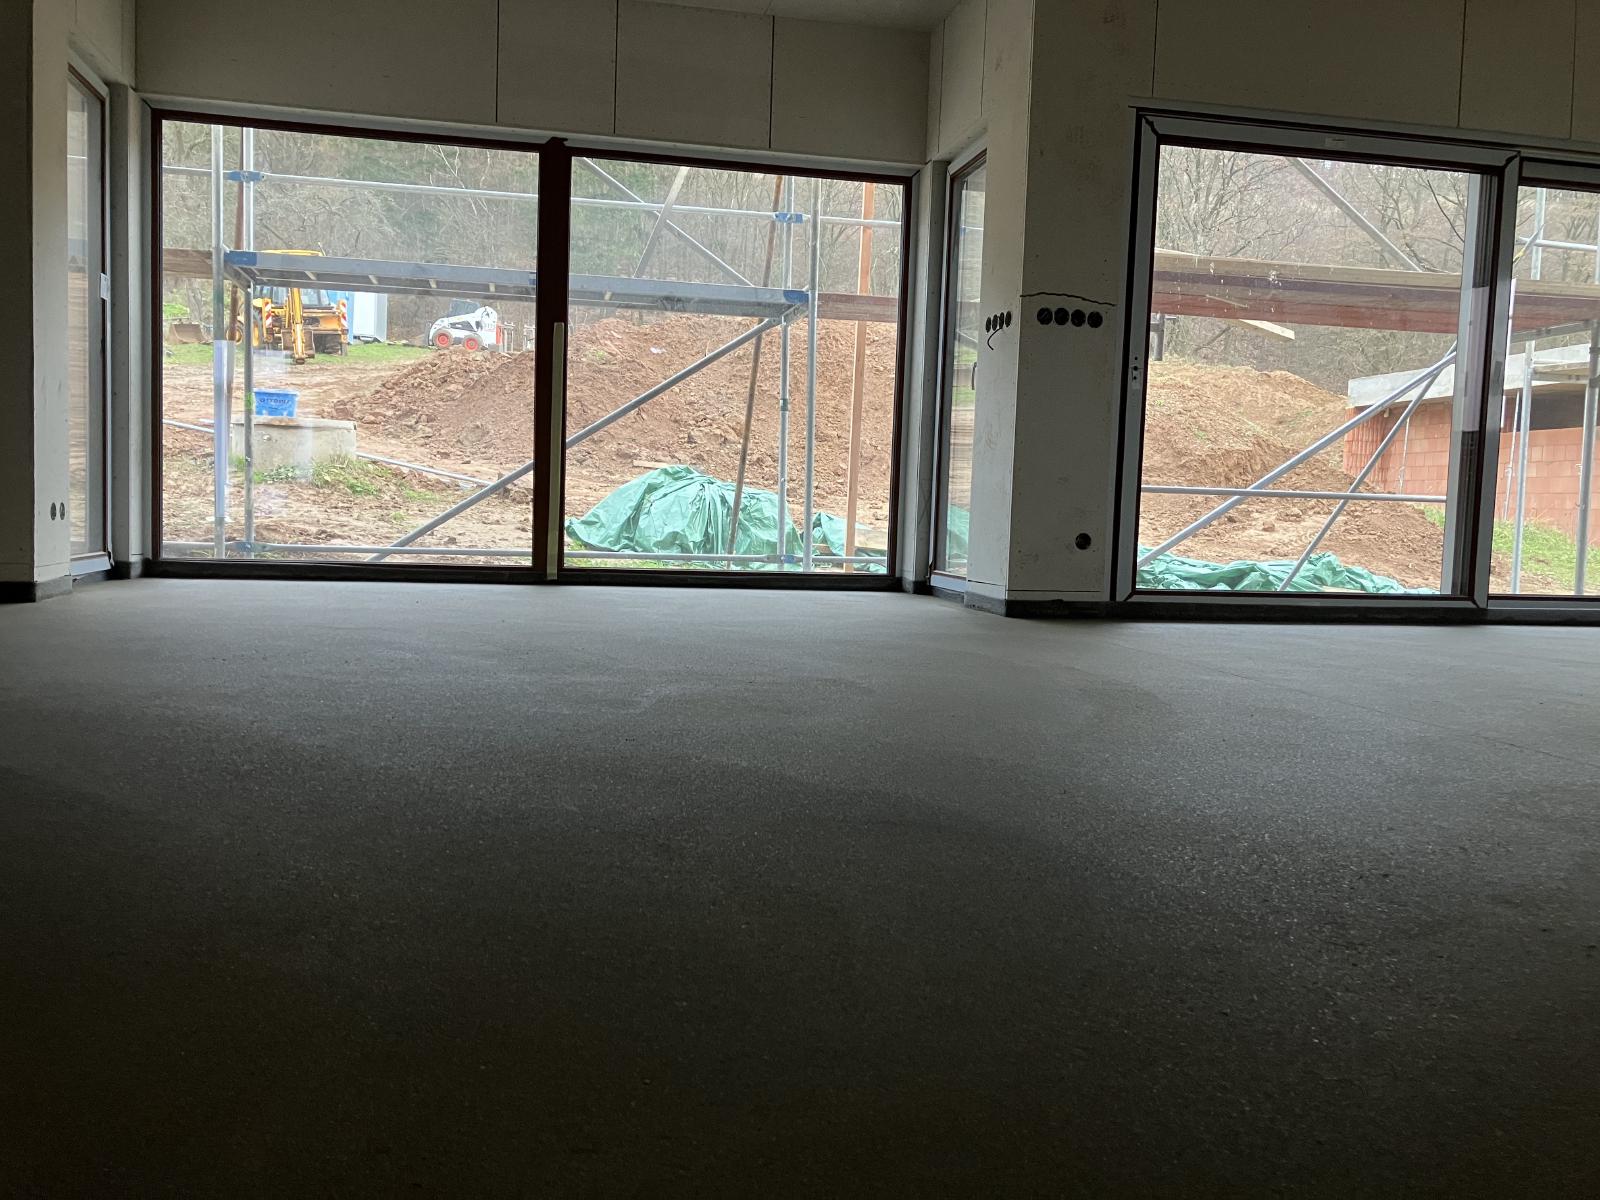
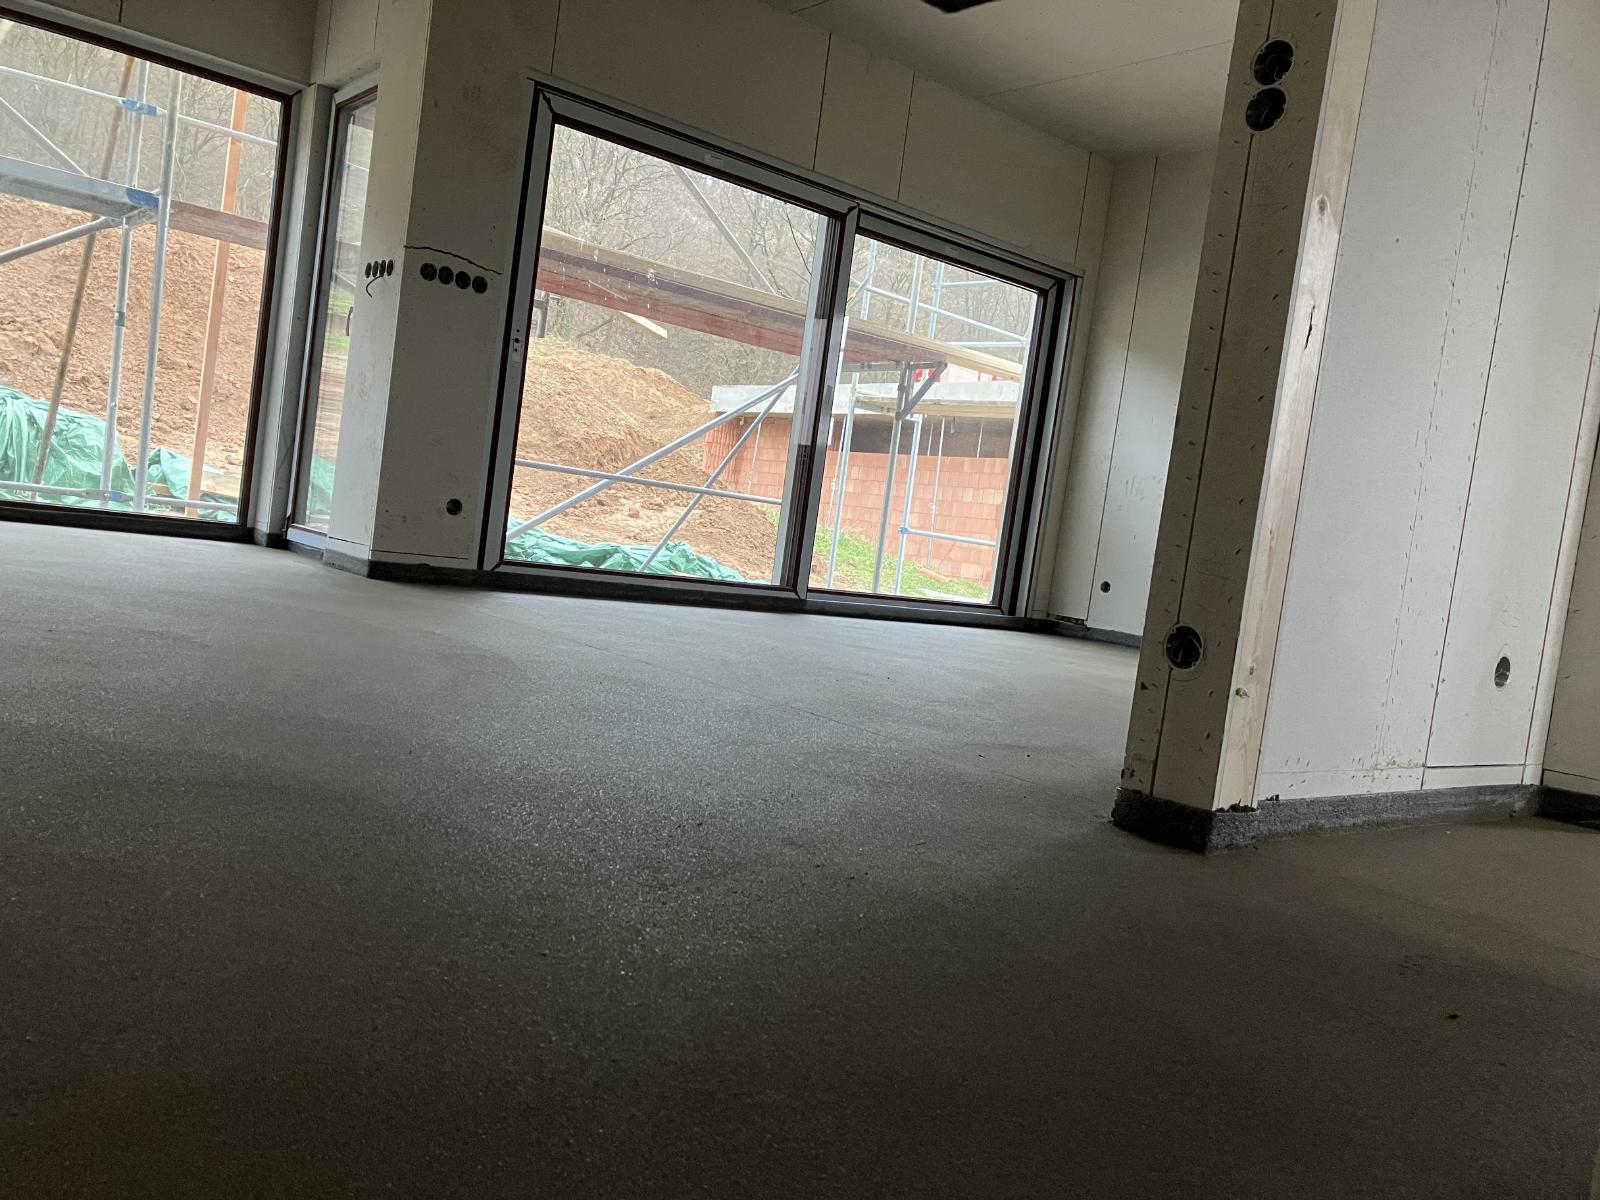
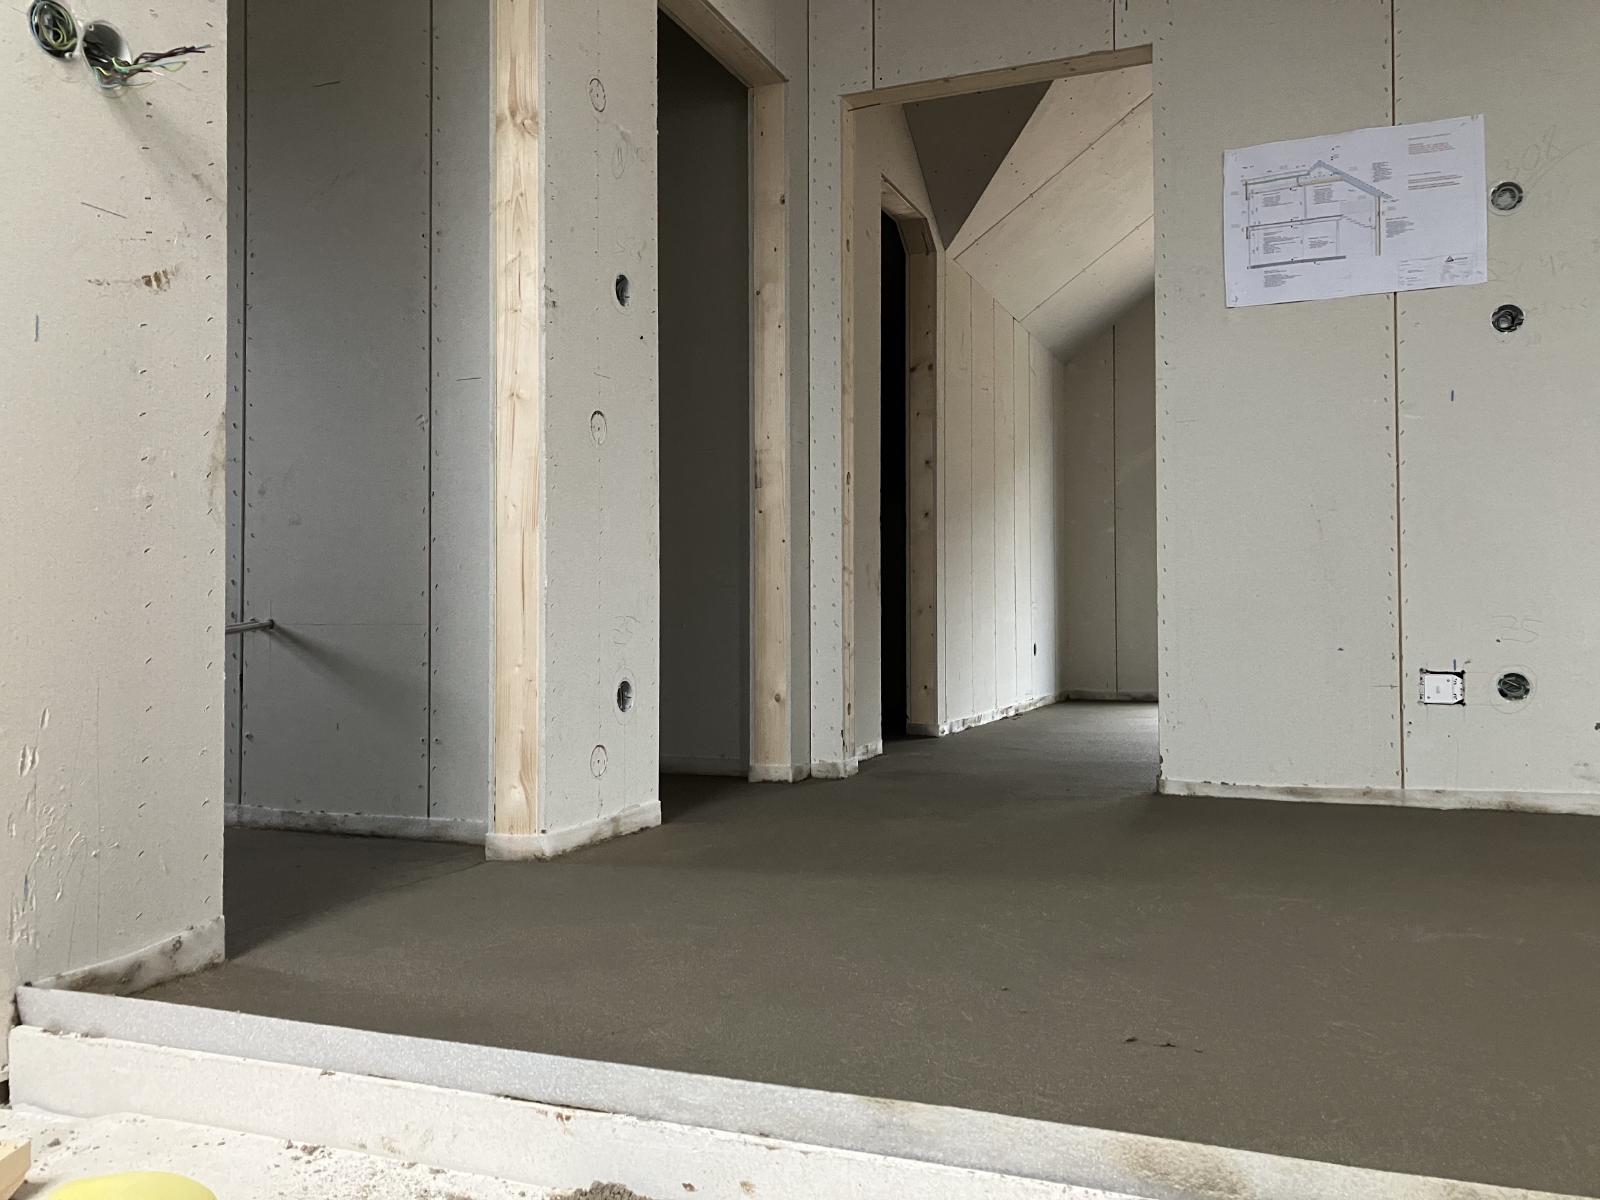
And now we have a floor. The concrete has been poured and you can really see
how much higher the floor is now that it’s done. It will need to settle and
dry for about one month so it will be interesting to see house progress as we
wait for that. I assume (which has proven disastrous in the past!) that while
it’s drying they will do exterior work.
I climbed some interior scaffolding to get a view from up higher…
You can see that the space for the fireplace has still been filled in with
concrete, it just doesn’t have insulation foam or heating below it.
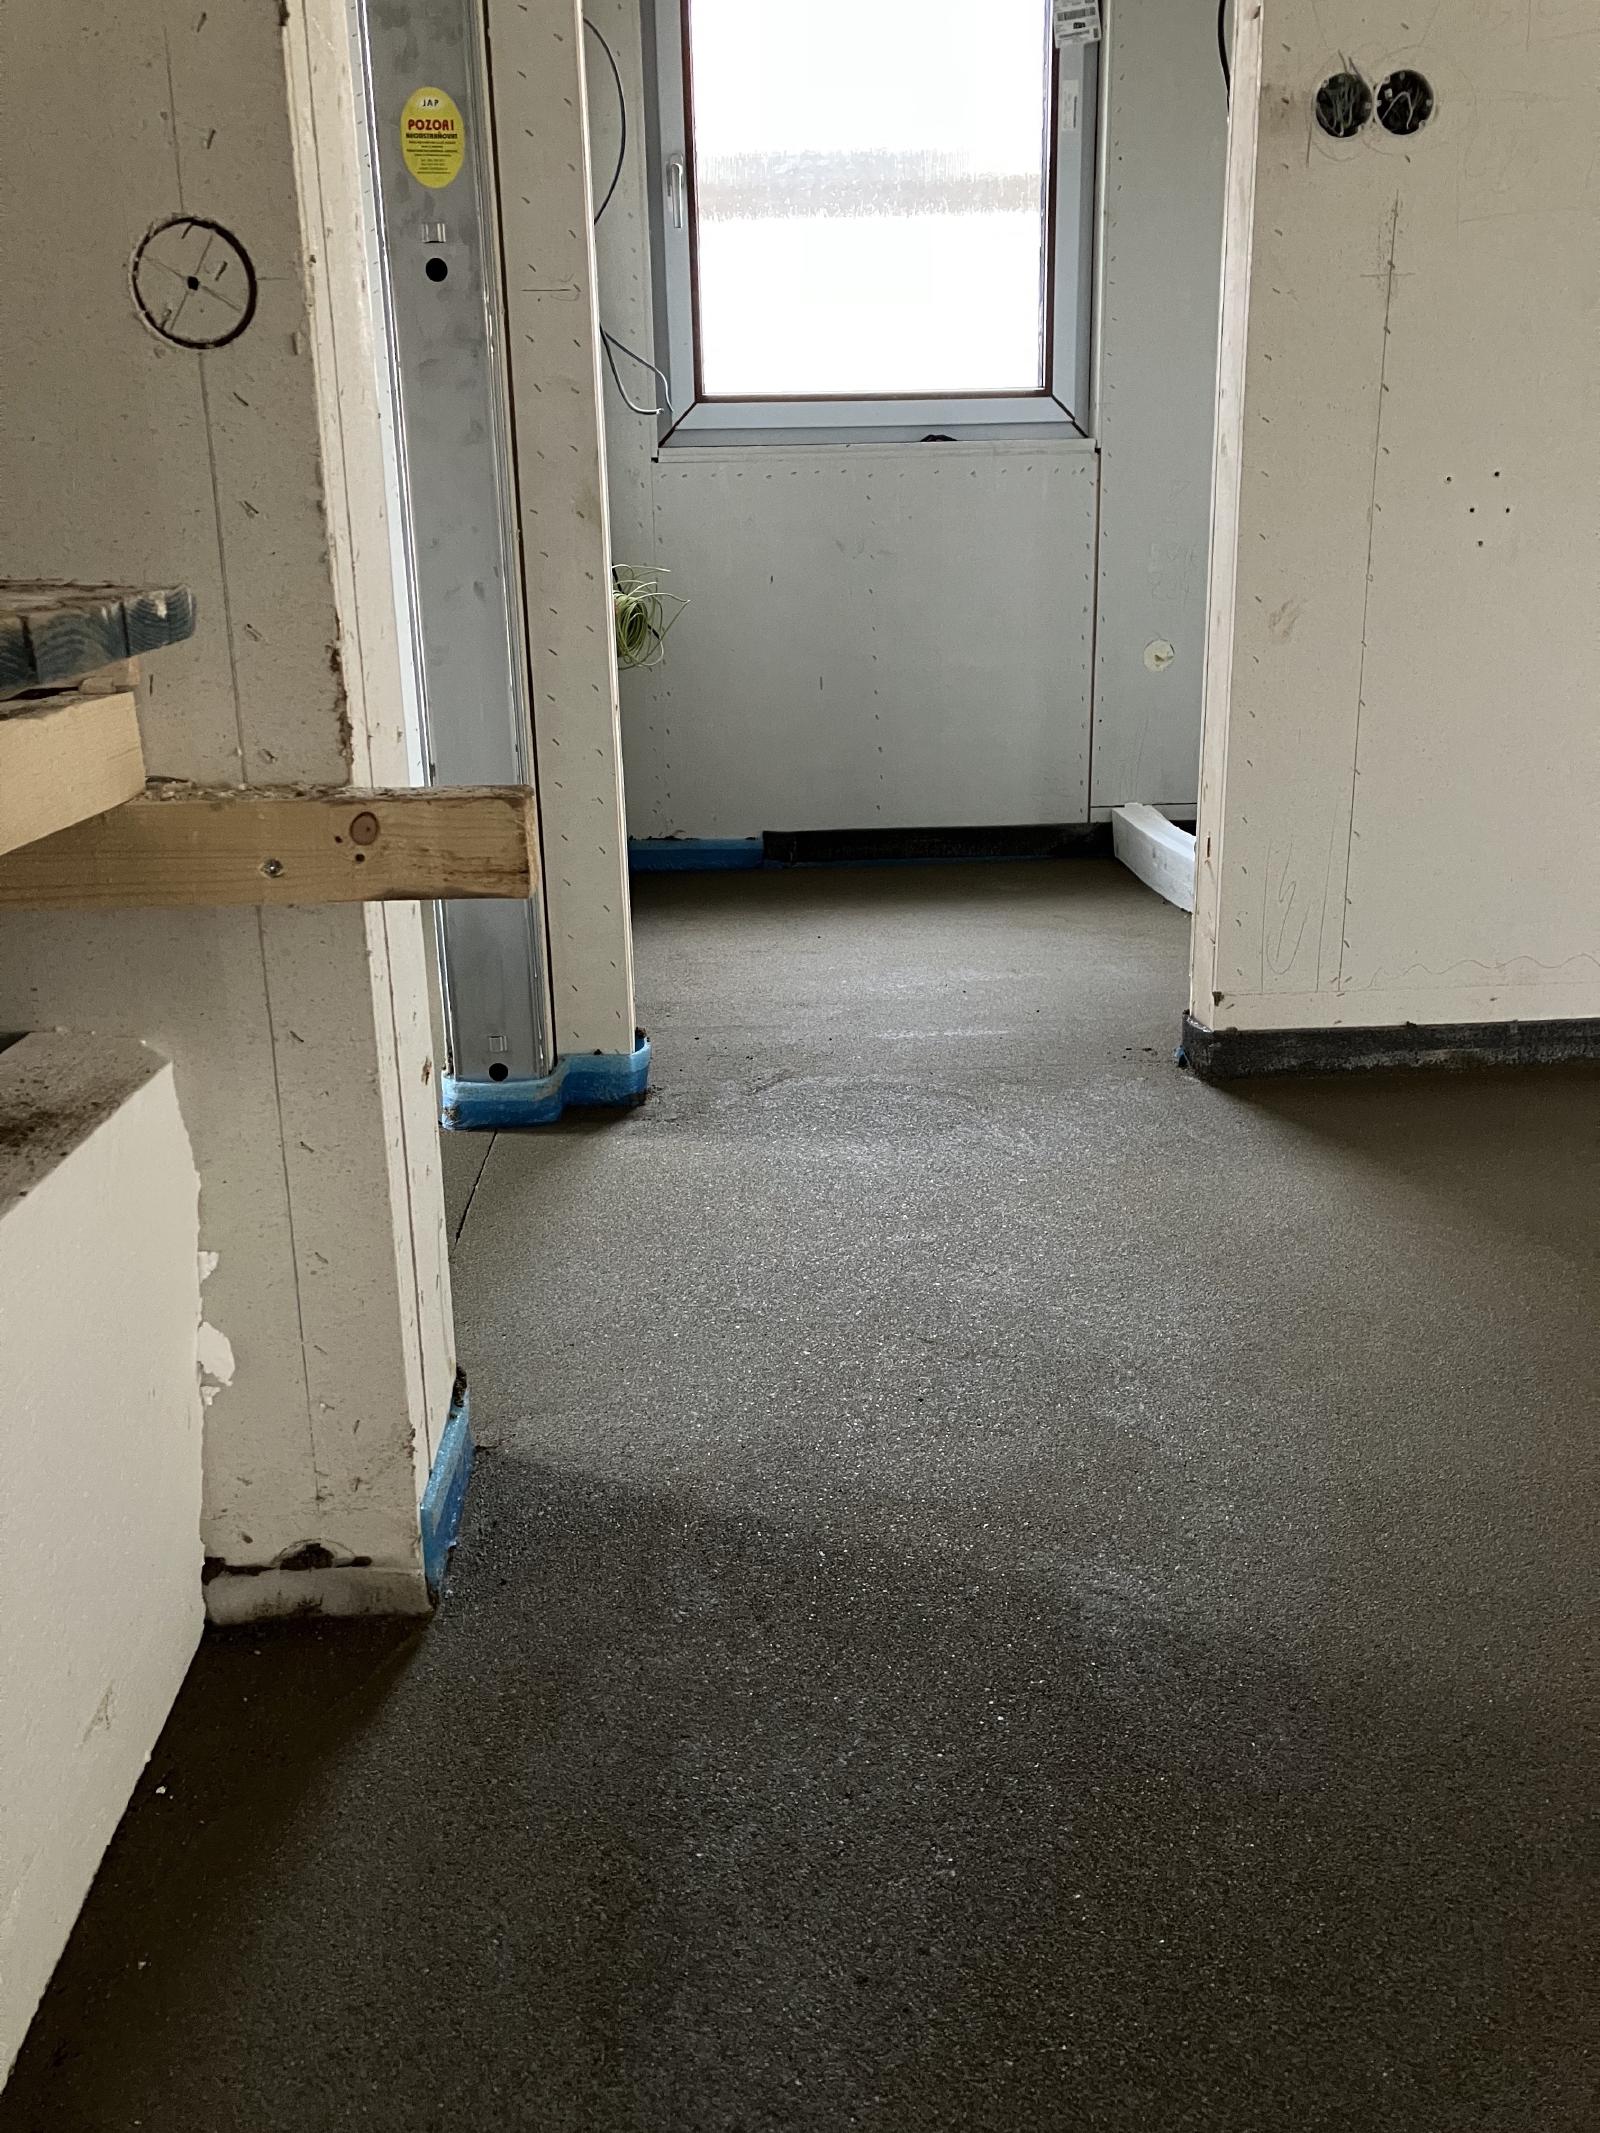
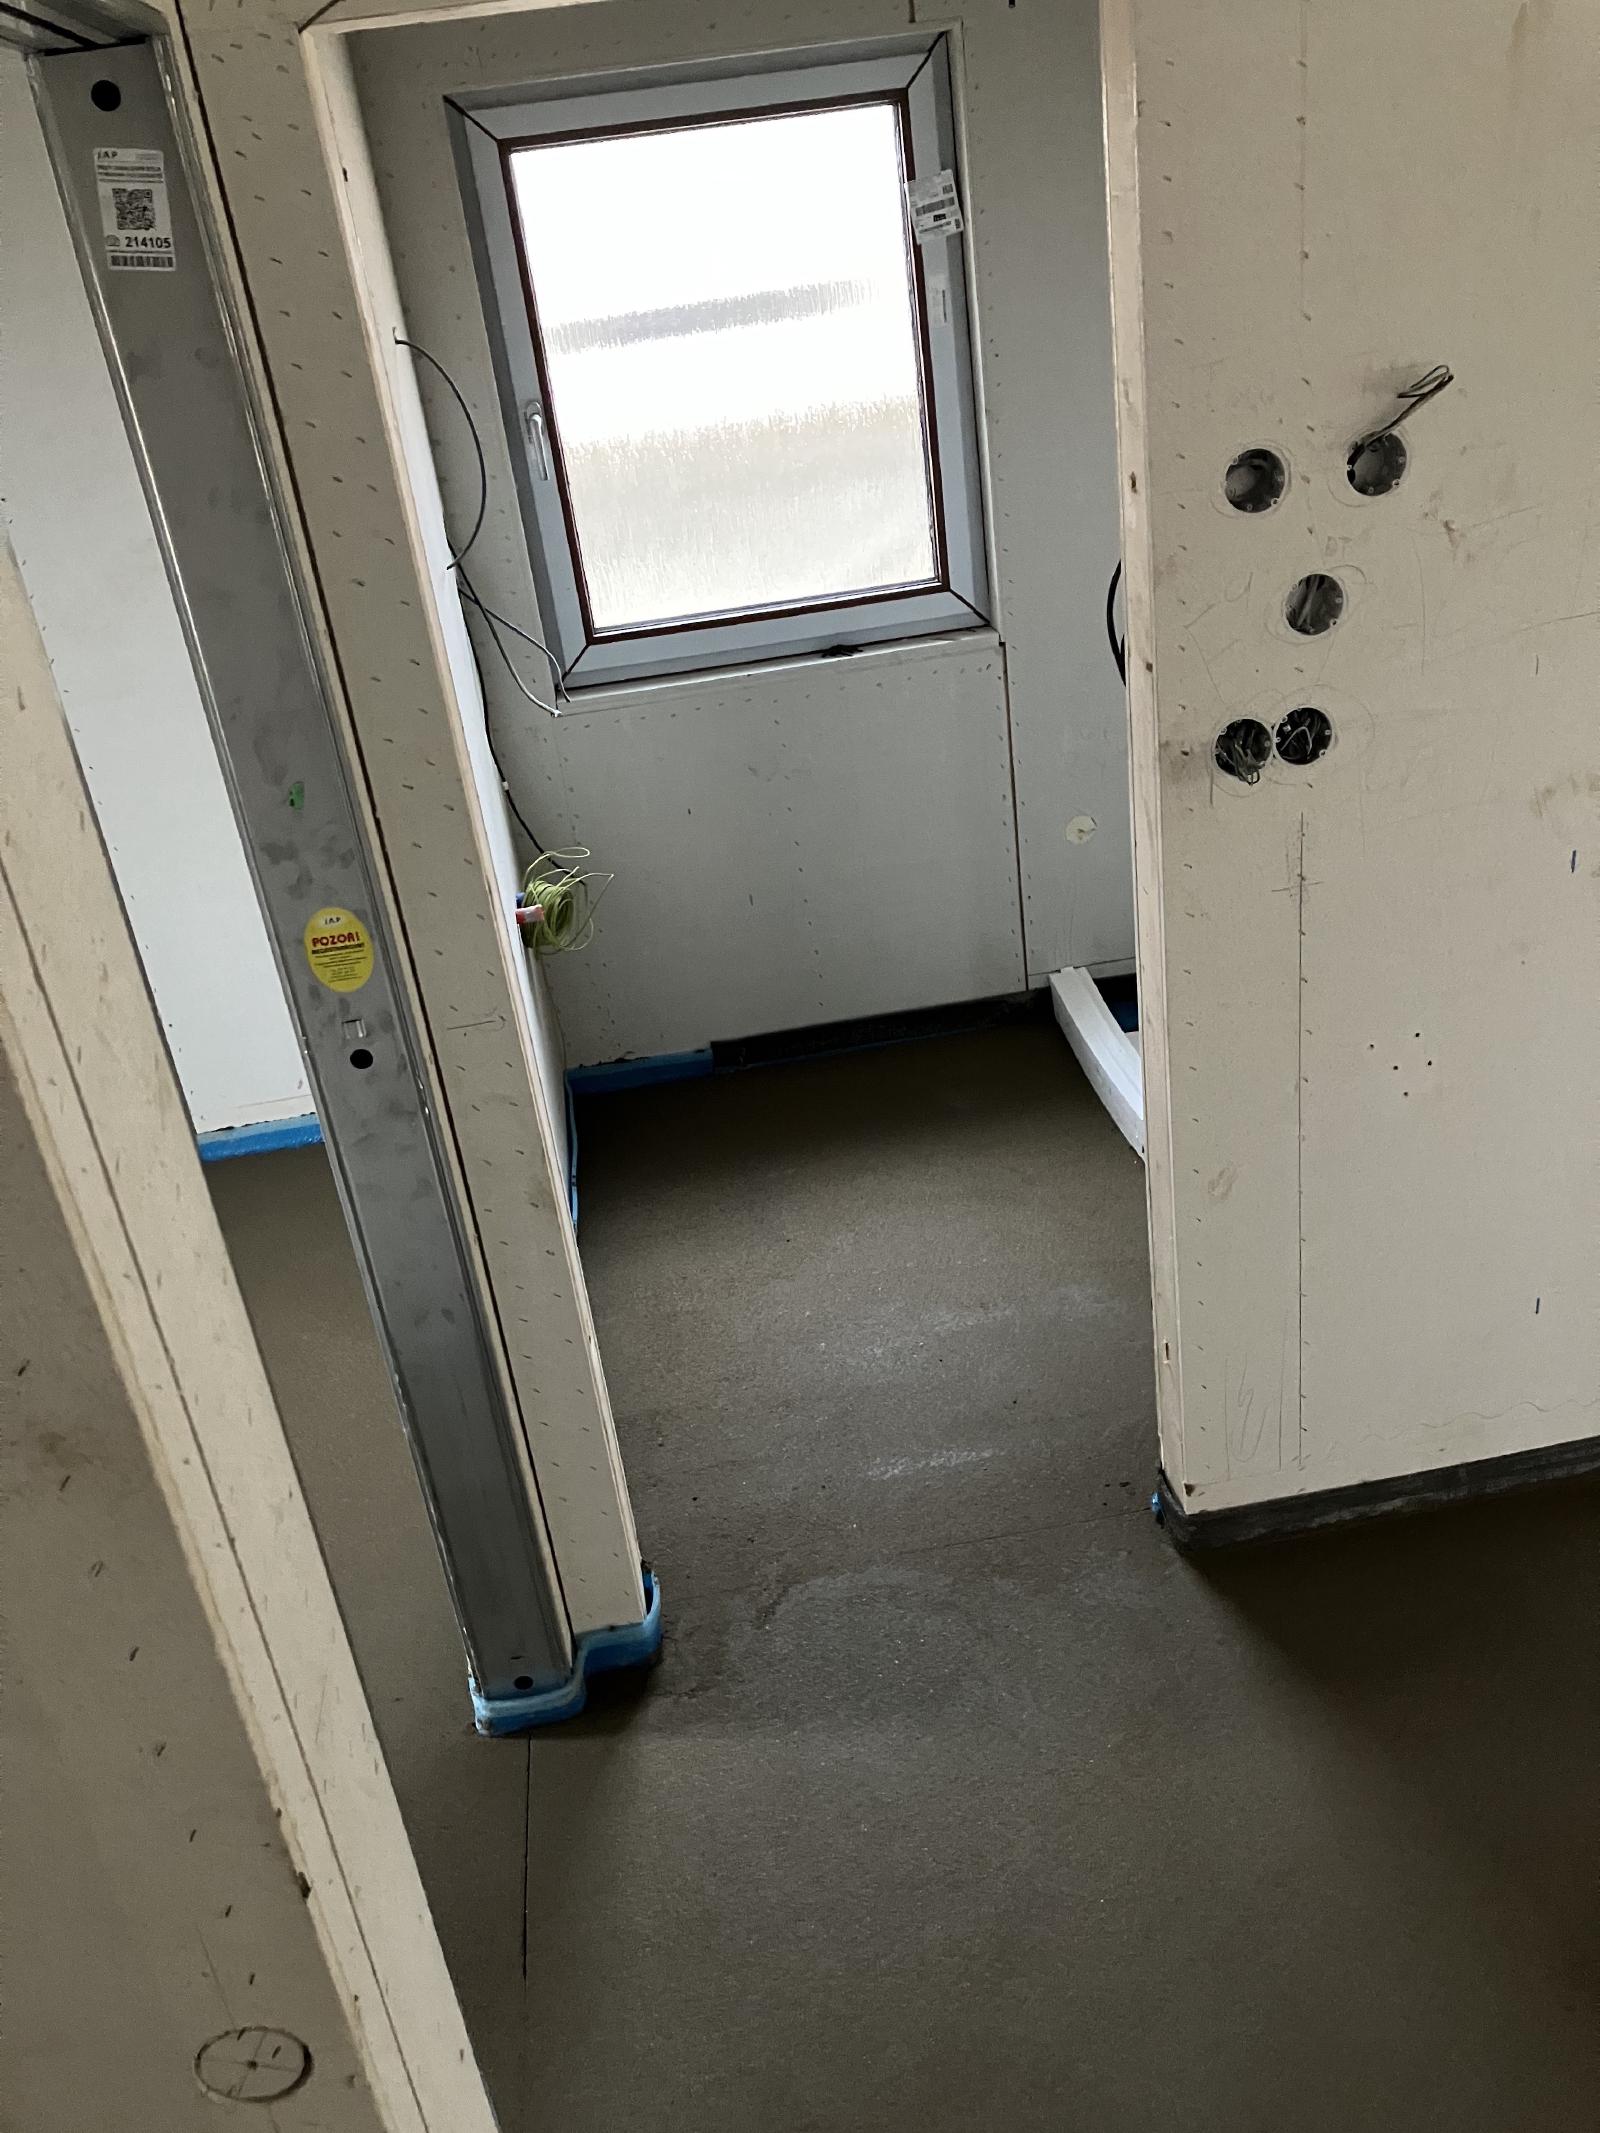
This photo is taken from the same location (basement entryway) but looking
left into the downstairs bathroom. To the left of that is the entryway and I
think this is really the best place to show how much higher the floor is
because you can really see how close the concrete is to the bottom of the
pocket doors.
I climbed some more scaffolding and this is pretty much the same view but looking down a bit more.
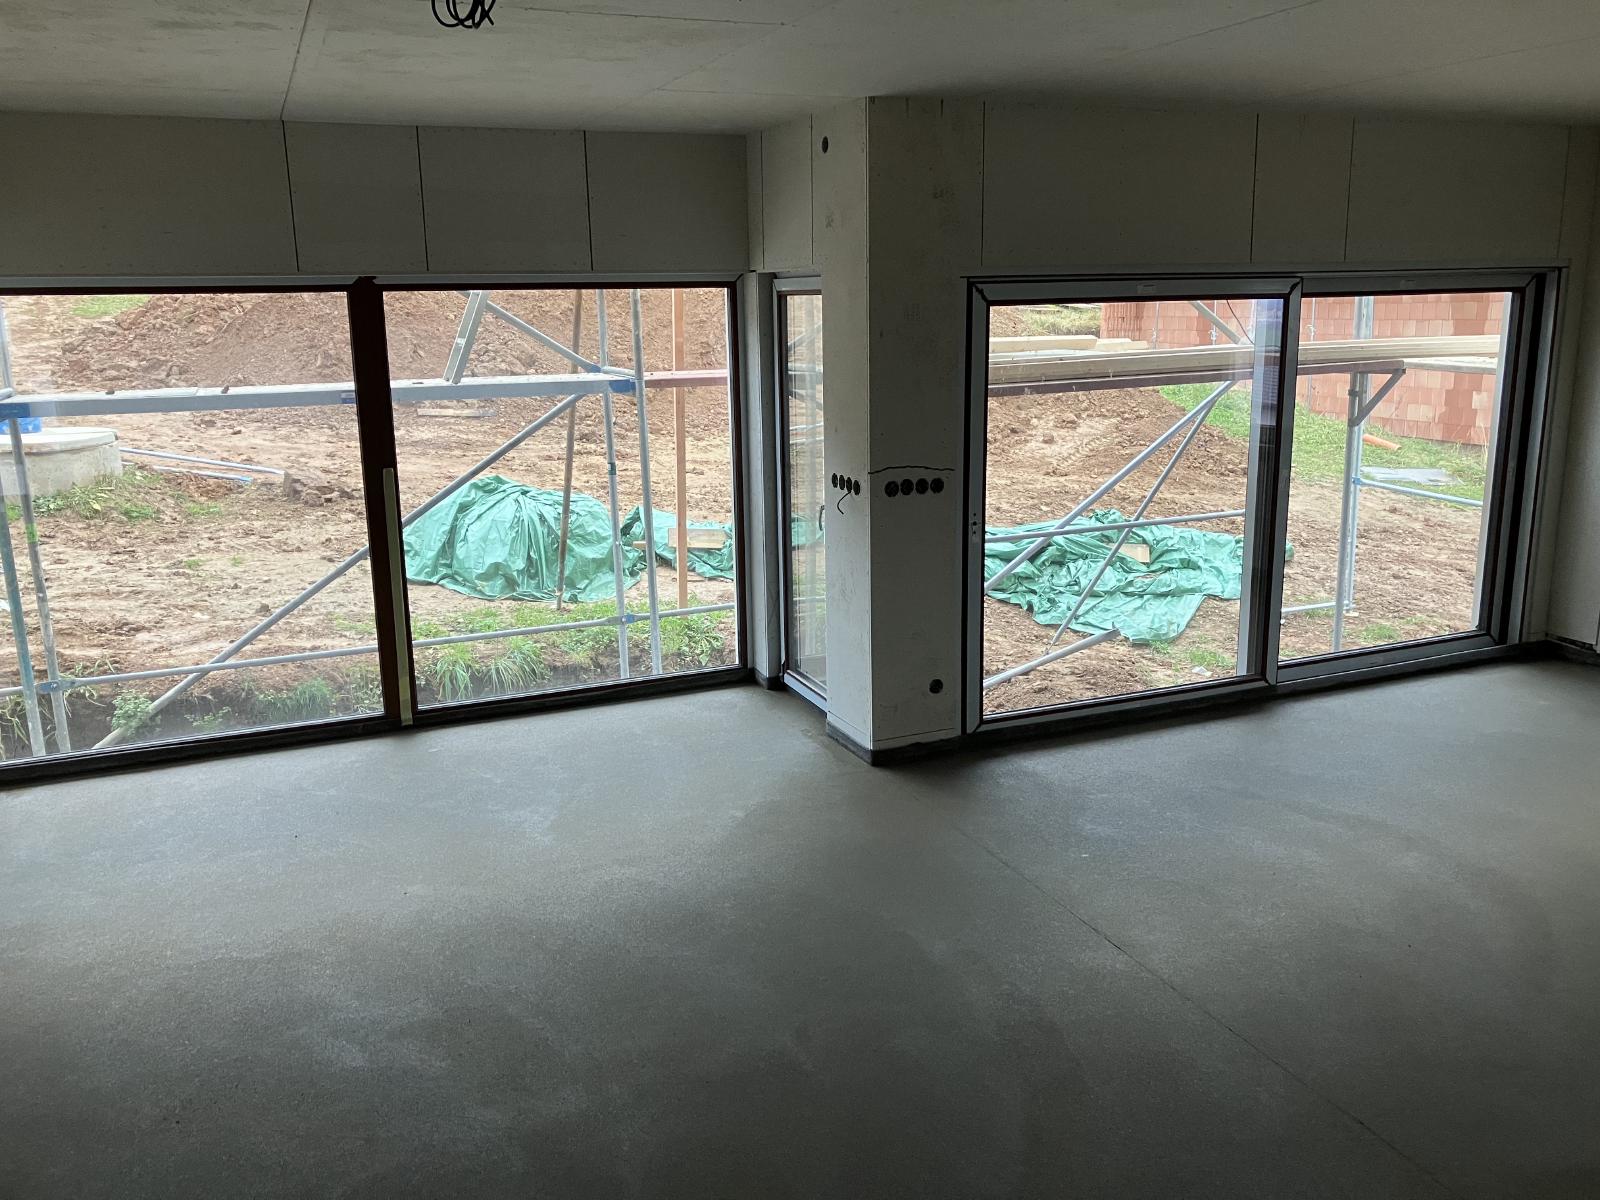
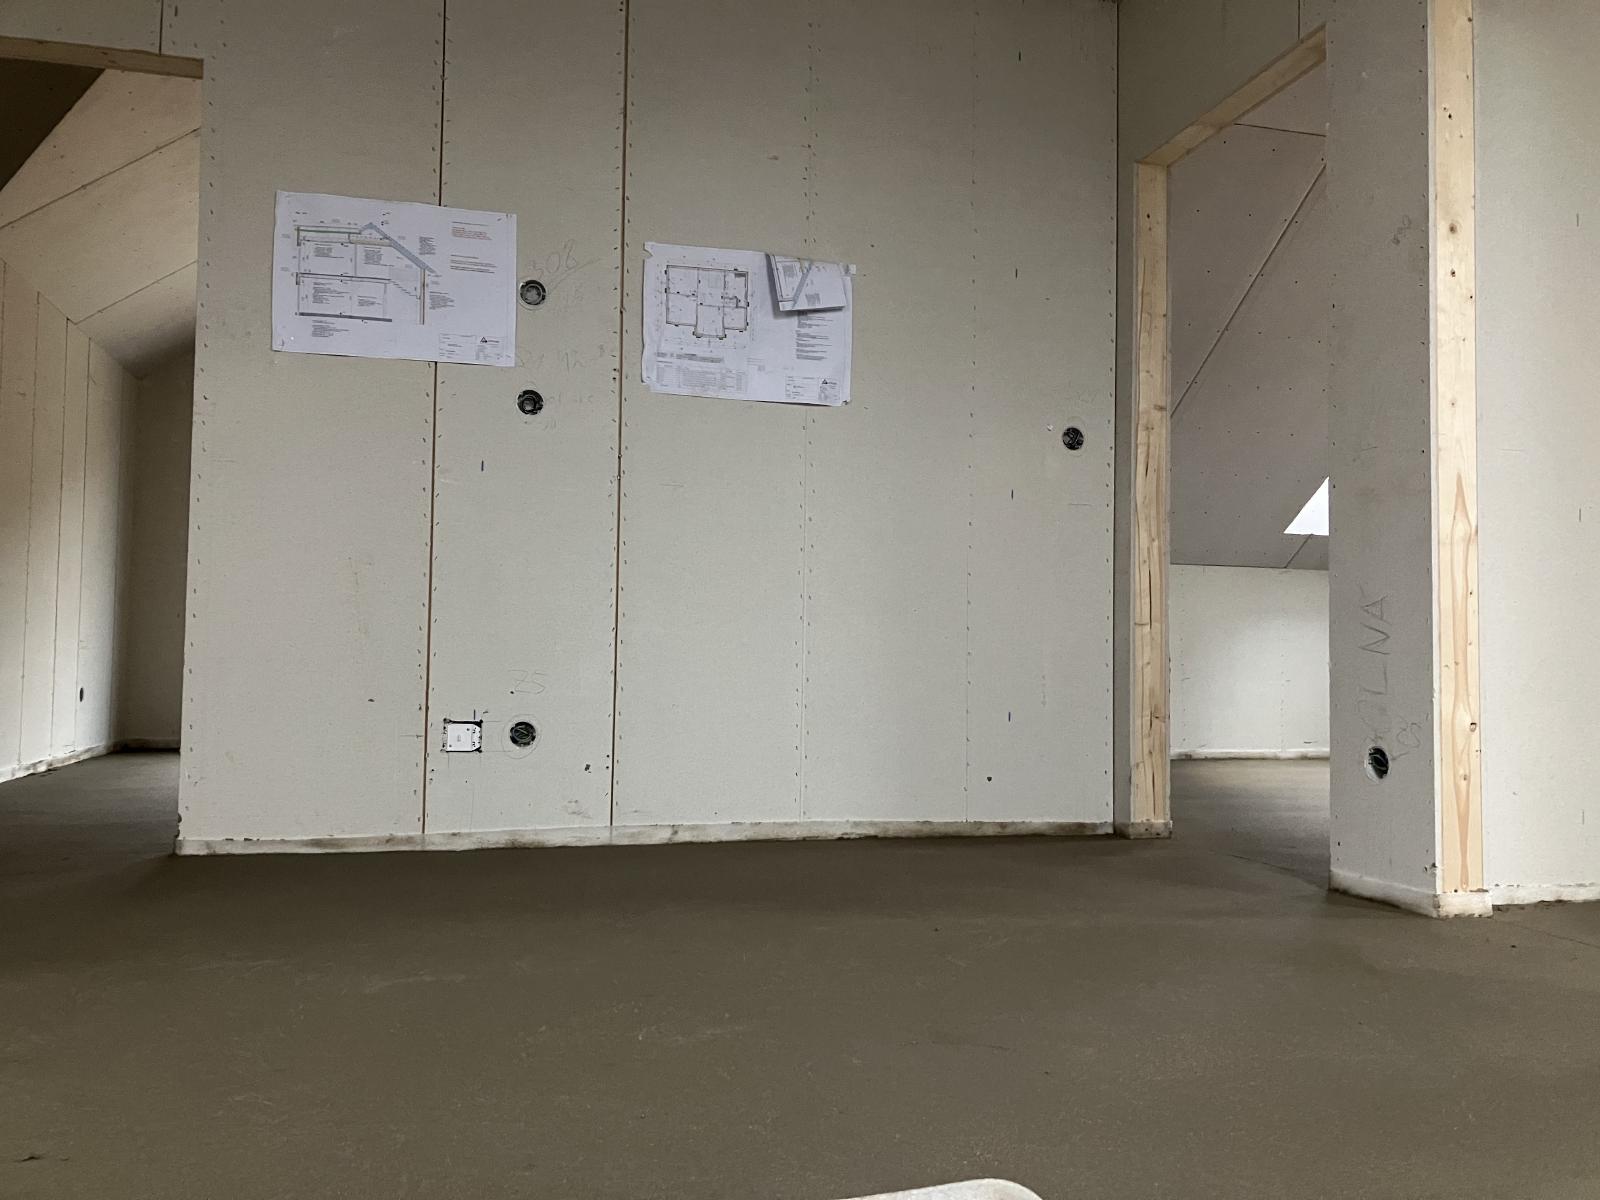
I couldn’t get upstairs before they poured the concrete, but here’s a view of
it after. Again, this will need to cure for about a month before work can
continue.
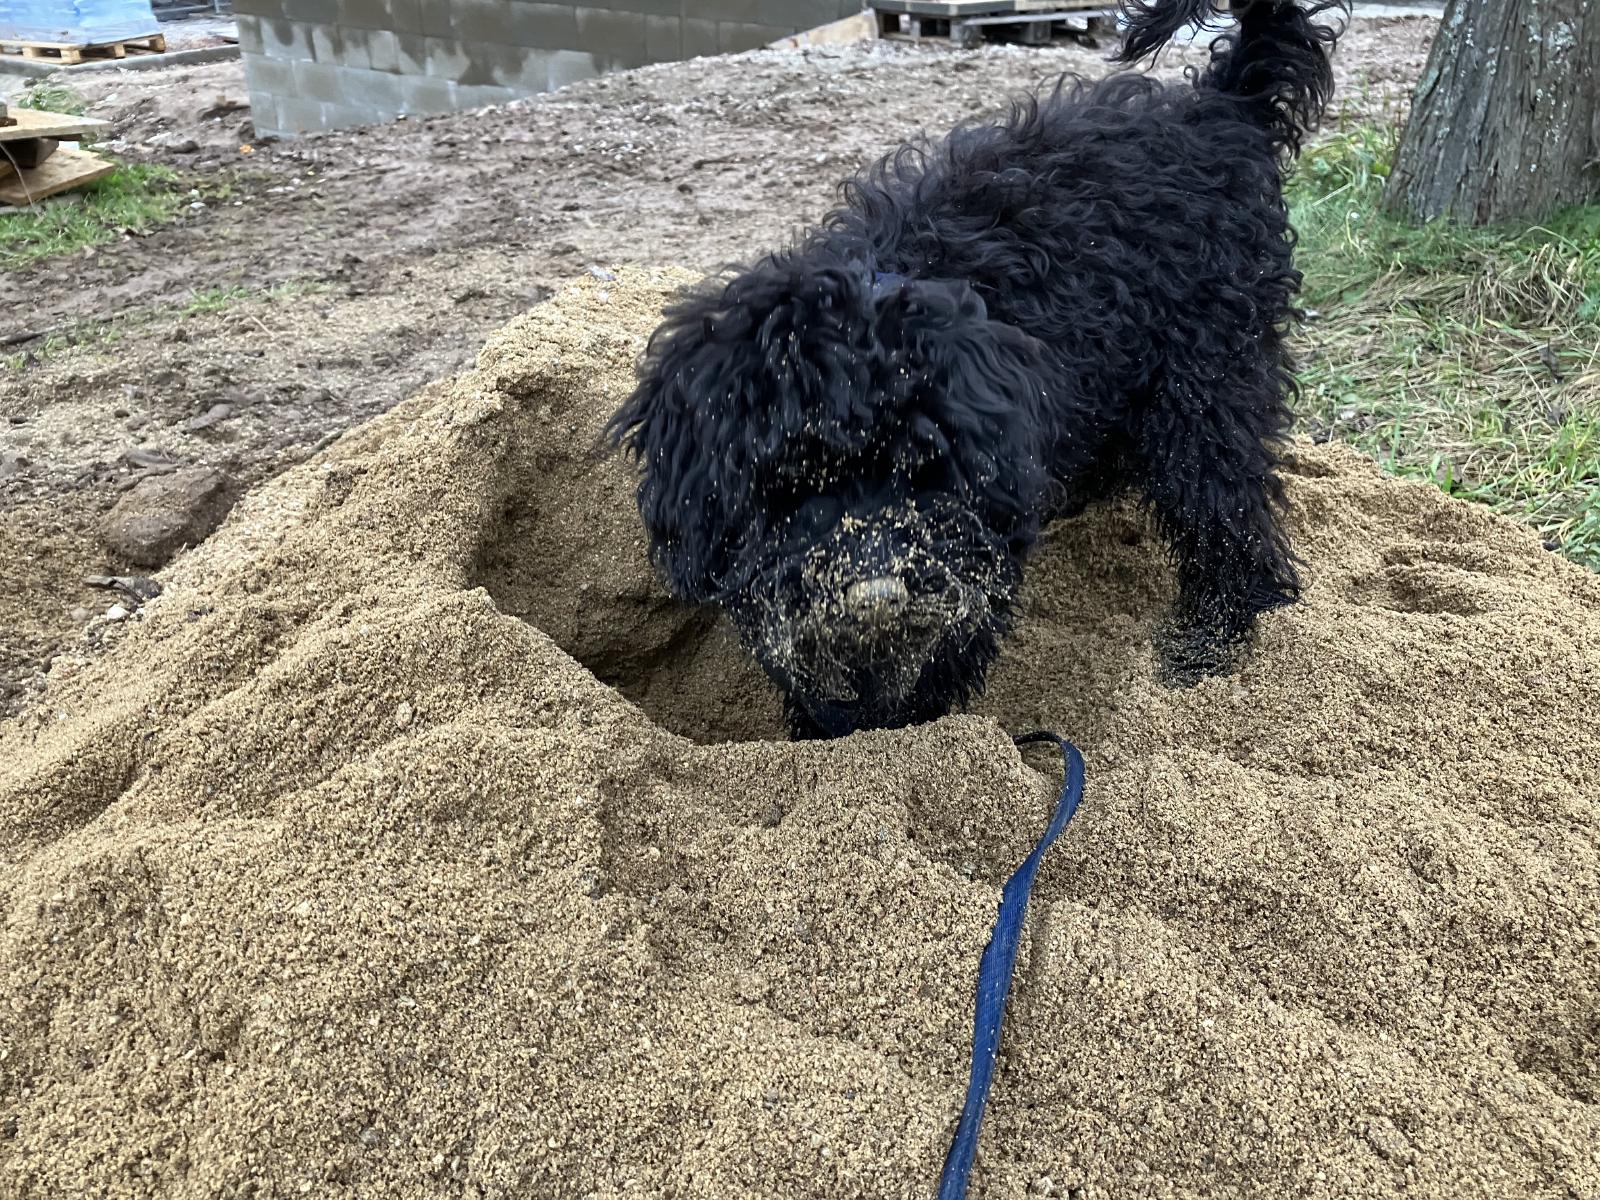
Of course, a trip to the property wouldn’t be complete without playtime for
puppy. Usually, she likes to run and chase us but today she was in a digging
mood and so she used her excess energy to attack a pile of sand. As you can
see, she takes the work very seriously.
By the time we got to the car, she was absolutely exhausted. We had a fun
bathtime later. (Not really. She’s not a fan.)

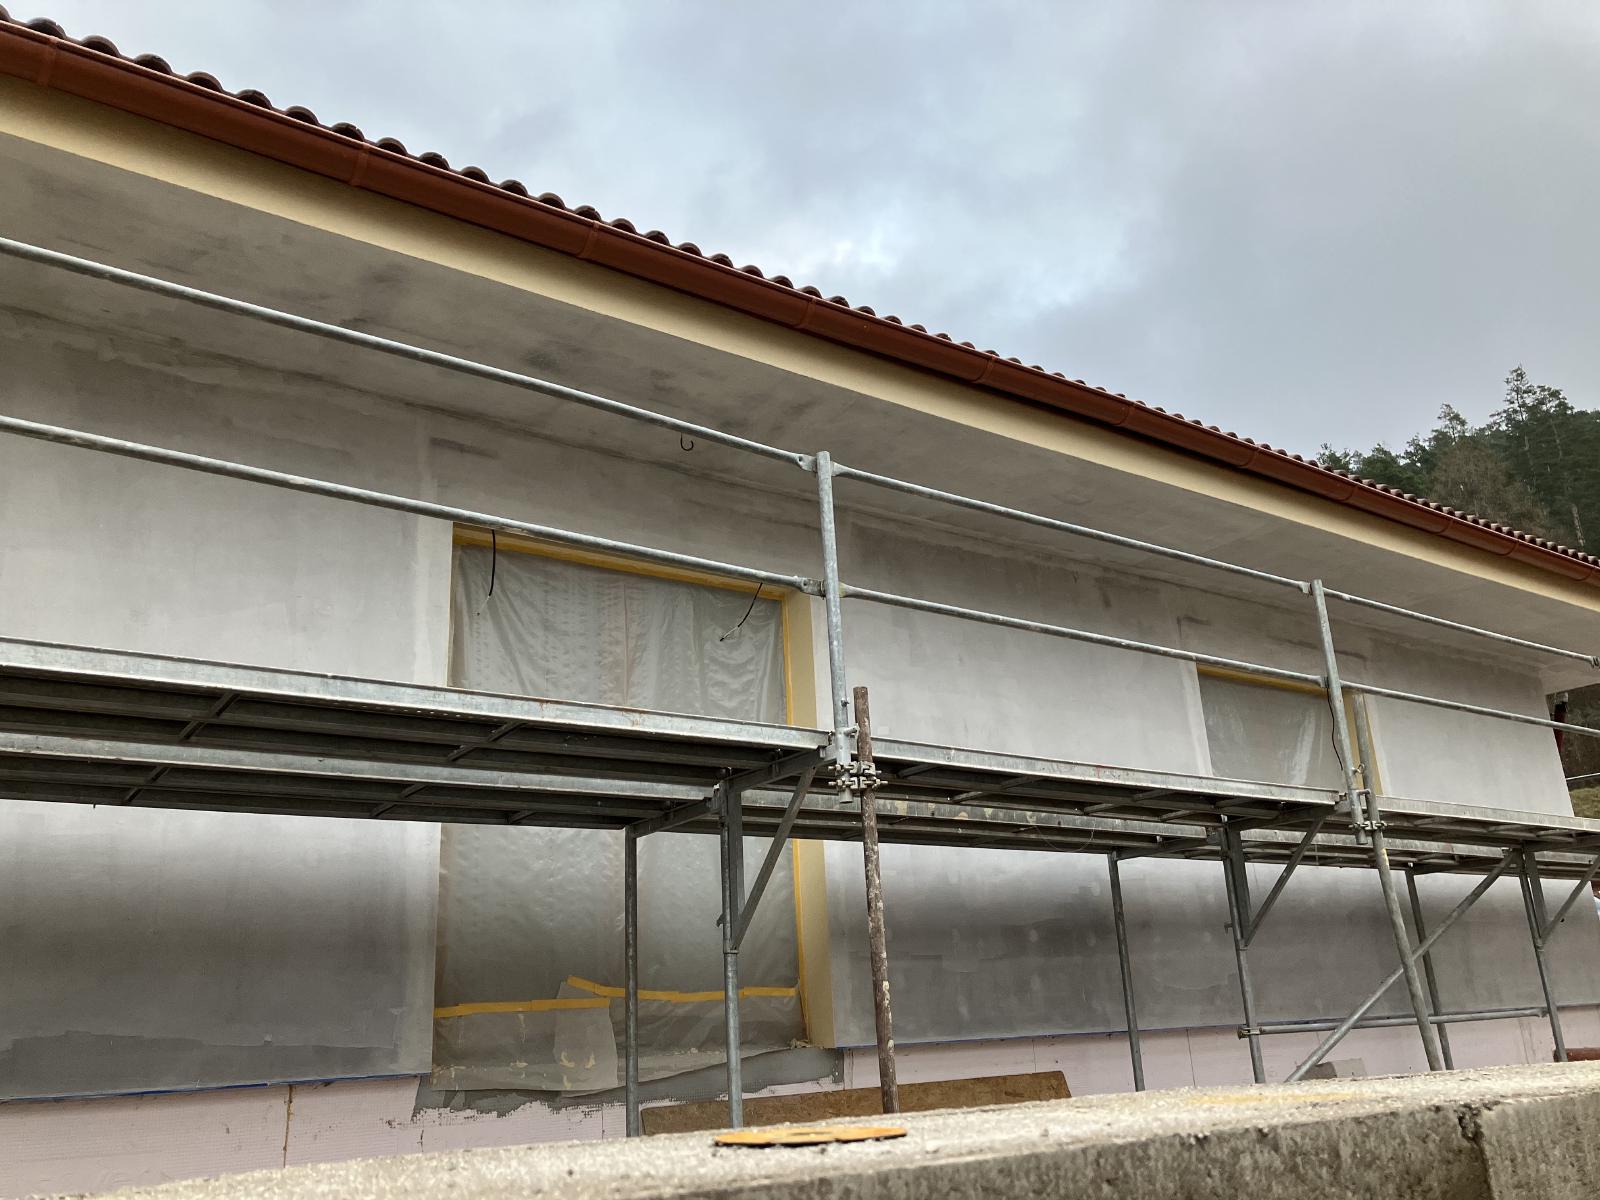
I just thought I’d share a photo of our neighbor’s exterior as they have
started to paint the exterior. It looks like it’s going to be a nice cheerful
shade of yellow, so it will be fun to watch that finish.