Week 39: 20 - 26 March
Mar. 25, 2023This week was pretty productive at the property. We were there twice during the week. On Monday, we met with the Technical Director at Atrium to get an update on time estimates. Based on his calculations, they should be done by 21 April. This doesn’t include the kitchen, which is considered separate. (Houses and apartments in Czechia are generally delivered without a kitchen which is then installed later and customised by the new owners.)
Either way, he said that what’s left is mainly a series of jobs that will each only take a day or two. This includes interior and exterior painting, interior stairs, installation of the stone around the fireplace and installation of the hardwood floors on the main level and carpeting upstairs.
This week we picked out the stone for the fireplace and also the exterior colours. The exterior is going to be a nice cream colour, similar to the colour it has been in all the photos you’ve seen so far. The couch that we ordered back in January which was supposed to be unavailable until April is already in Brno but they are nice and holding it for us until the house is ready. Our bed has also been ordered and that store has also been amazing and has told us that they like the configuration so much (it’s custom-made) that if we decide we don’t want it after we see it, they will keep it and sell it to someone else. So we didn’t even have to put a deposit down on it.
On Monday of next week, we meet with some of the guys to start getting water things connected in the basement. All of the pipes for water and sewage go into the technical room and so we need to decide how they are going to be routed to connect to the inputs from outside.
On Tuesday, we head back to the property to meet with the painters and finalise the interior wall colours. No doubt there will be more appointments throughout the week.
Enough of that, let’s get to what you came here for…the photos!
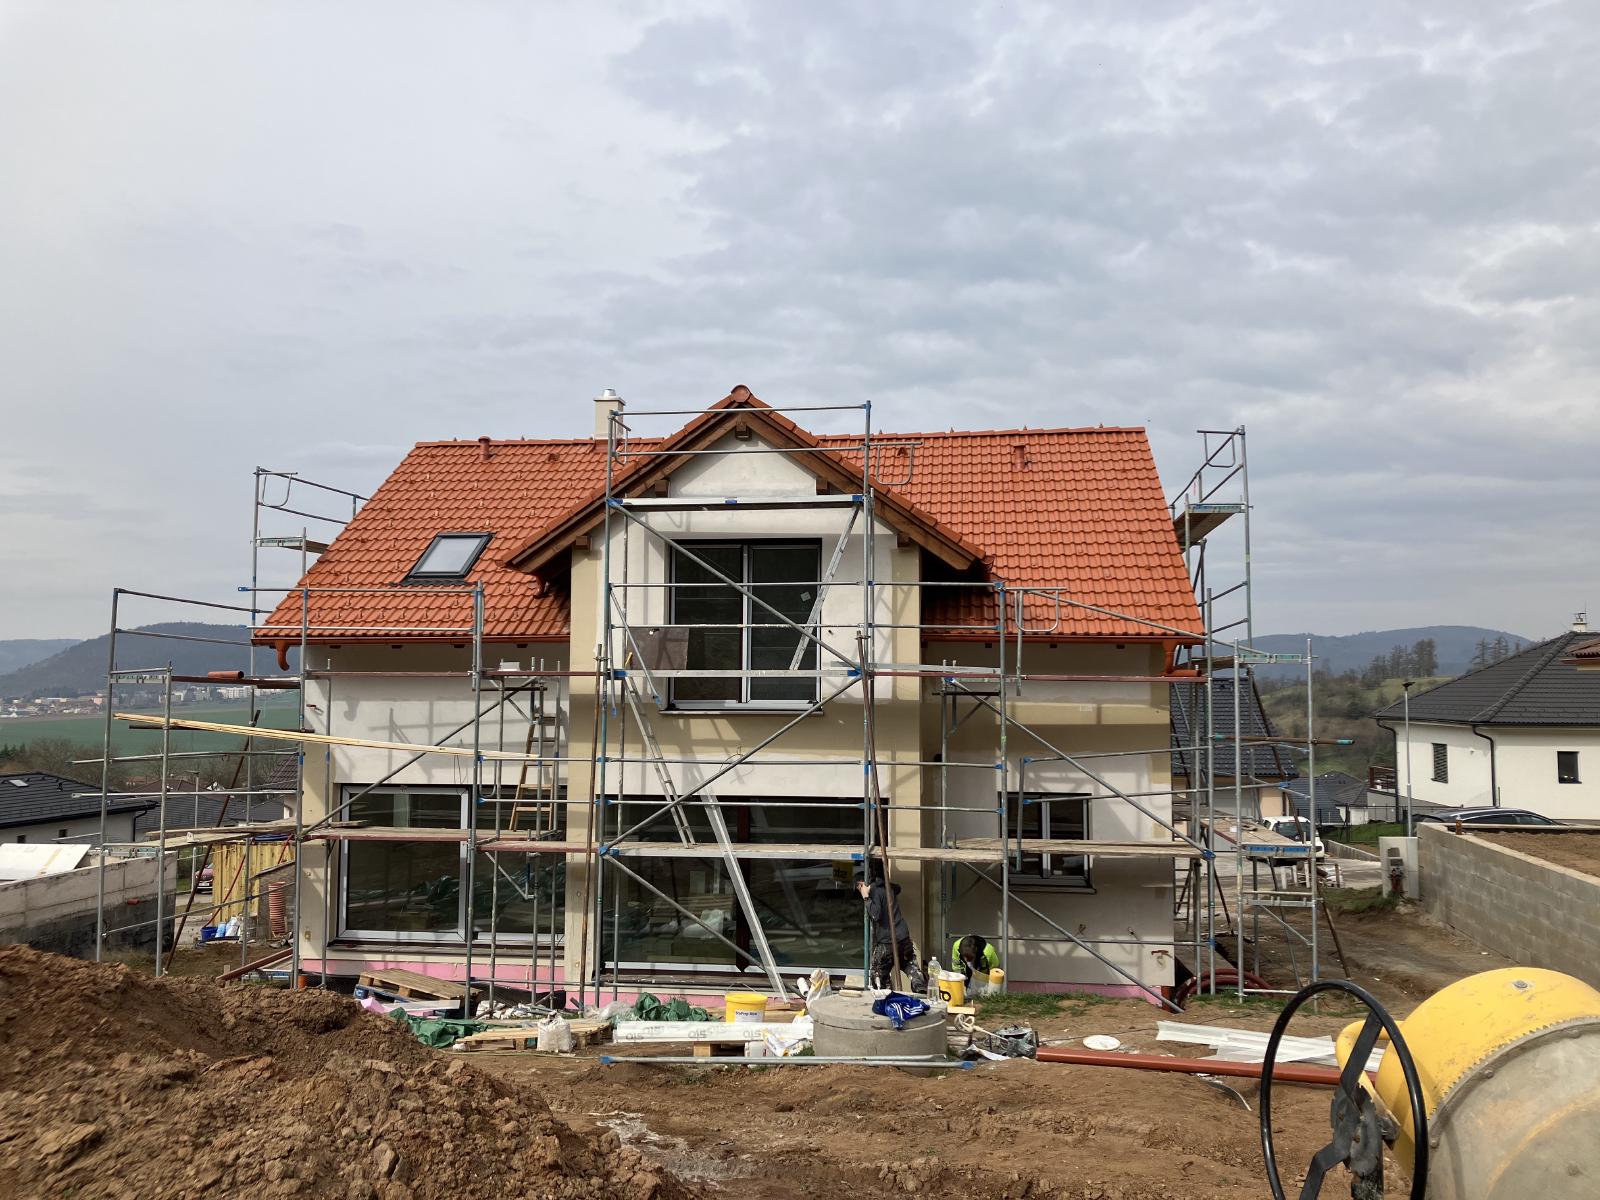
Exterior
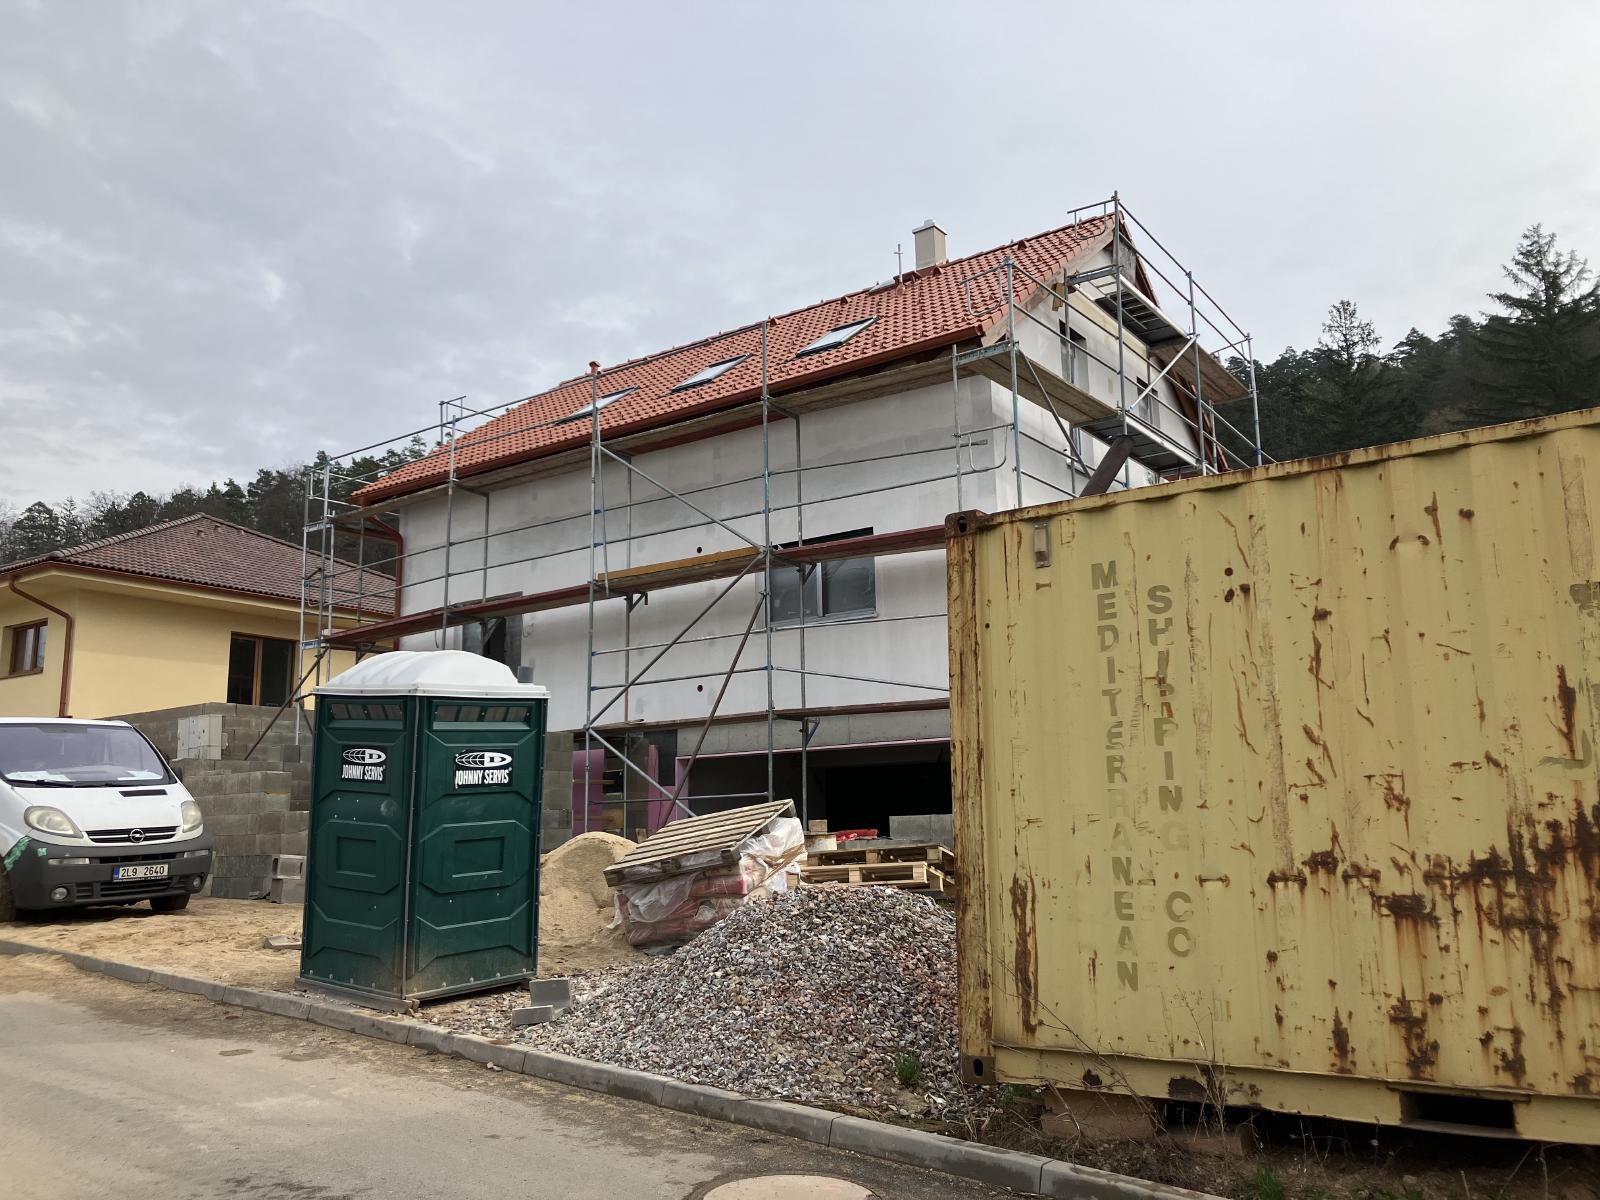
When we arrived on Friday, we discovered that the house had changed colour. The exterior painters were there and were working on finishing covering up the “seams” in the exterior of the house and adding another layer to the exterior. The white that you see is the layer that will be underneath the stucco. It’s designed so that the stucco sticks to it.
We had to finalise our exterior colour because when they make the stucco, it will actually be made of the exterior colour. This ensures that if the house is scratched, it’s invisible. Not simply a layer of paint over a white stucco.

In the two photos below, you can see that the painters are covering up the seams
and gaps (the areas that are still cream coloured) and prepping it for that next
layer that goes underneath the stucco.

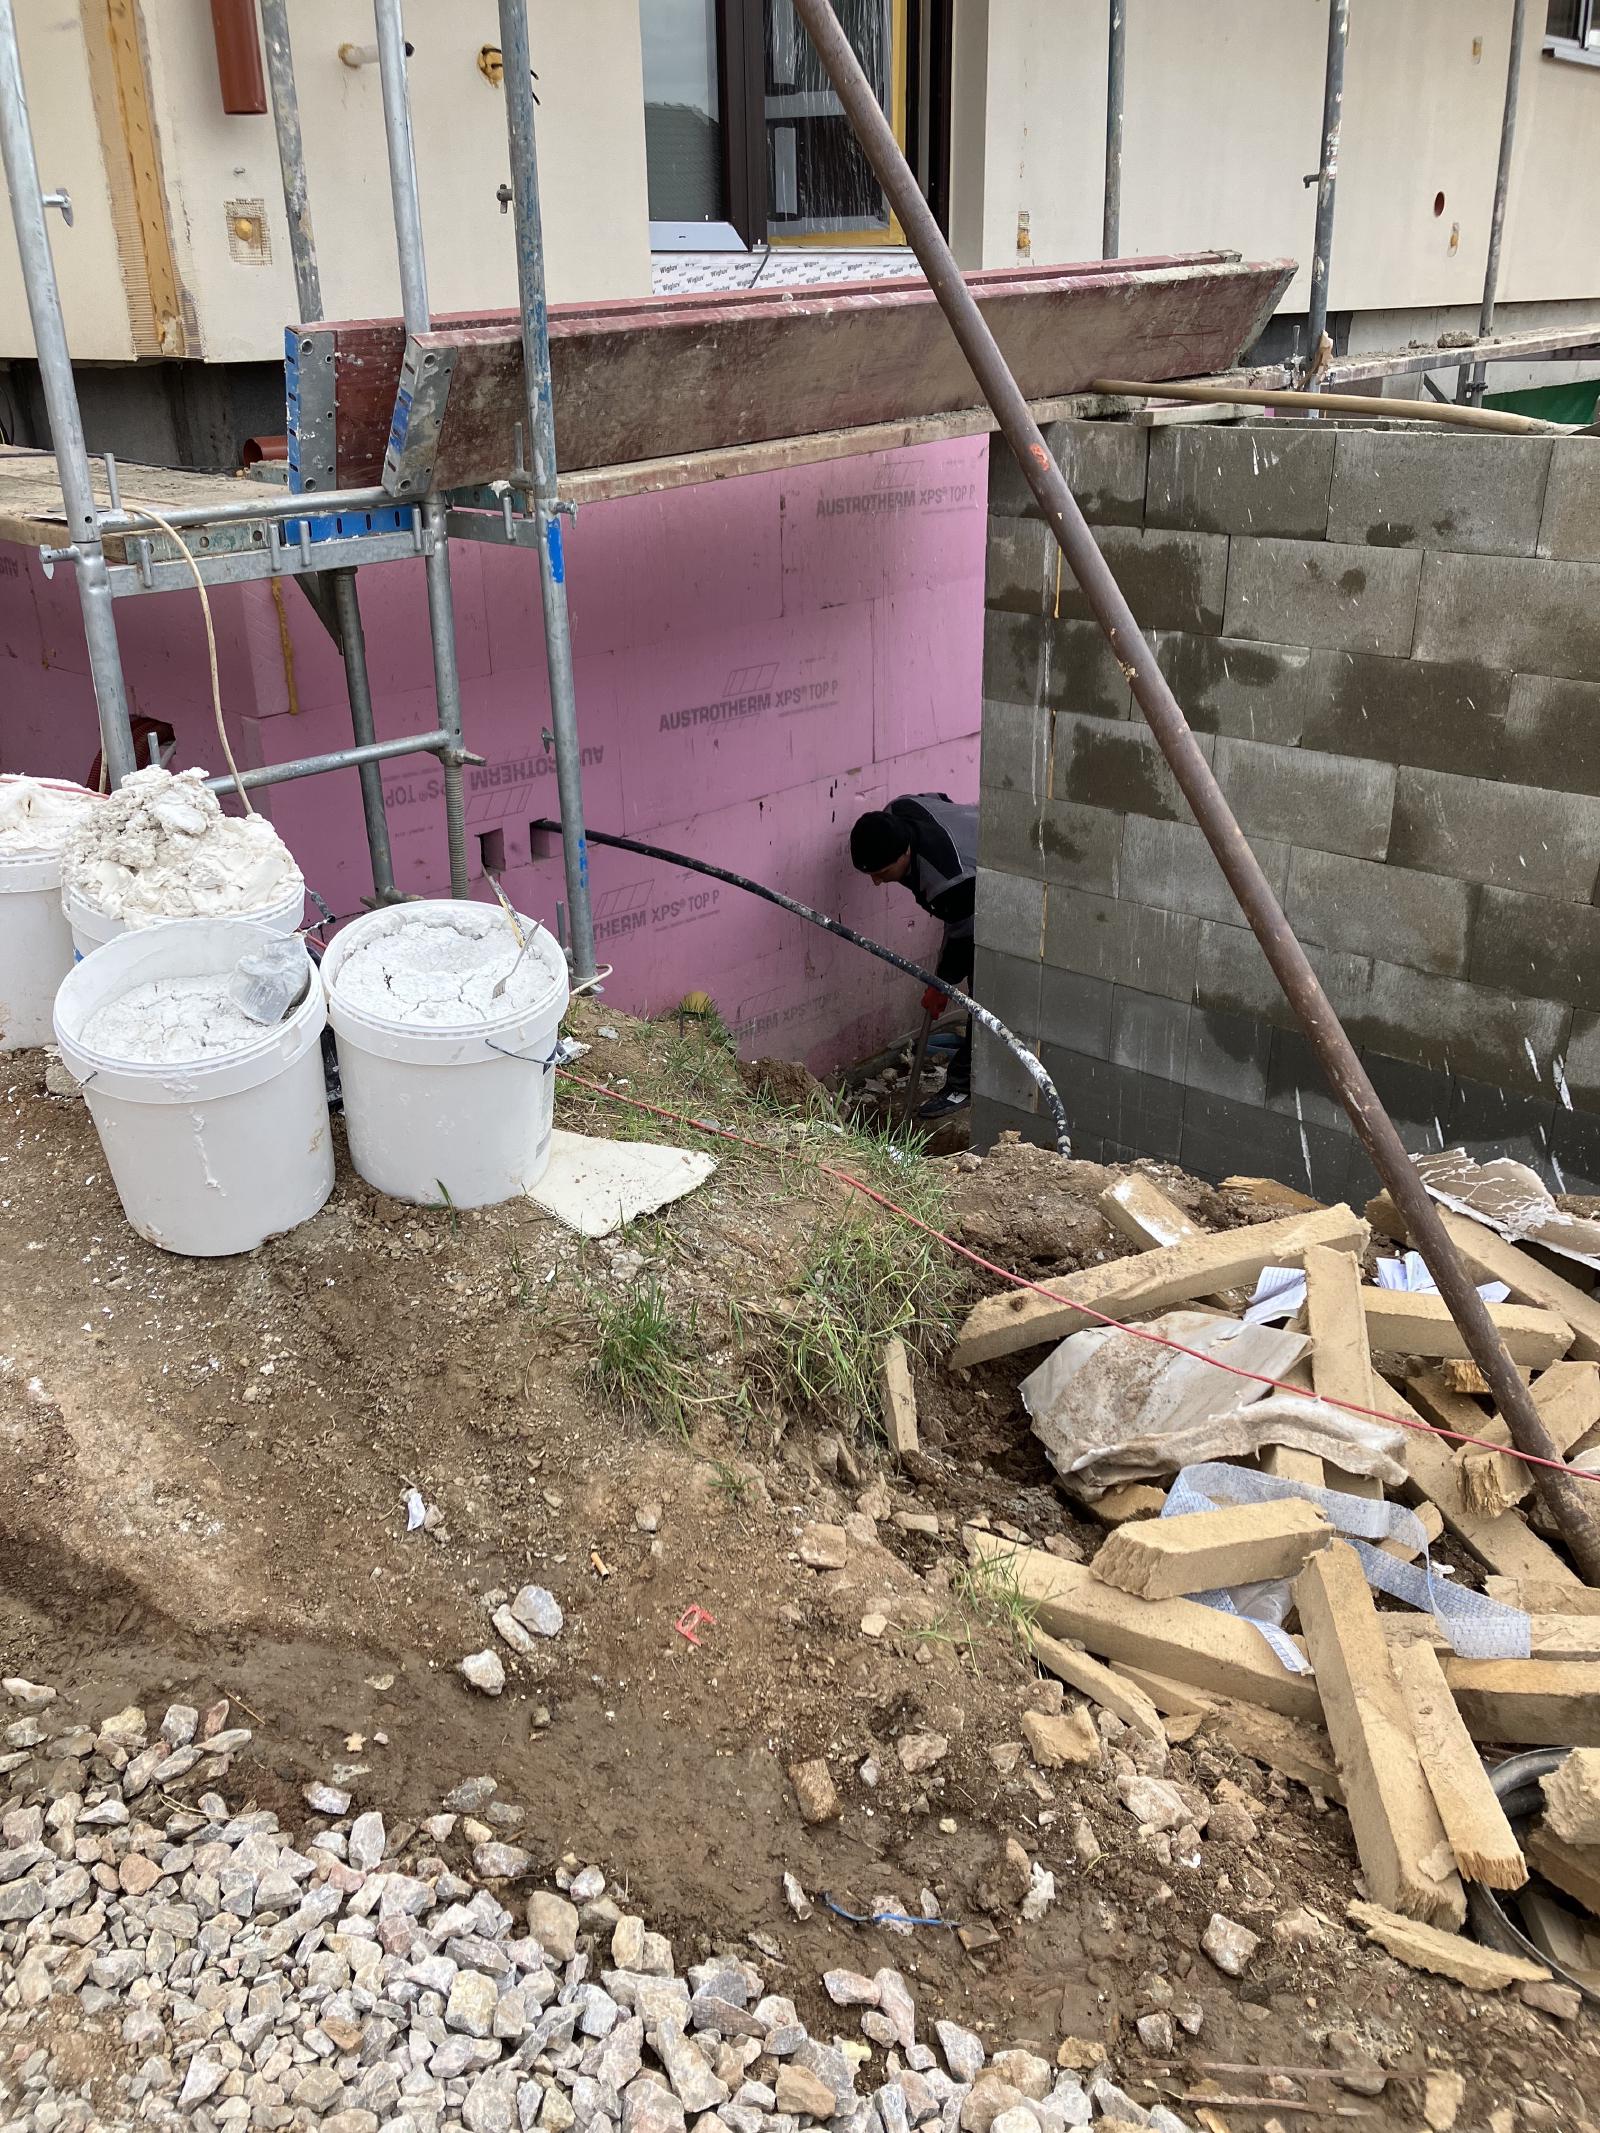
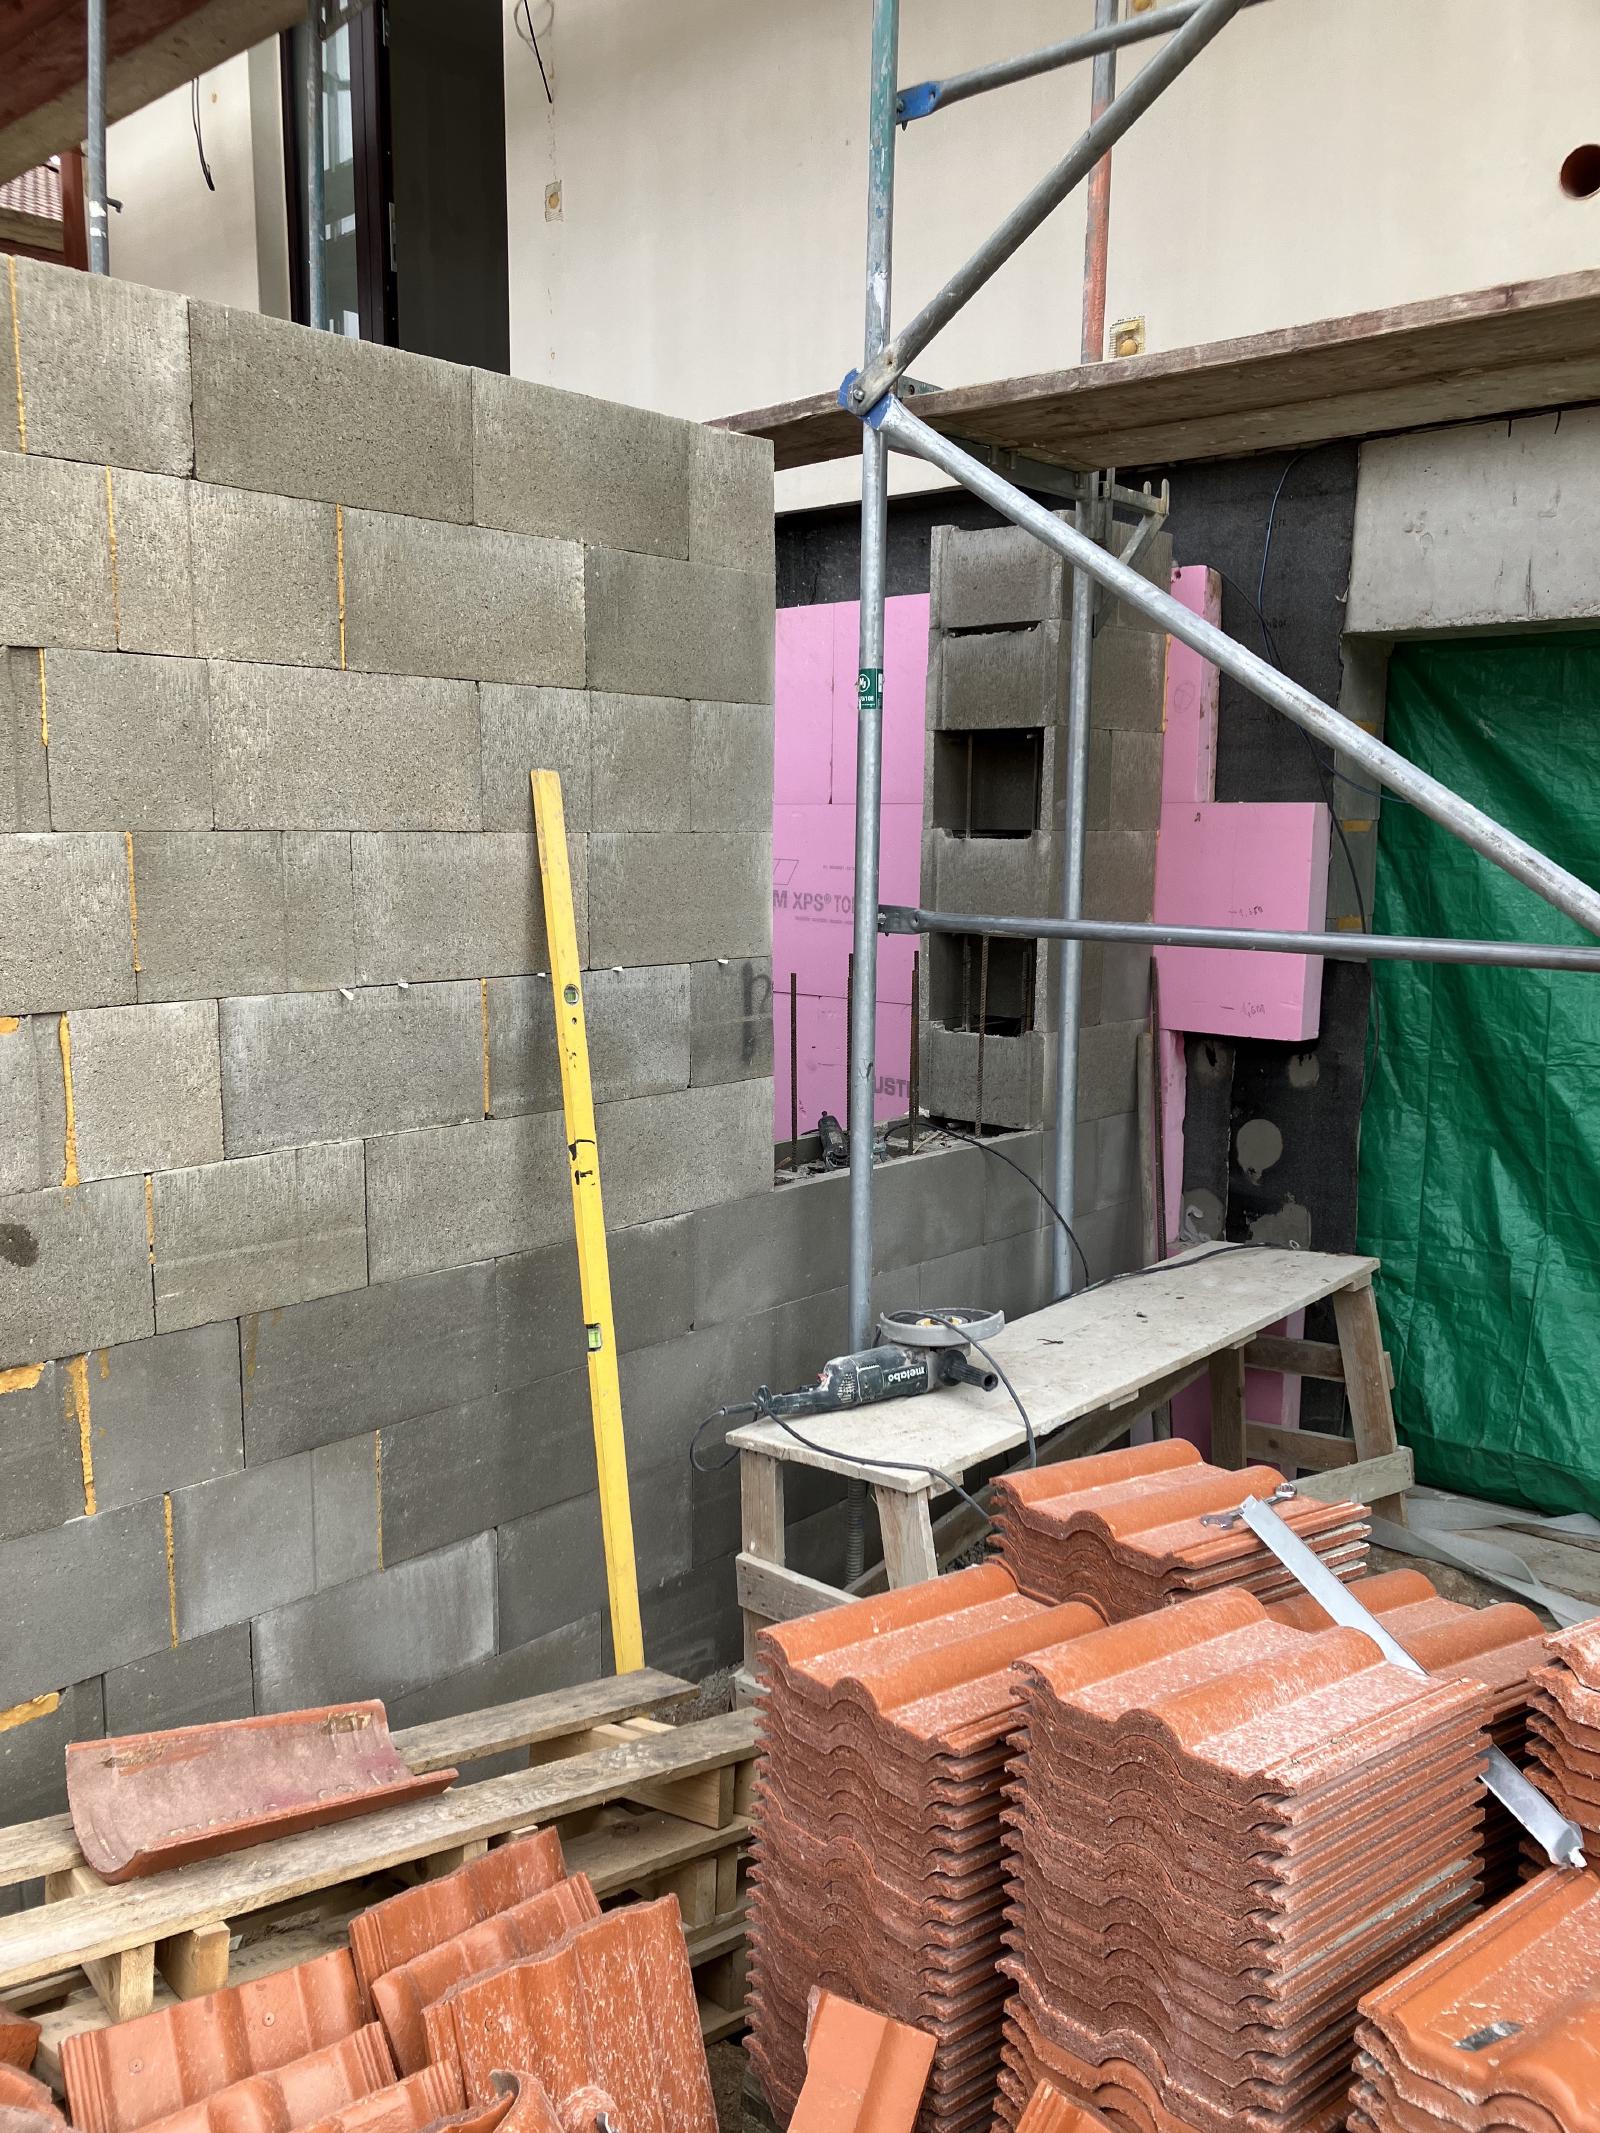
Exterior Stairs
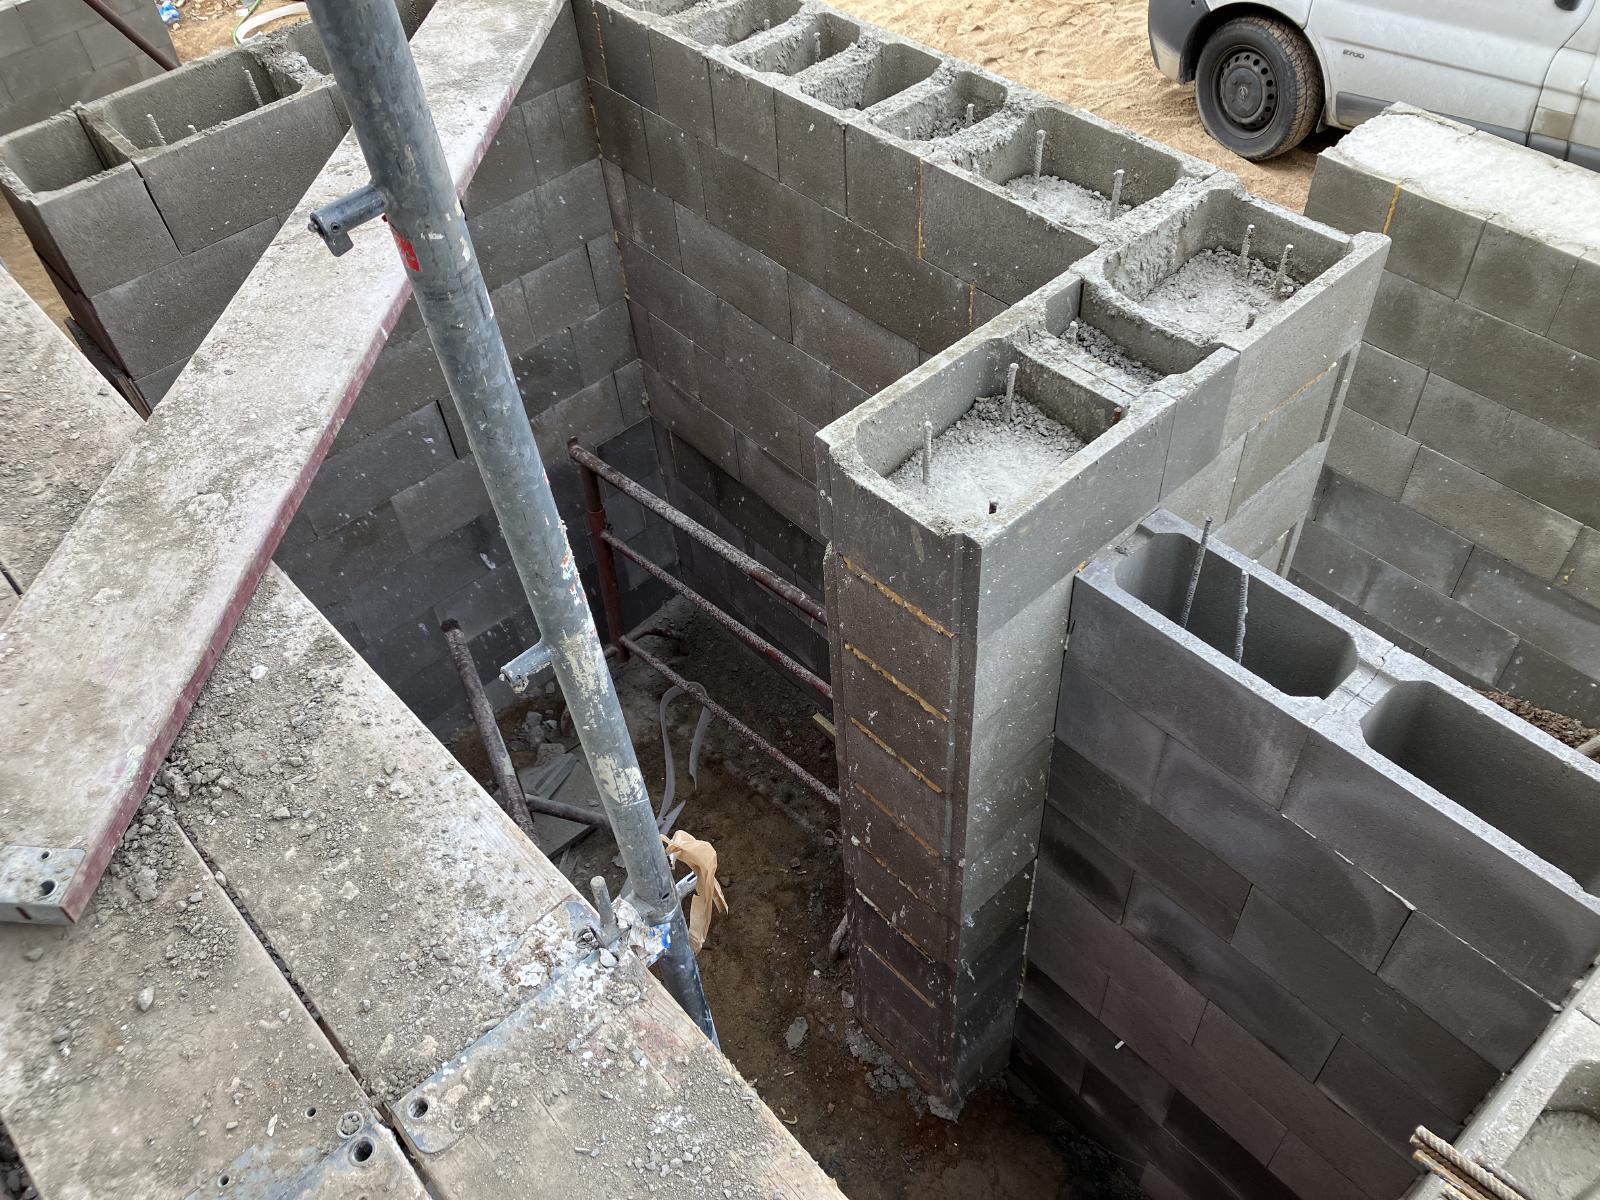
Finishing the exterior stairs had been put on hold due to the frozen ground and the fact that the scaffolding was in the way. The guys were able to get back to work this week and so we had some decisions to make. Saša, our amazing basement contractor had suggested last year that we use the space underneath the front stairs as a storage area. We never really finished the conversation because the house itself started to be built and he couldn’t work around the scaffolding. We talked more about it this week and I had commented that it was too bad we had the wall built next to the garage door already because that would be the perfect place for the entry.
Saša agreed however and immediately started removing the concrete blocks for the doorway. A small wall was built to finish off the space and also the gap that had been unfinished between the stairway area and house. We also changed things a little bit and decided that since we’re going to have that storage room, we would skip the planter area next to the front door and instead have it tiled, put up some trees or bushy type things in planters and make it a nice sitting area. Since this is a completely new plan, we have given absolutely zero thought to what will go there. All we know is that it’s west-facing so doesn’t get a ton of sun and will need some things that are pretty shade tolerant.
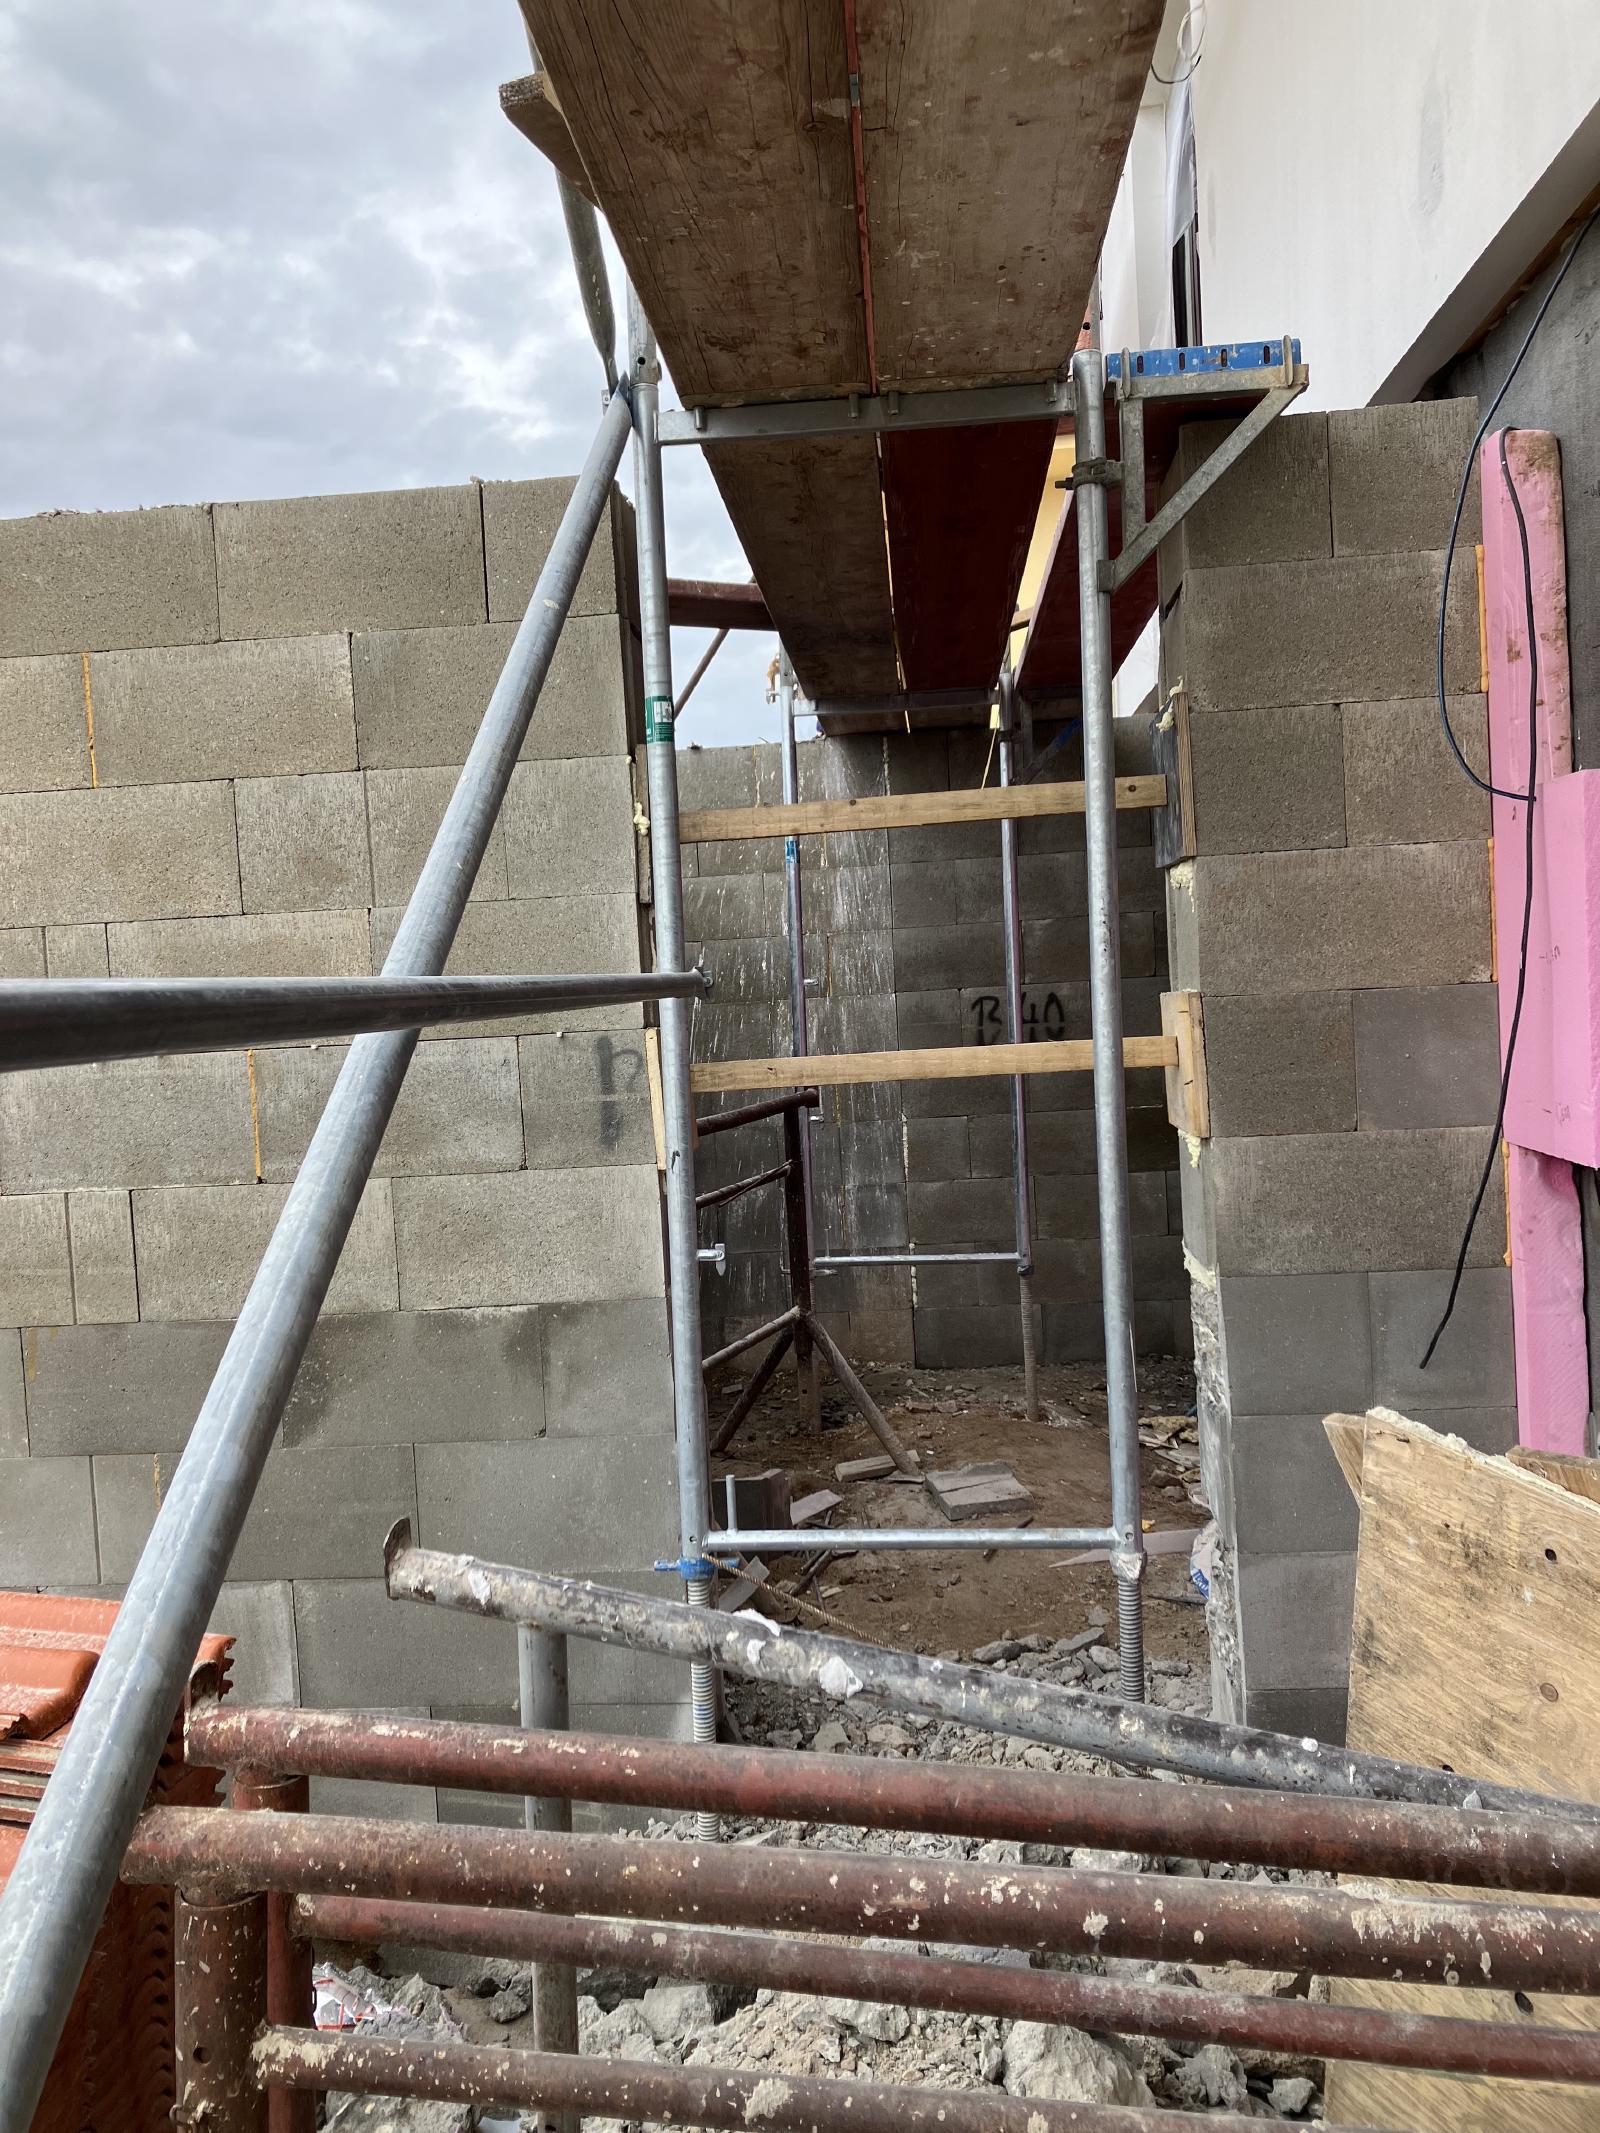
Below, one of the workers is digging a trench that the final section of wall
will be built into, to connect the stairway to the house.
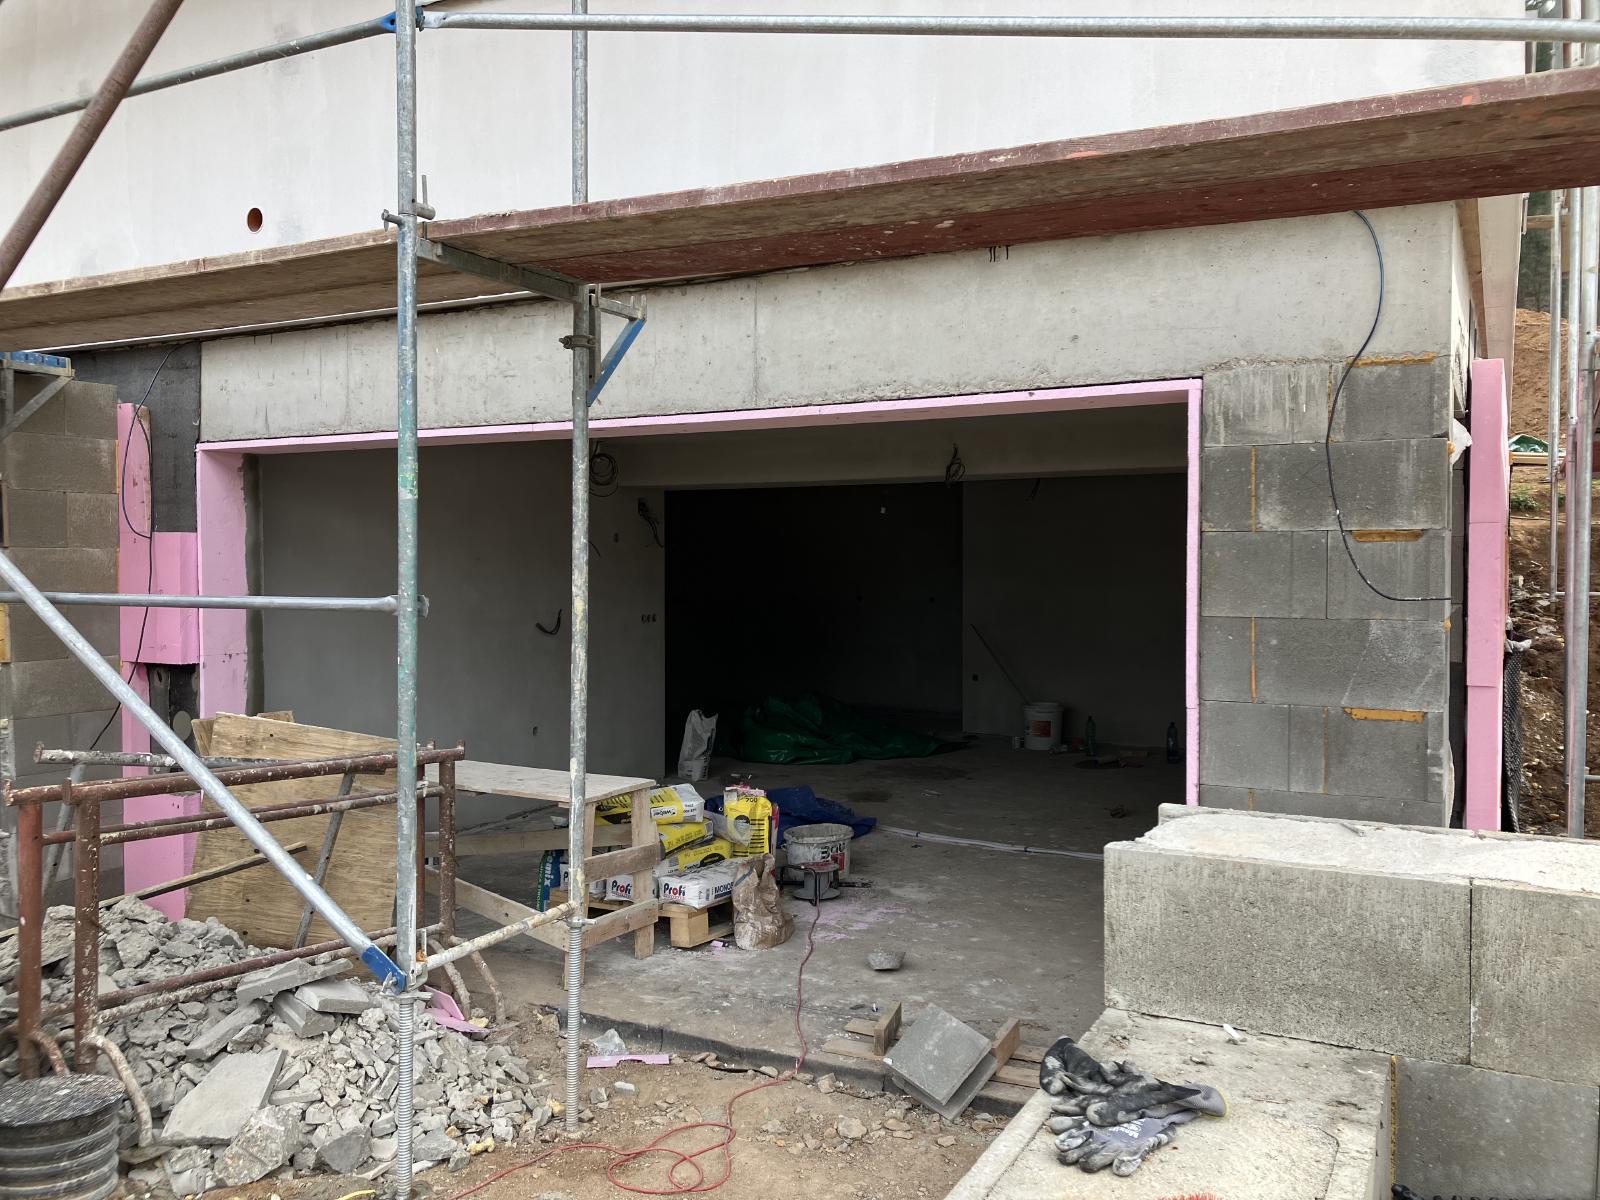
Standing in the “driveway”, you can see the house front door in the upper left
of the photo and the garage door itself on the bottom right (green tarp).
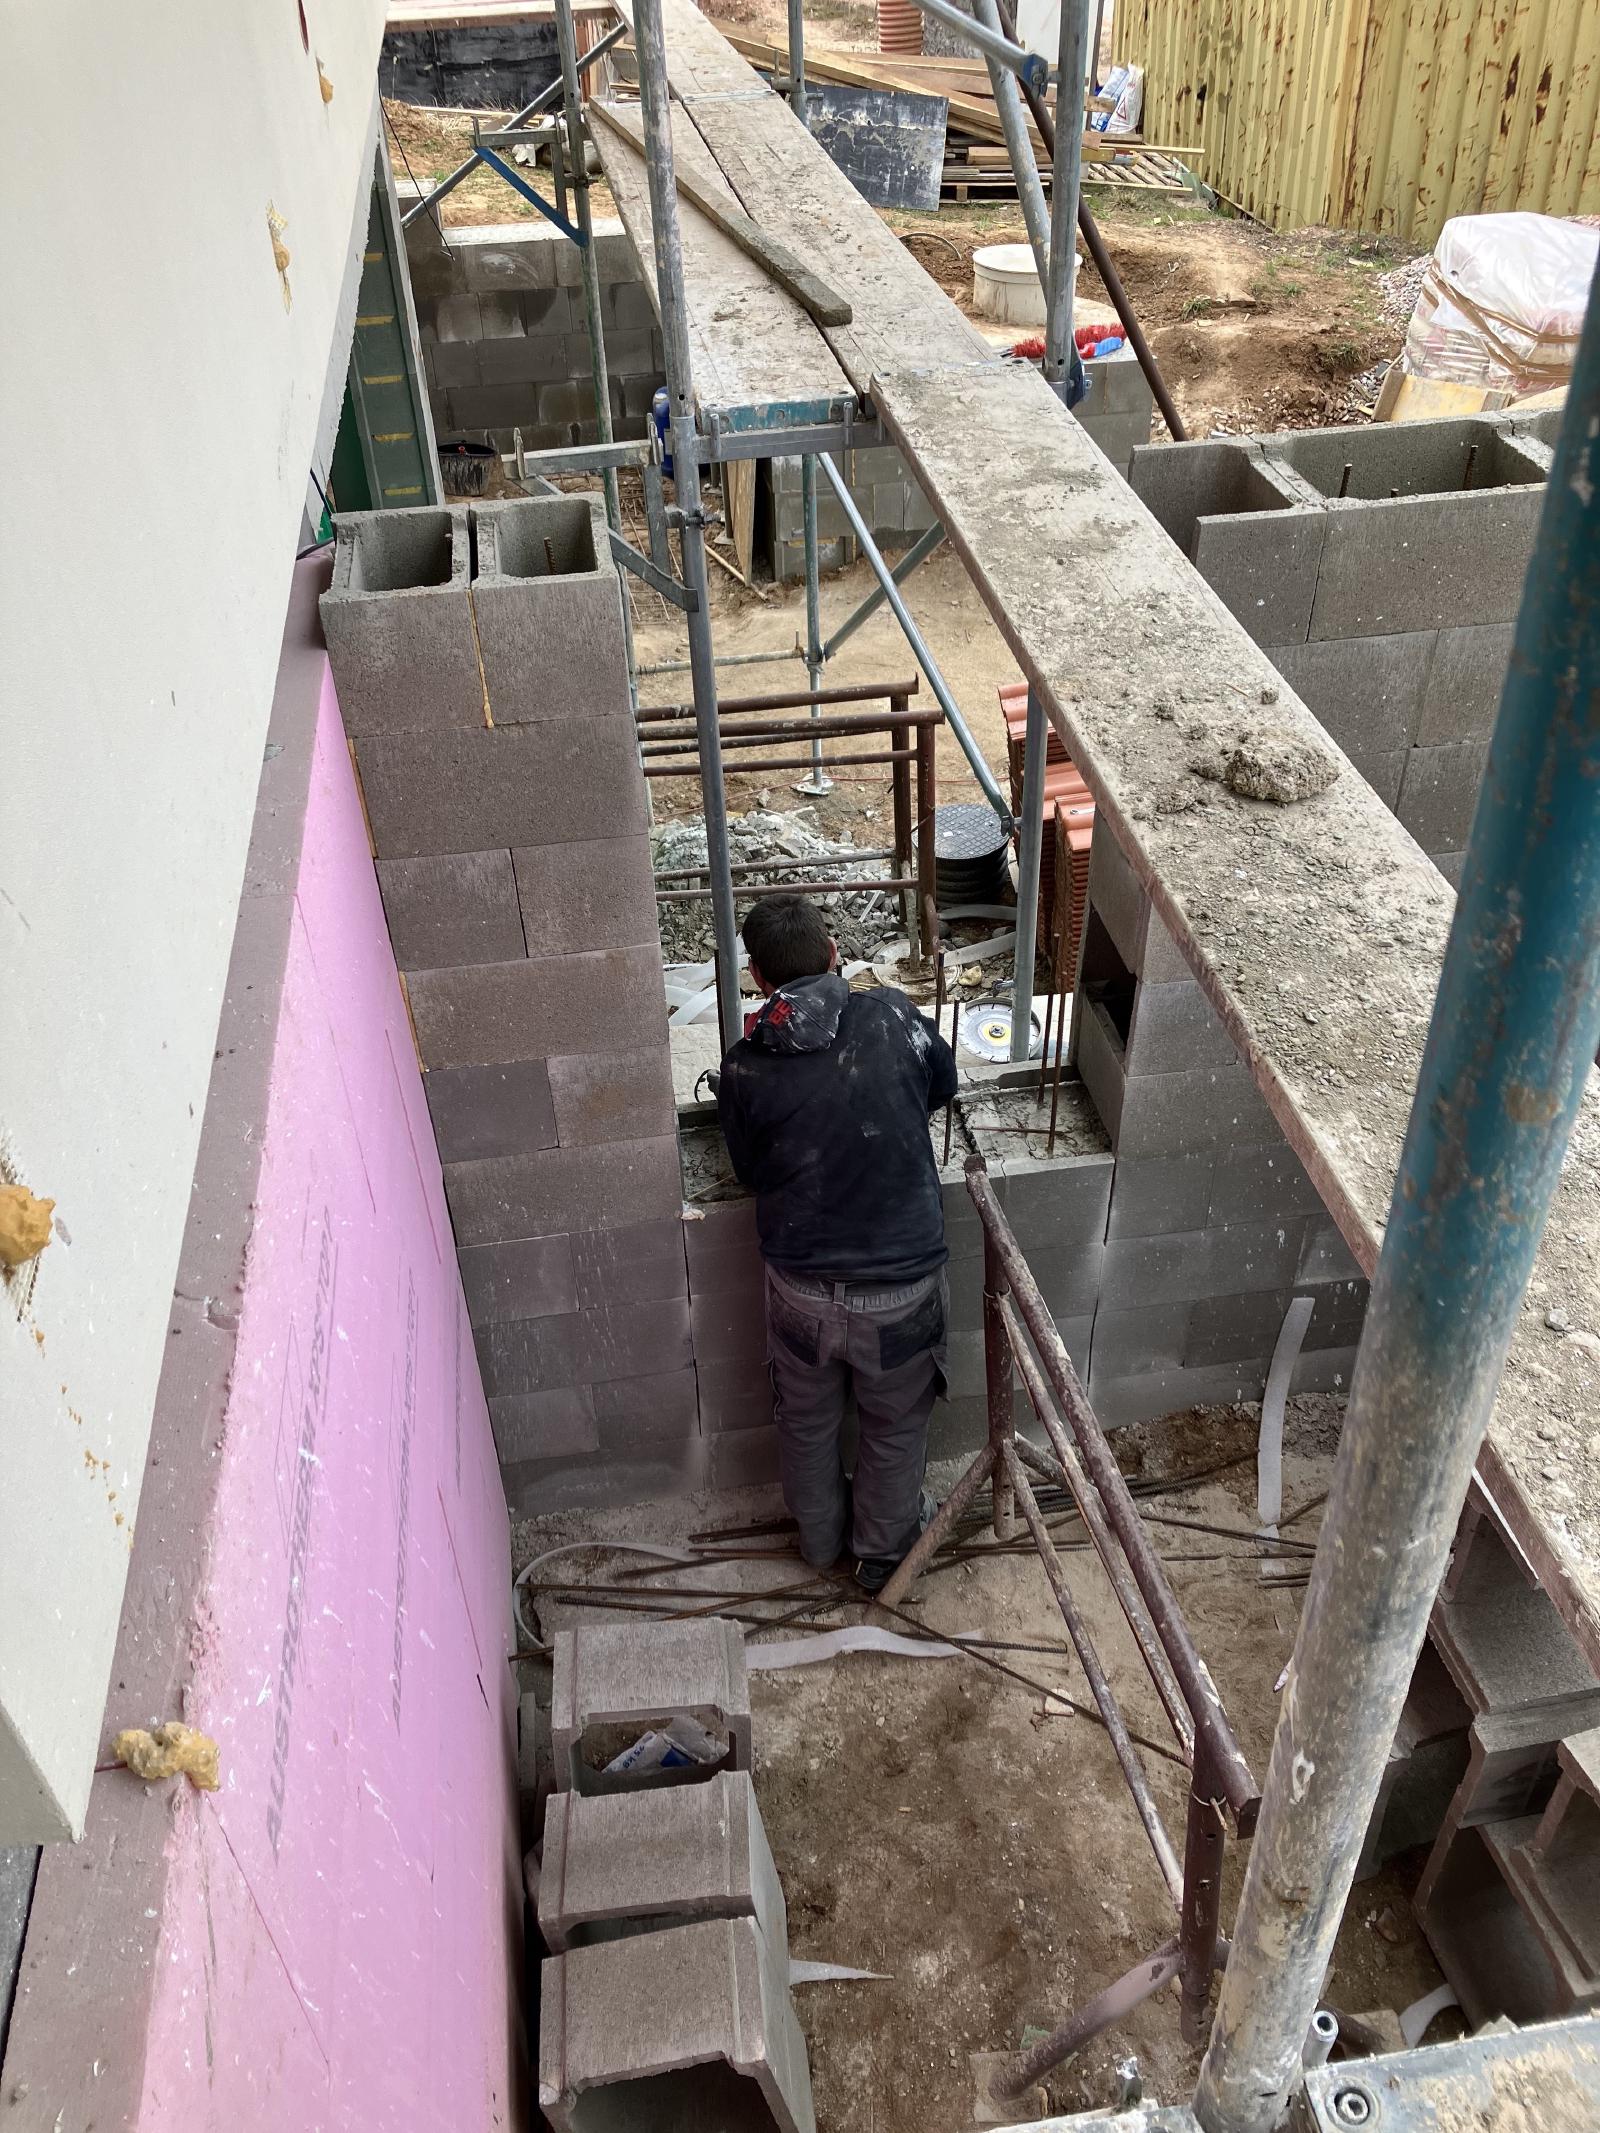
Before we left, the guys were already removing concrete blocks for the new
doorway.
A view into the new space that will be under the stairs.
Standing directly in front of the front door and looking down, you can see the blocks being removed for the doorway. When this room is done, it will be insulated because it is right next to the house and so we have no idea what kind of climate it will have. Once we’re in the house, we’ll plan to have some sort of thermo- and humidi-stat so that we can keep track of the year round temperature and humidity. Depending on conditions, it could be used for anything from gardening storage, fruit/vegetable storage or a wine cellar. Ultimately, the conditions will dictate what we’ll use it for.
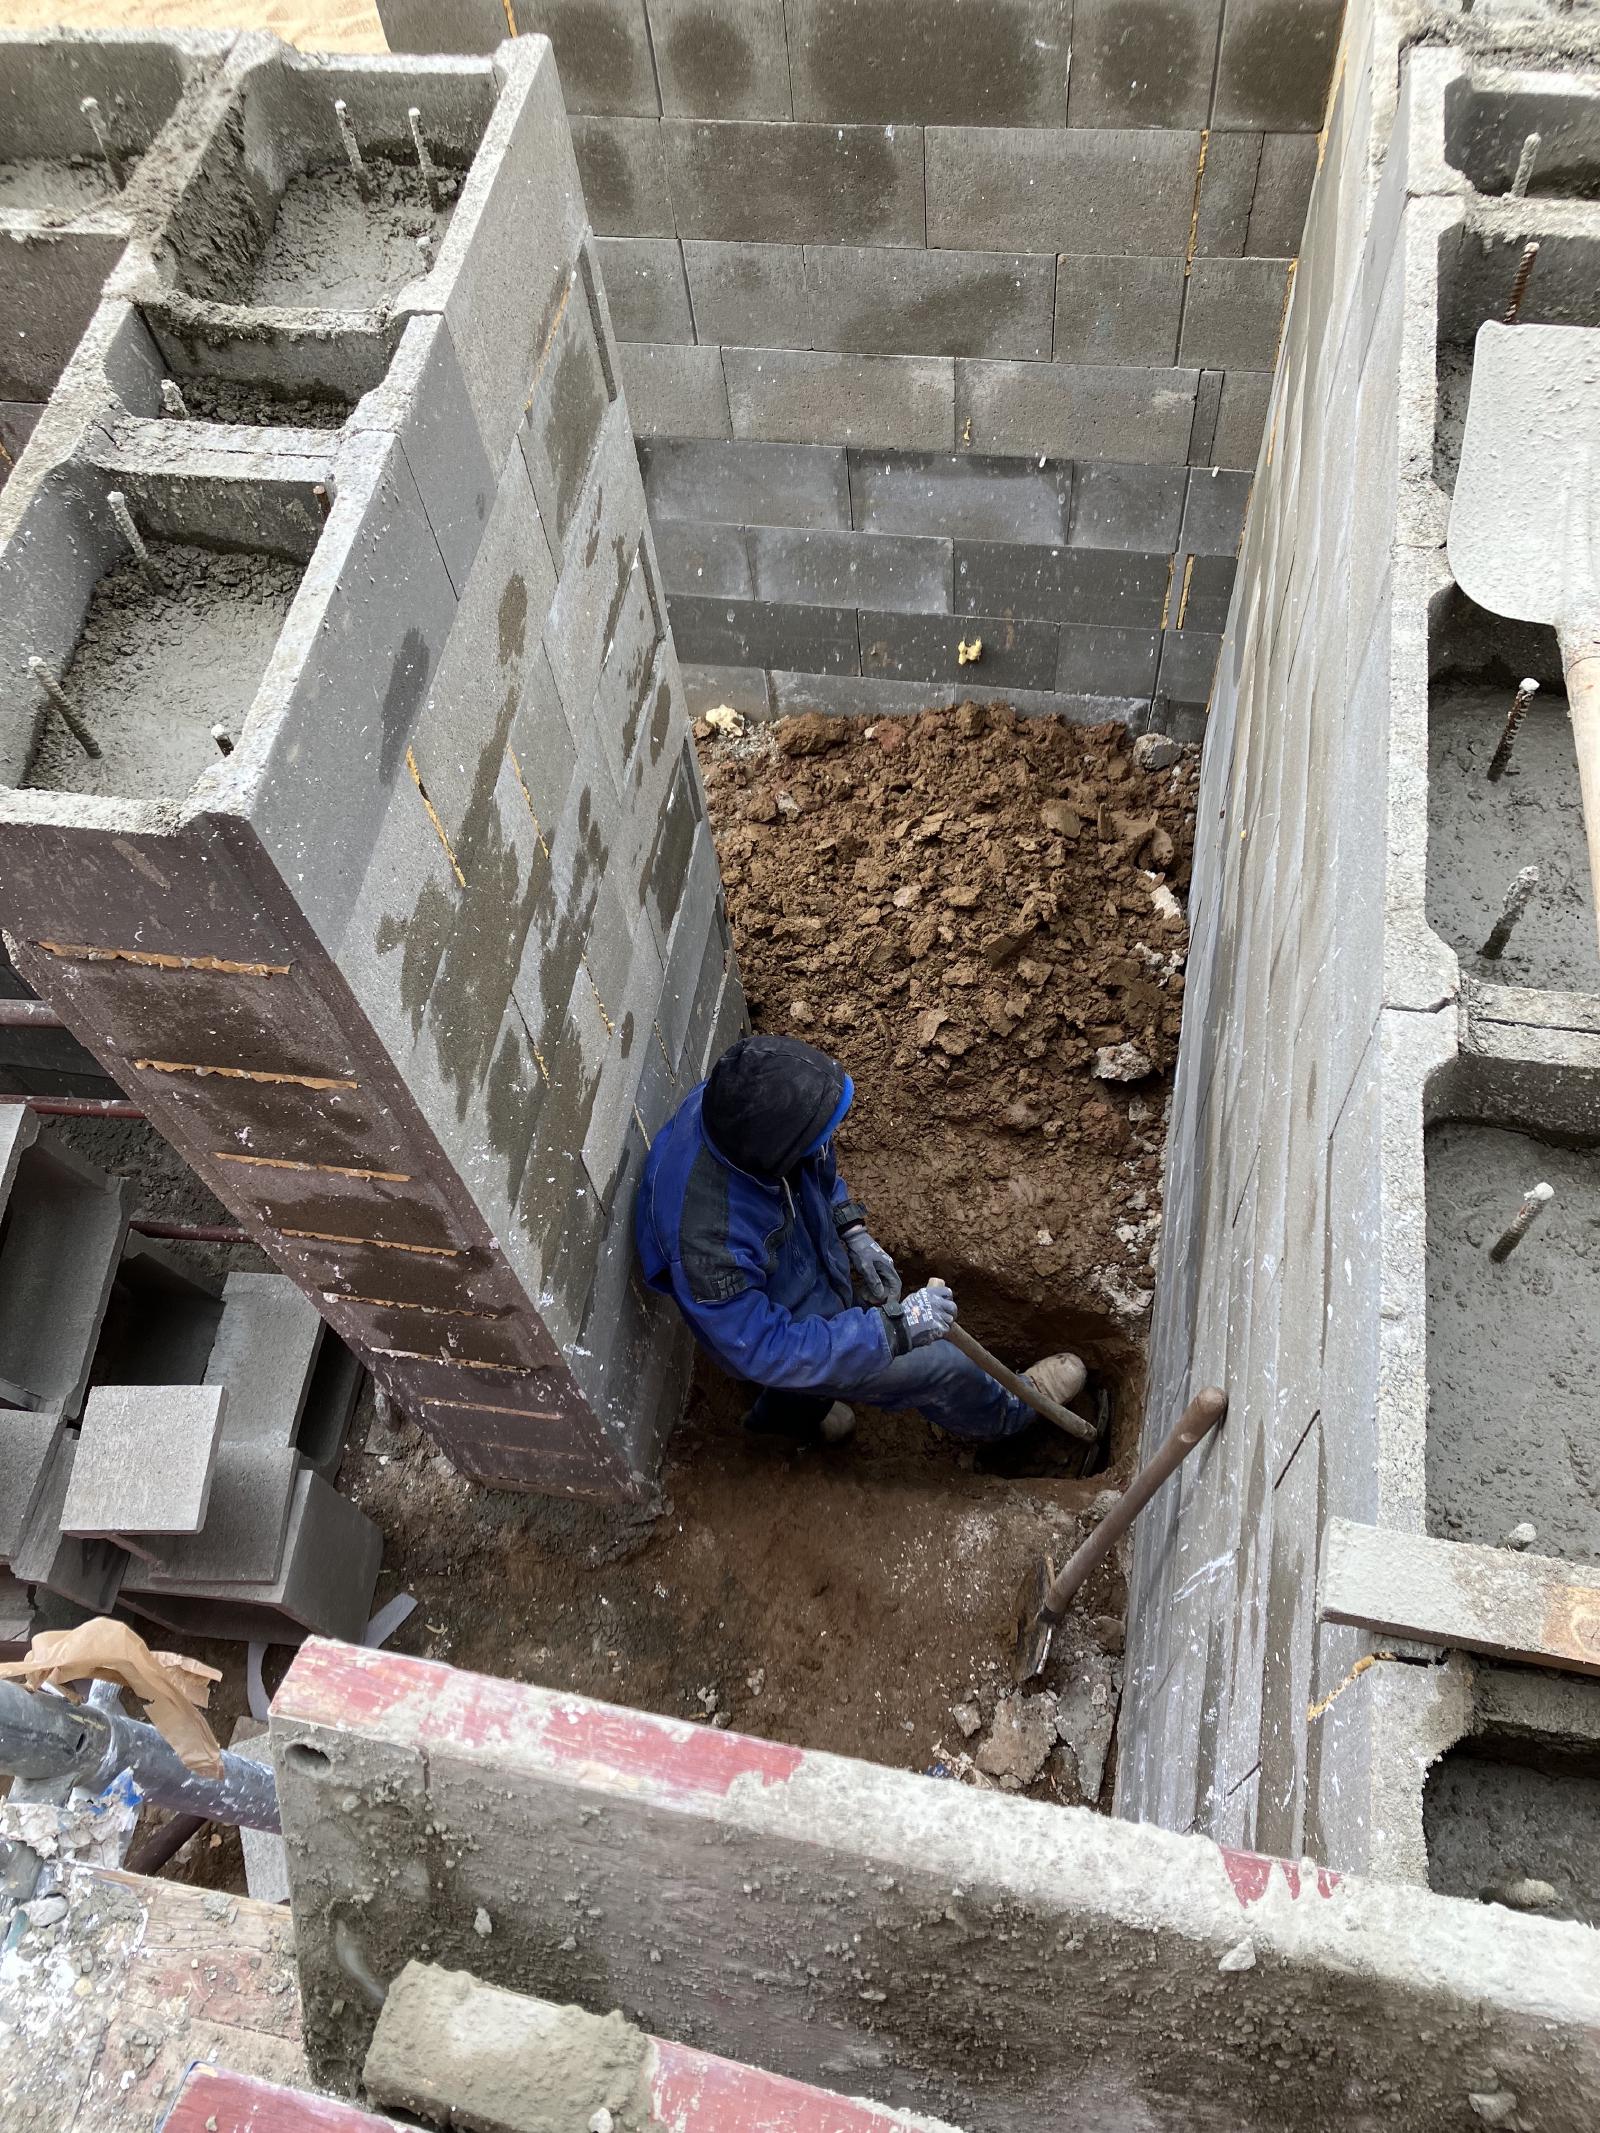
Still standing in front of the front door, here we are looking down where the
stairs will be. The workers are digging the trench for the final wall for
the storage room. Behind that, underneath the stairs will be filled in with
dirt.
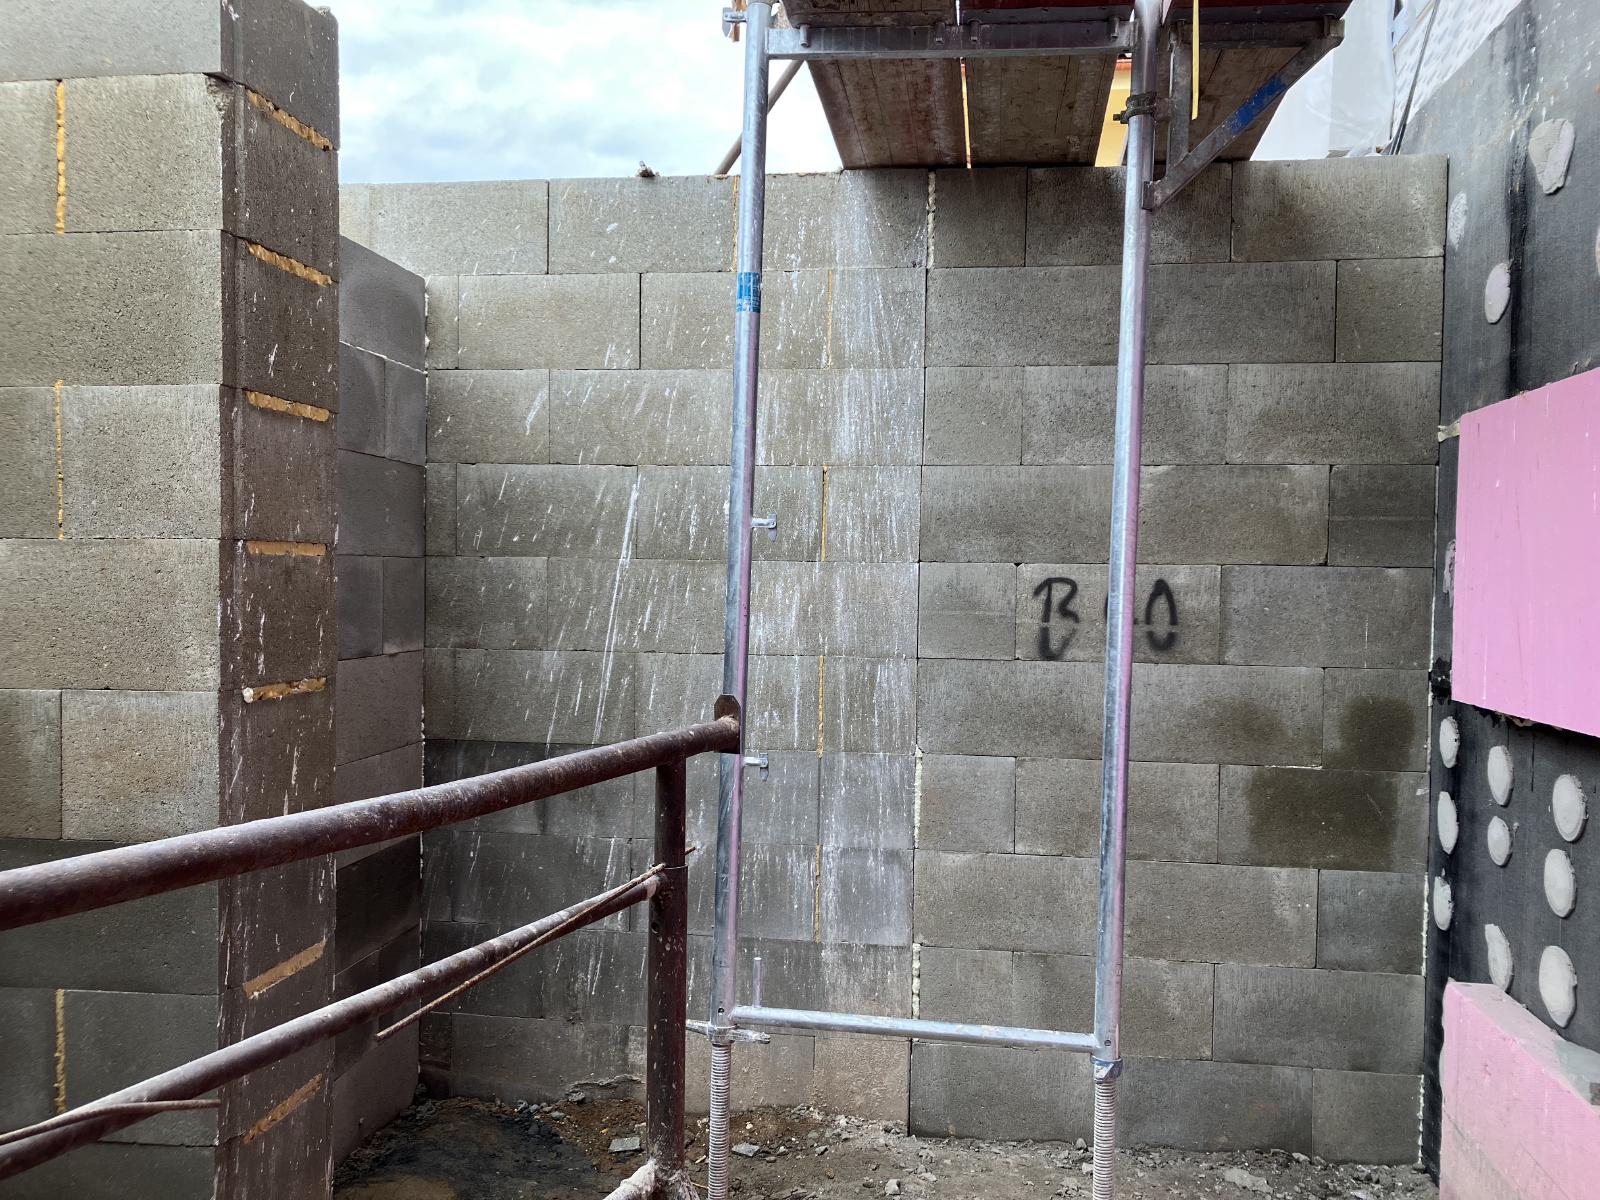
And the new wall is done.
This is standing in the entryway to the storage room. That new wall seen in
the above photos is complete, as is the gap between stairwell and house. This
will be our final storage room.
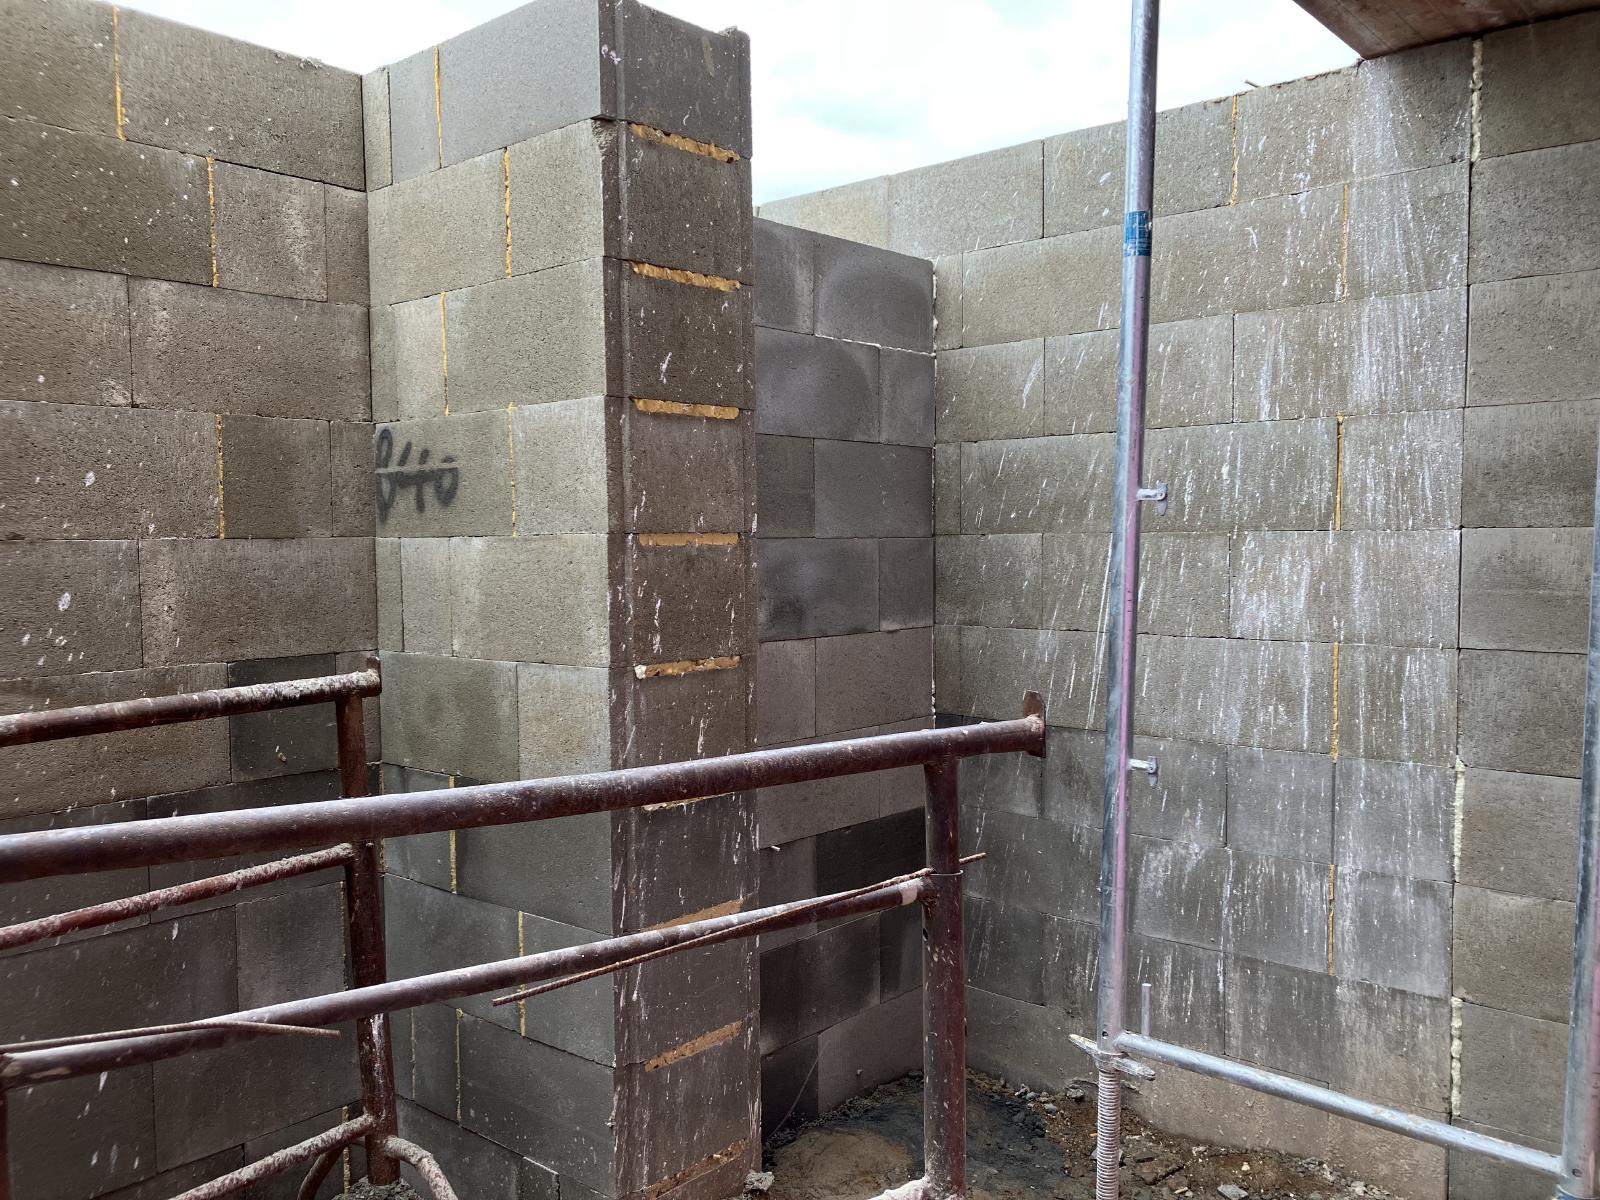
Standing in the front corner, looking out the door to the driveway.
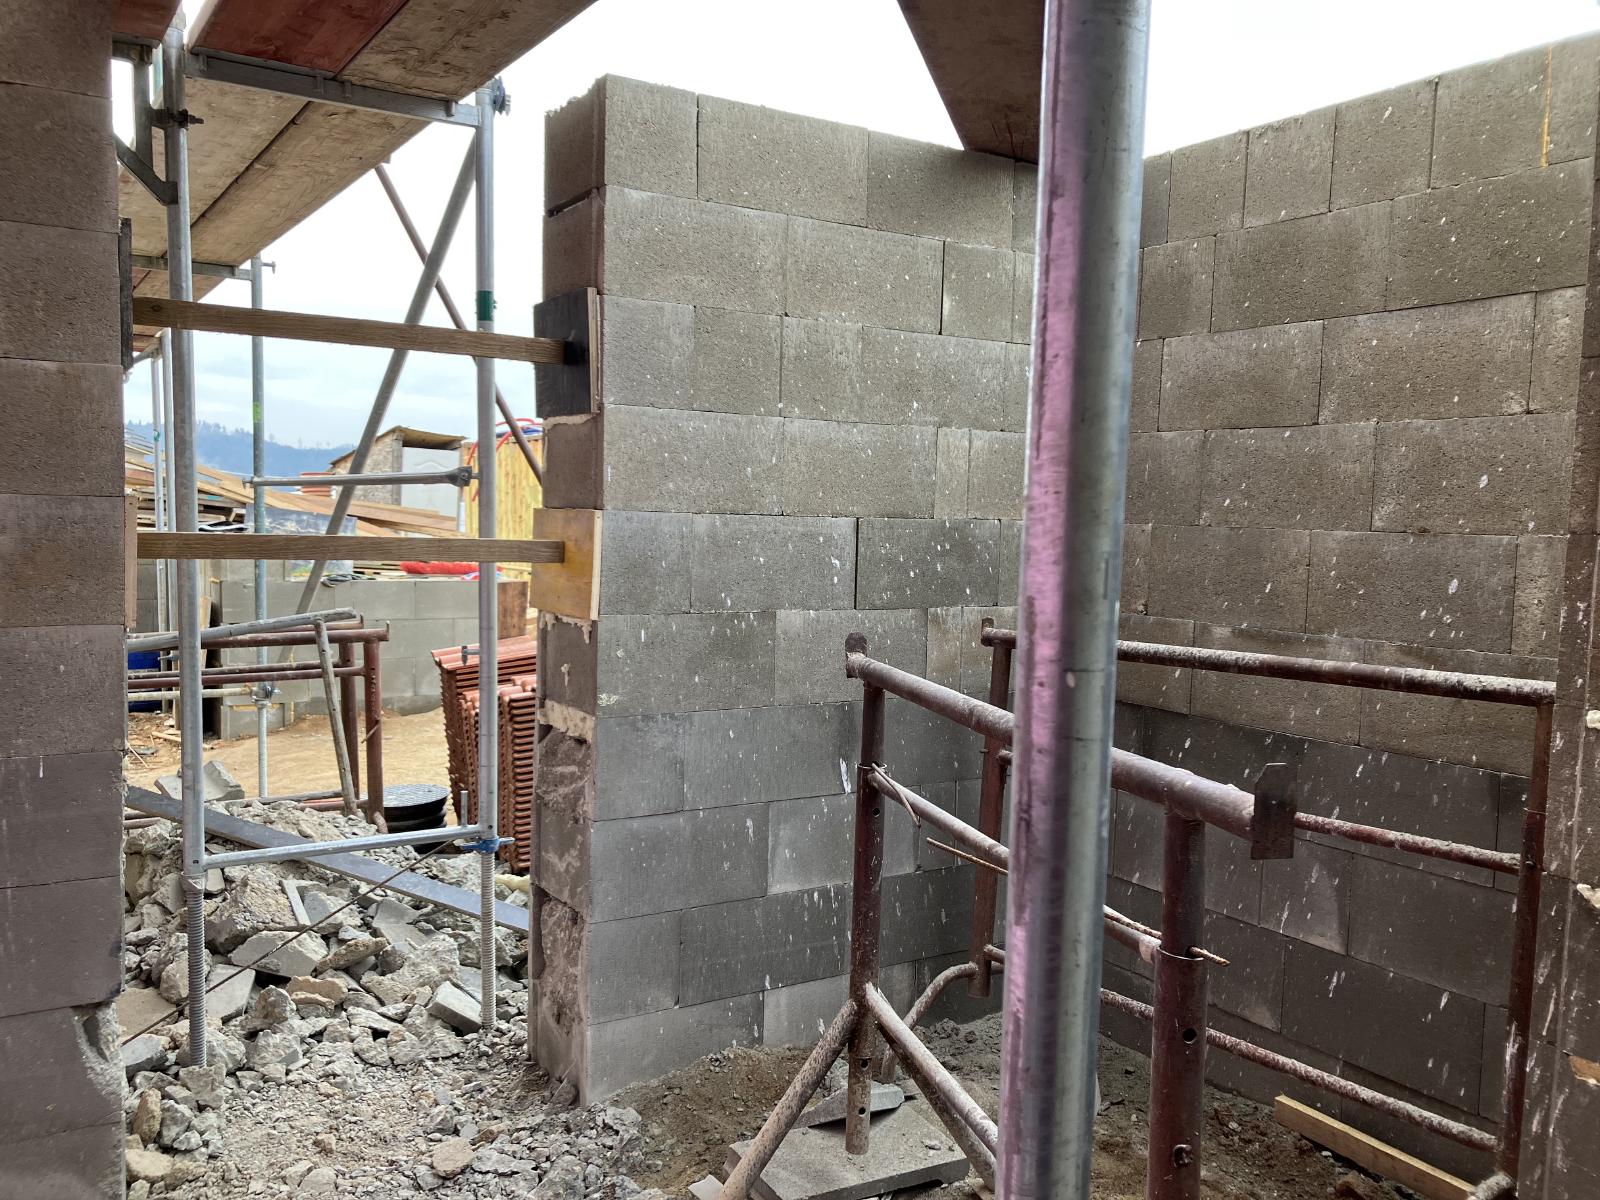
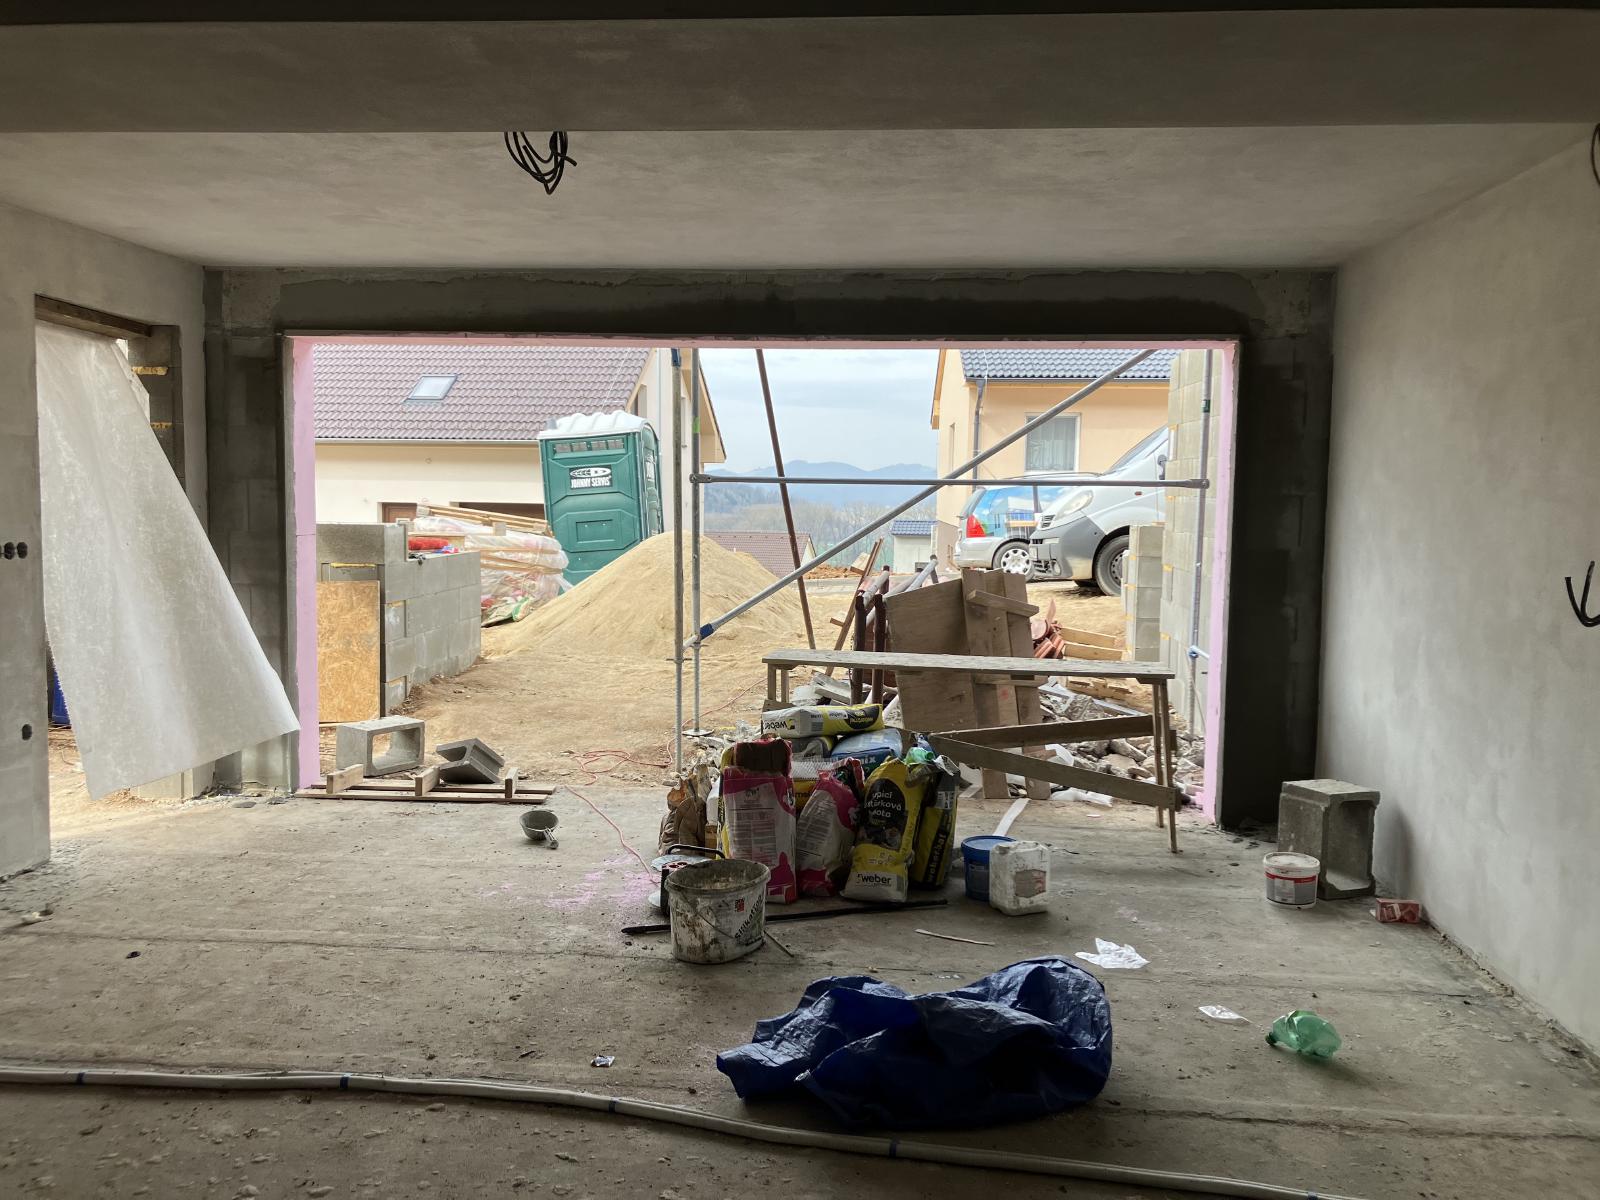
Garage
The tarp is finally gone and work continues on the area around the garage door.
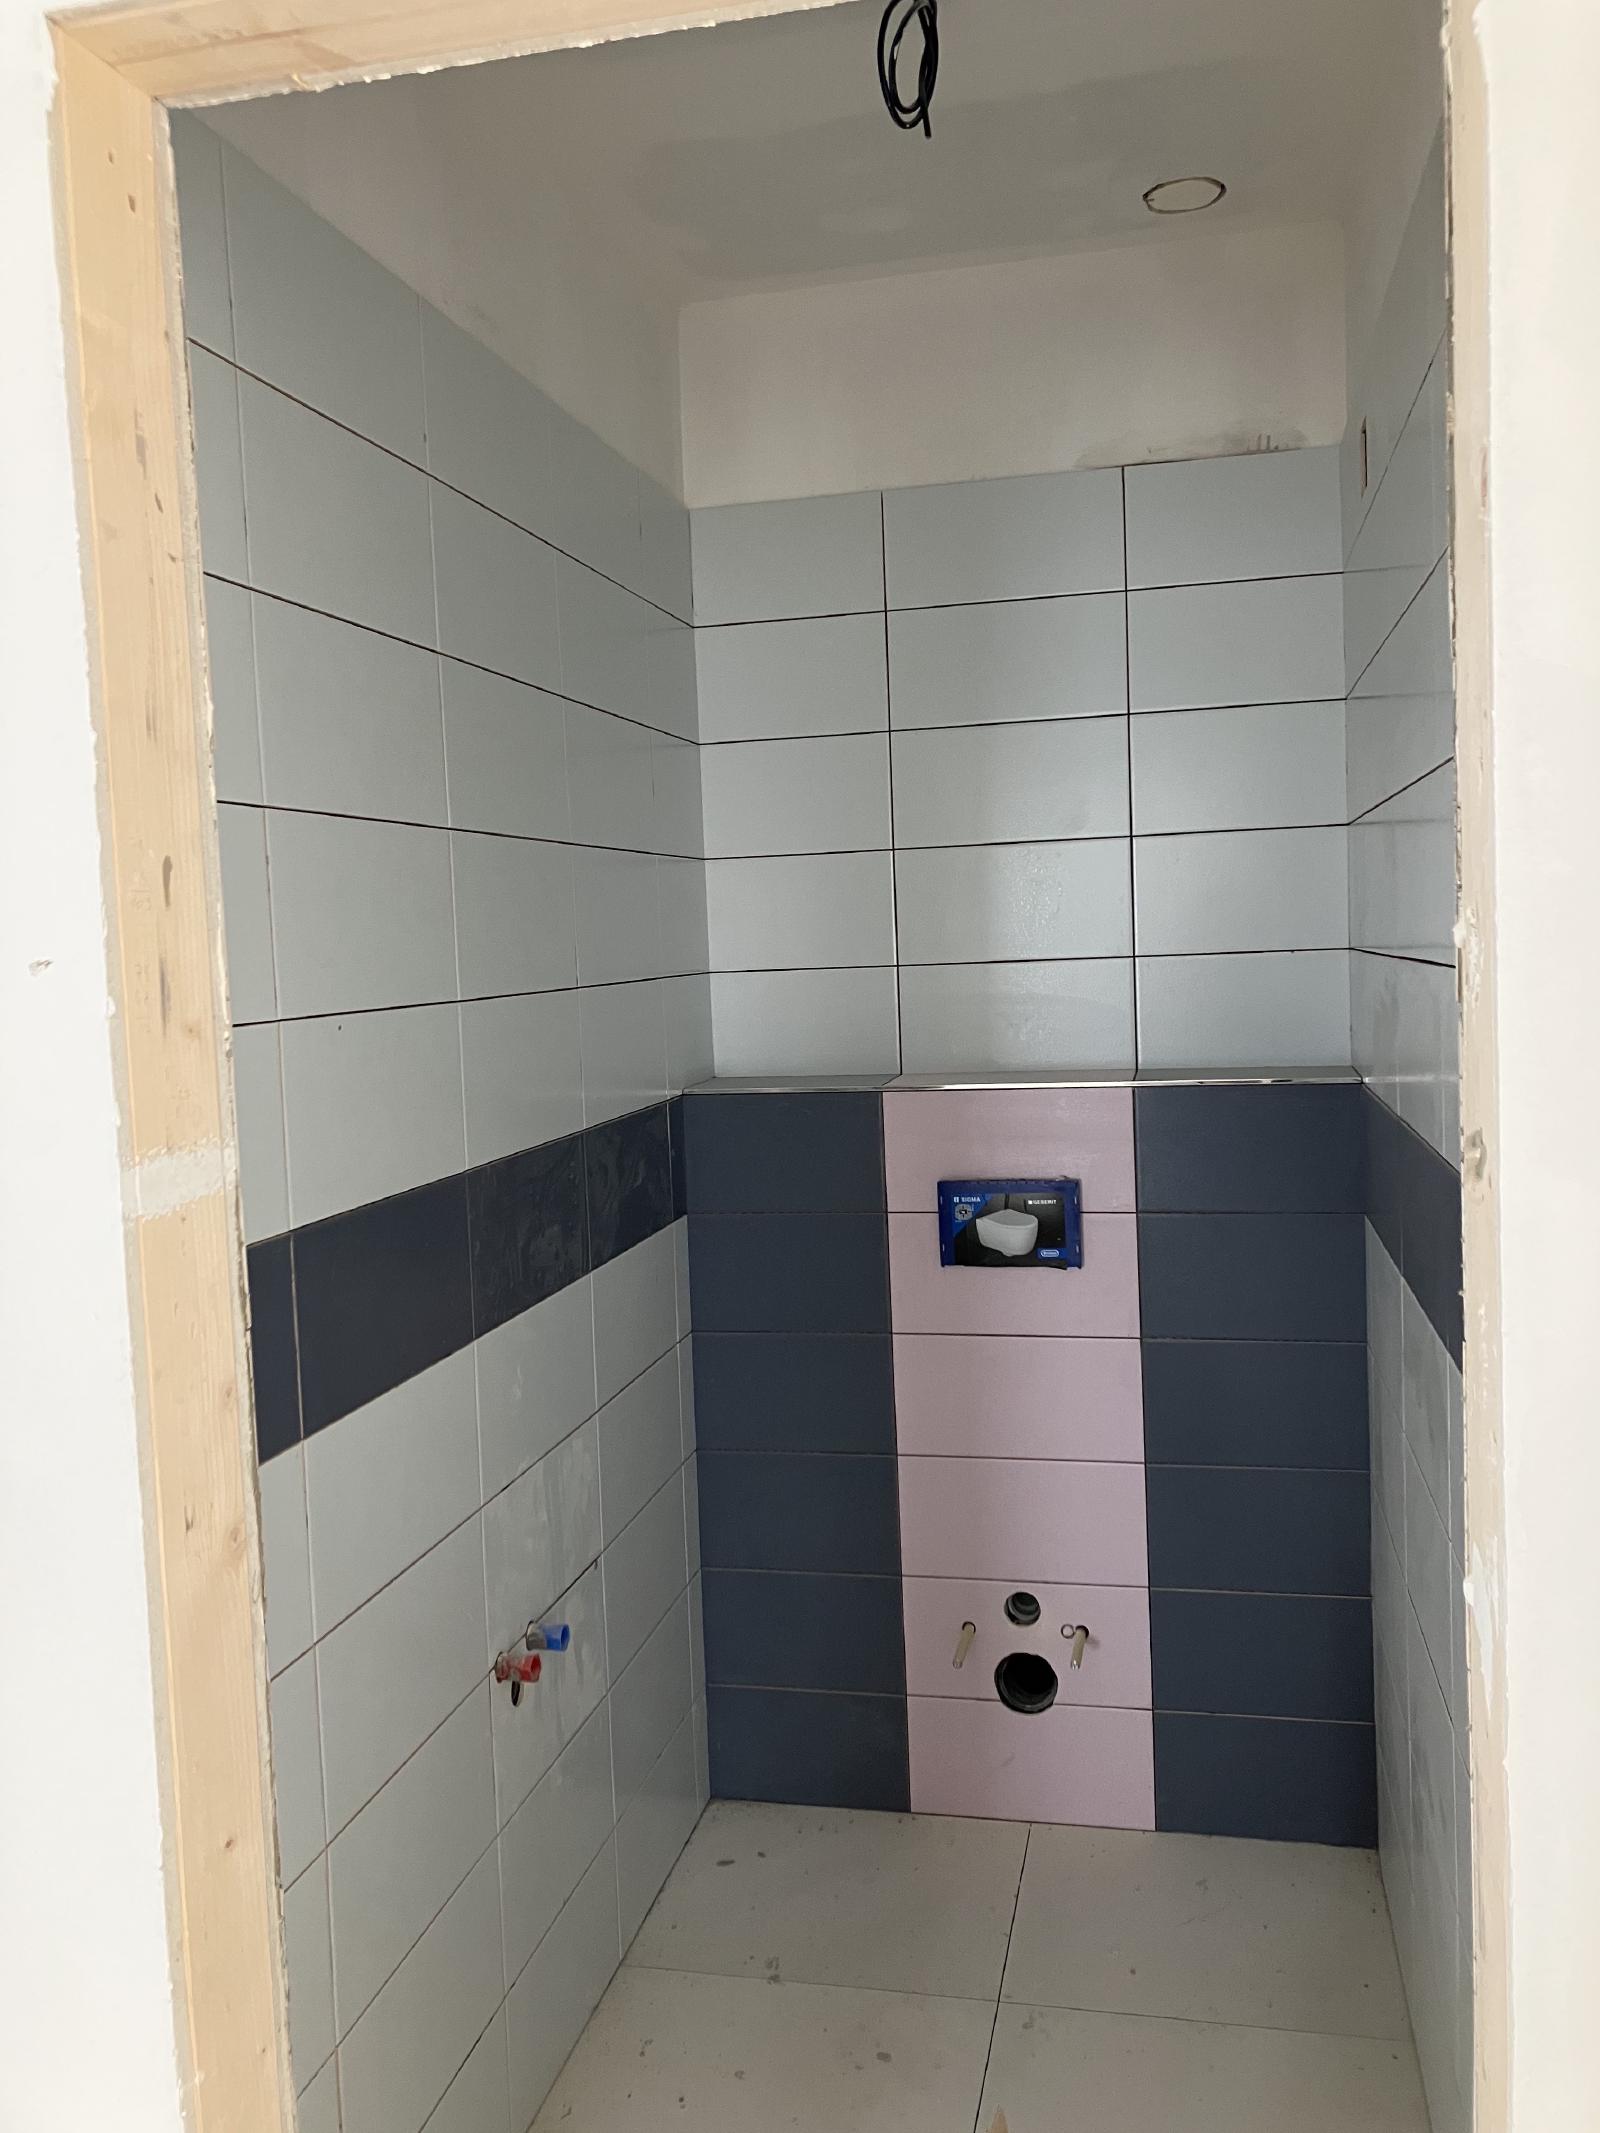
Upstairs Toilet
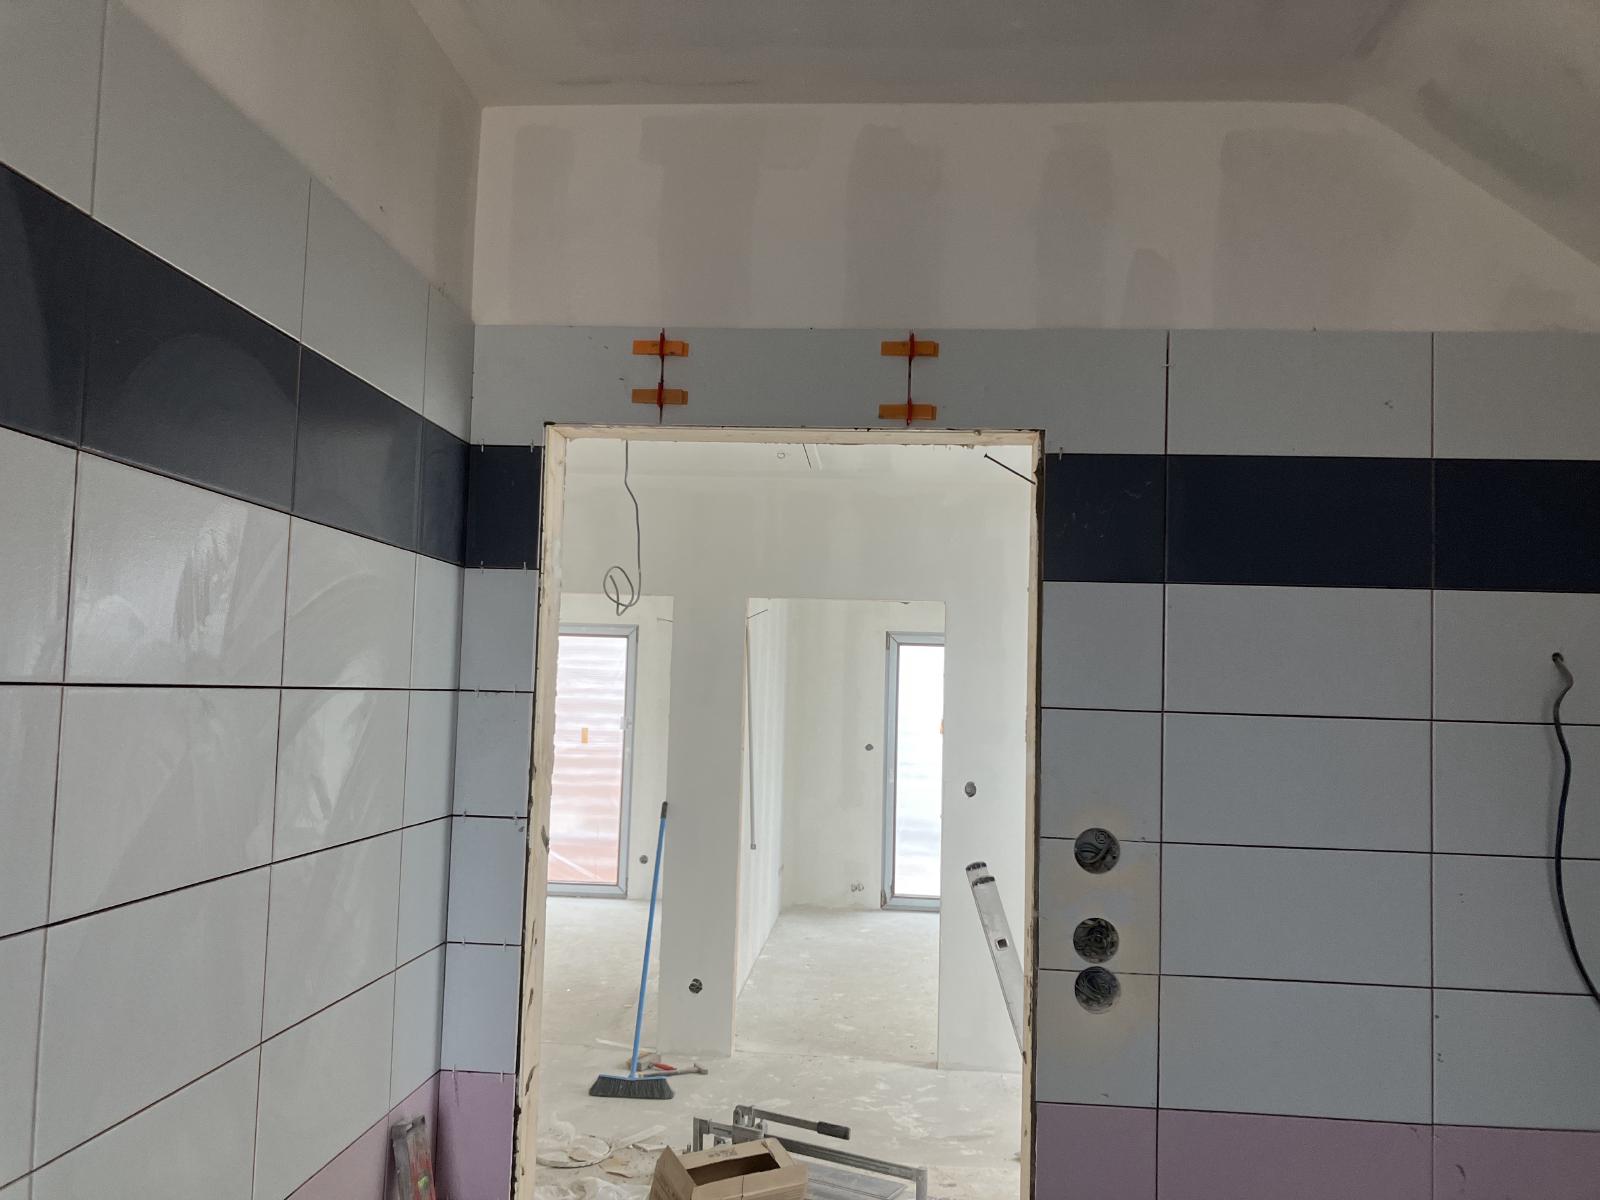
The tiles are done in the upstairs toilet. All that’s left is grouting.
Upstairs Bathroom
We came around the corner and discovered a bathroom! The bathtub drain was
discovered and so the bathtub was able to be installed.
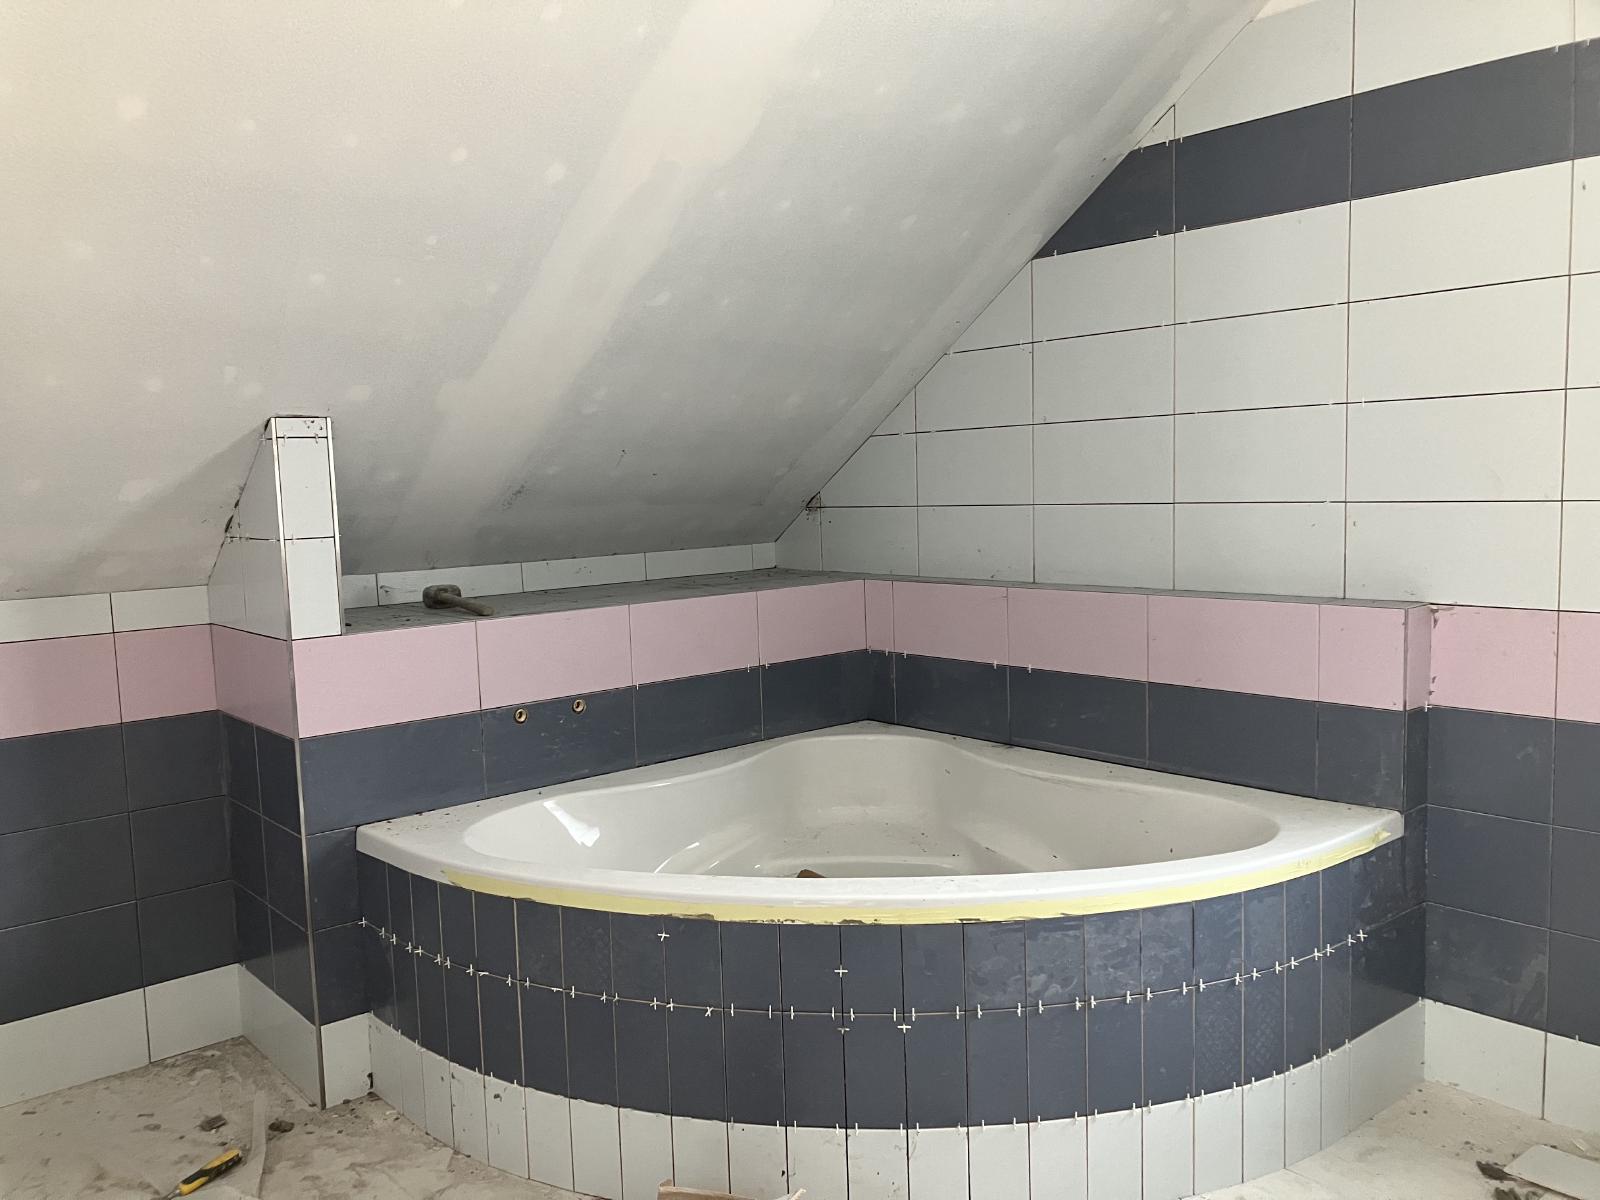
We have a nice big bathtub and as you can see, we opted to have a shelf
installed around the back of the tub for things like soaps, jars of bath salts
and candles.
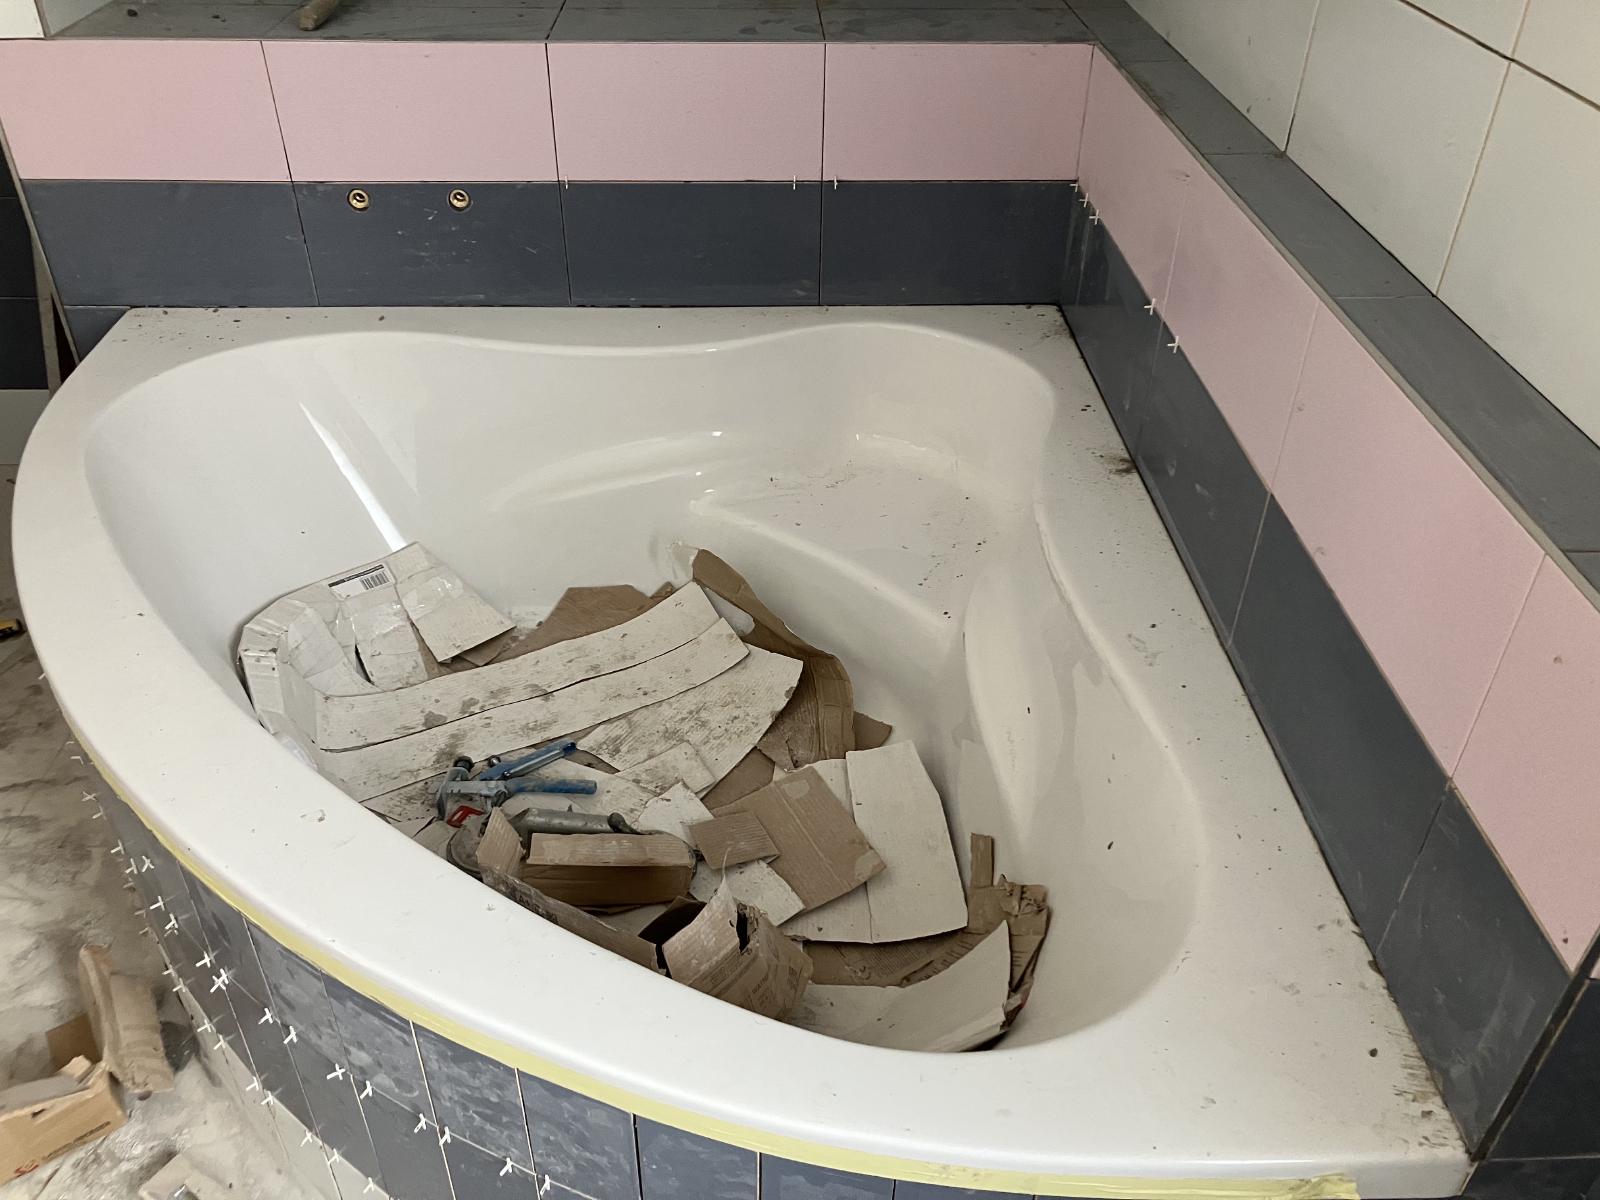
While we were there, the tile guy pulled out his level and showed us that he
installed the tiles with the slightest slope so that any water on the shelf
would run down toward the bath.
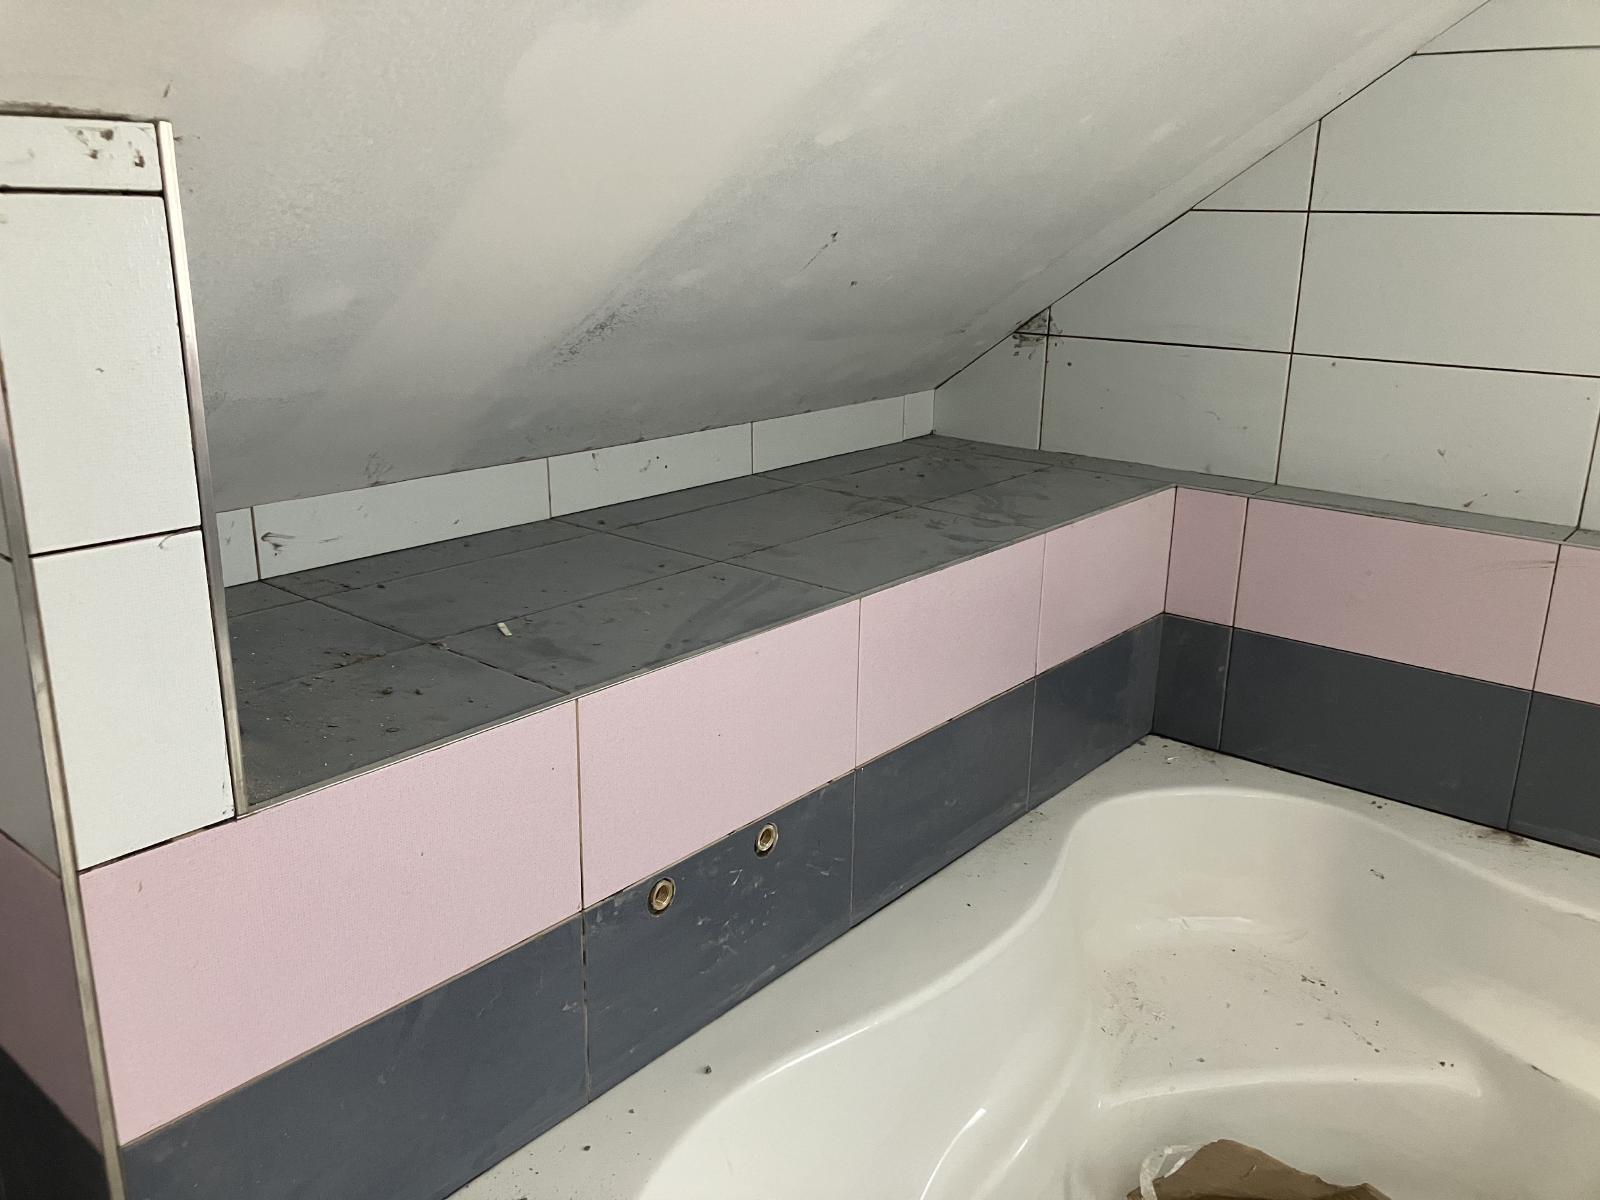
Later, this corner below will have either shelves or drawers built in for extra
storage, probably for things like bath towels. The original plan had the wall
behind the bathtub continuing to the wall but we hated to waste the space and
so instead opted to keep it open as is and include additional storage space.
Another view of the corner where the shelves or drawers will go. In the very
front is the wire for the vanity lights and the plumbing connectors for the
sinks.
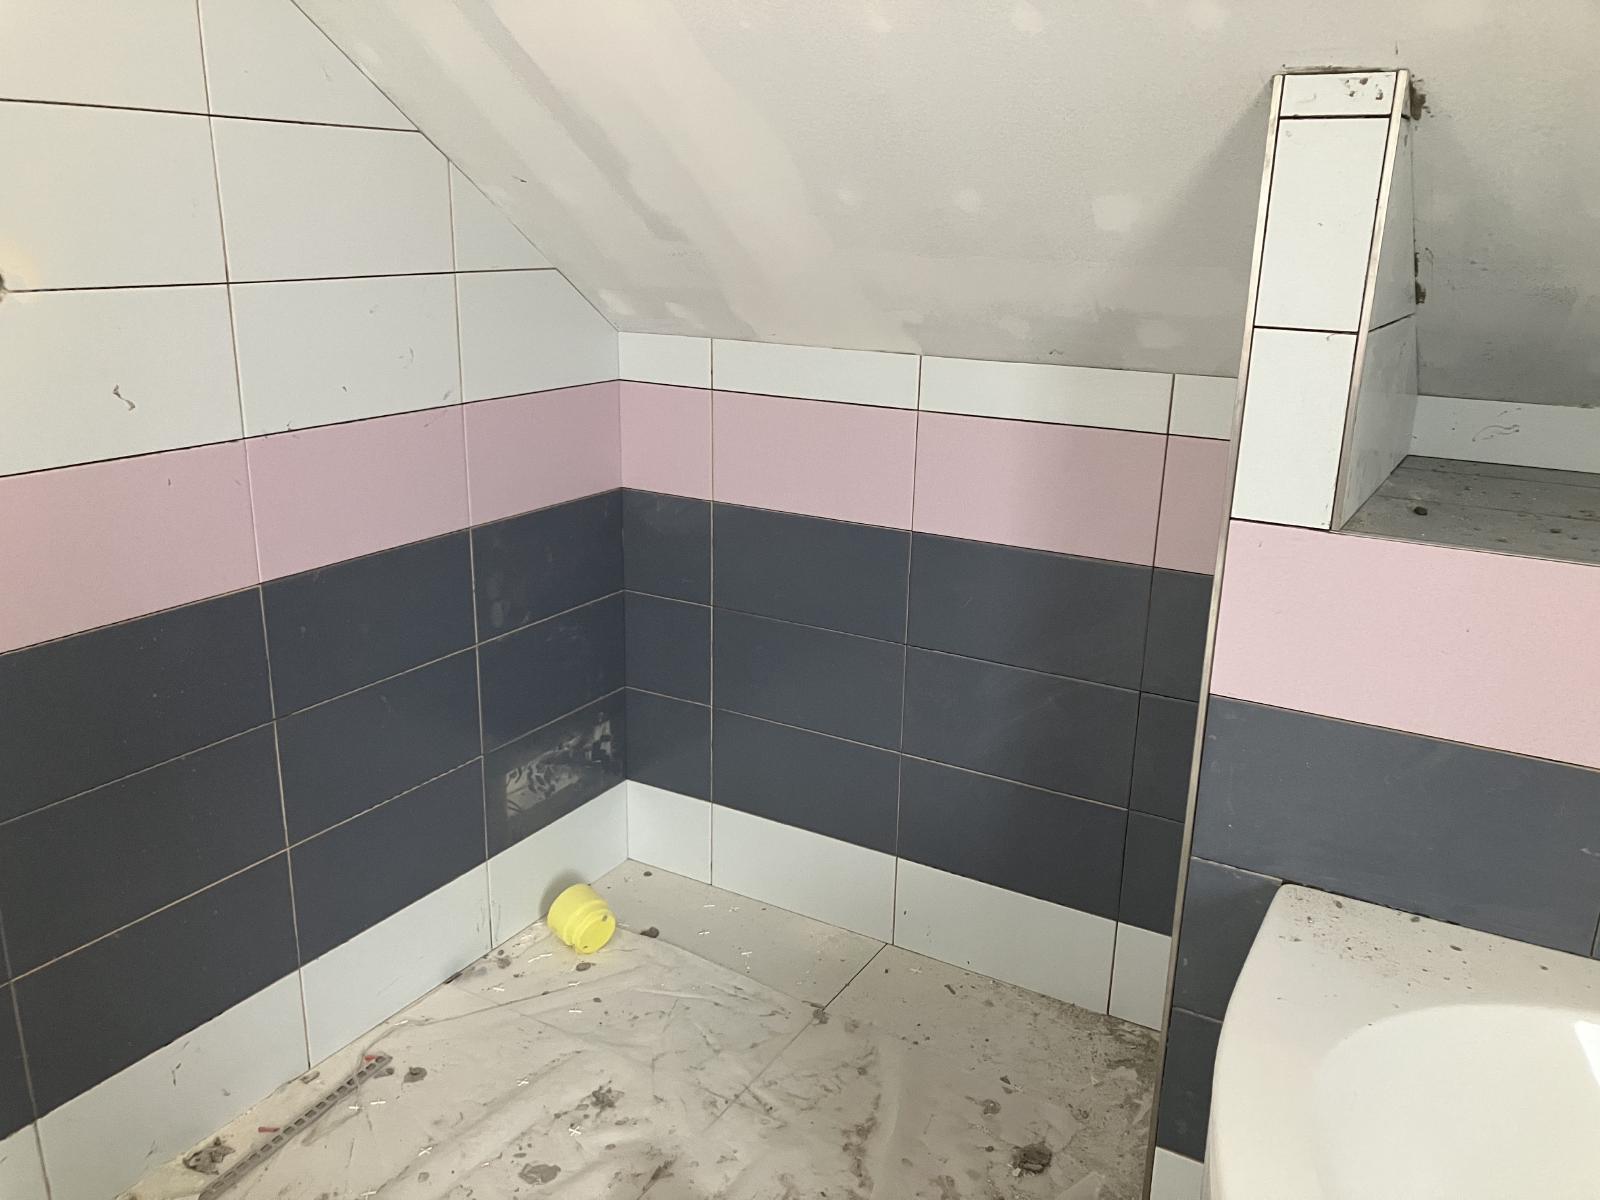
The sink wall.
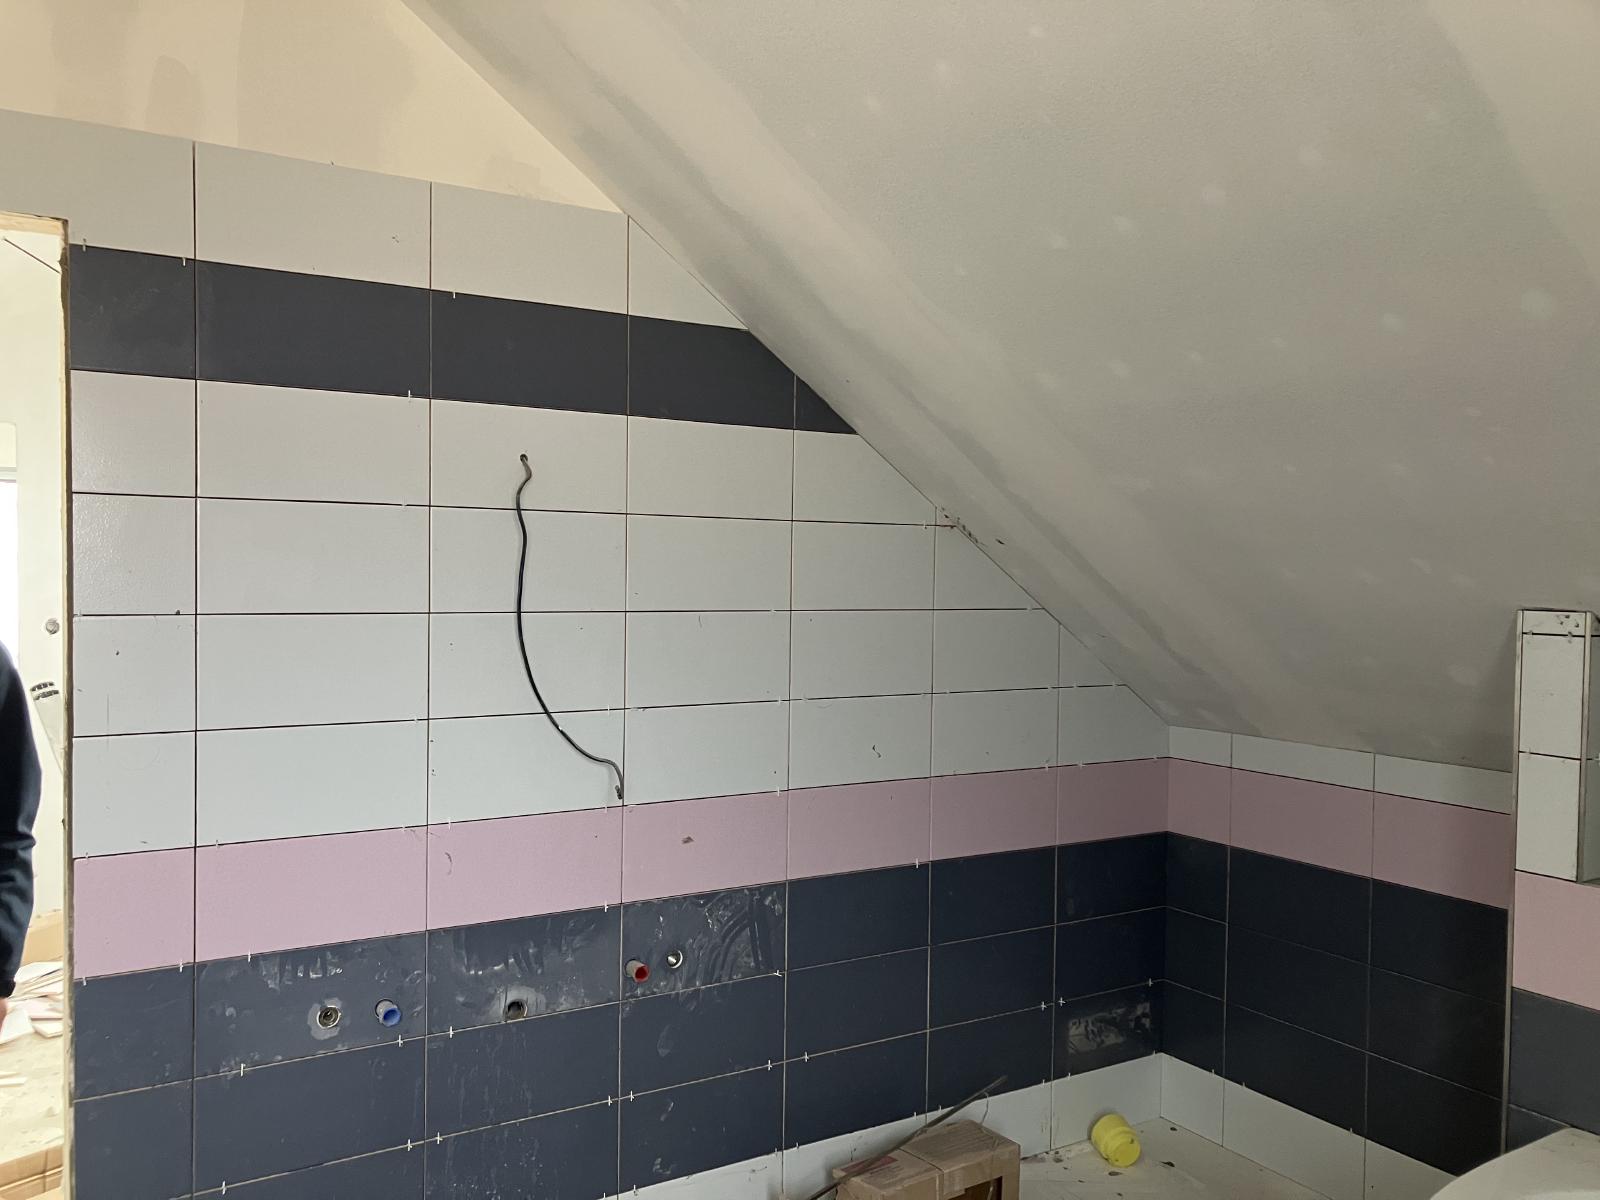
Waiting for the very last tile. The wall to the left will have a
radiator and hooks and towel bars for towels. Locations for all of that is
to be determined….
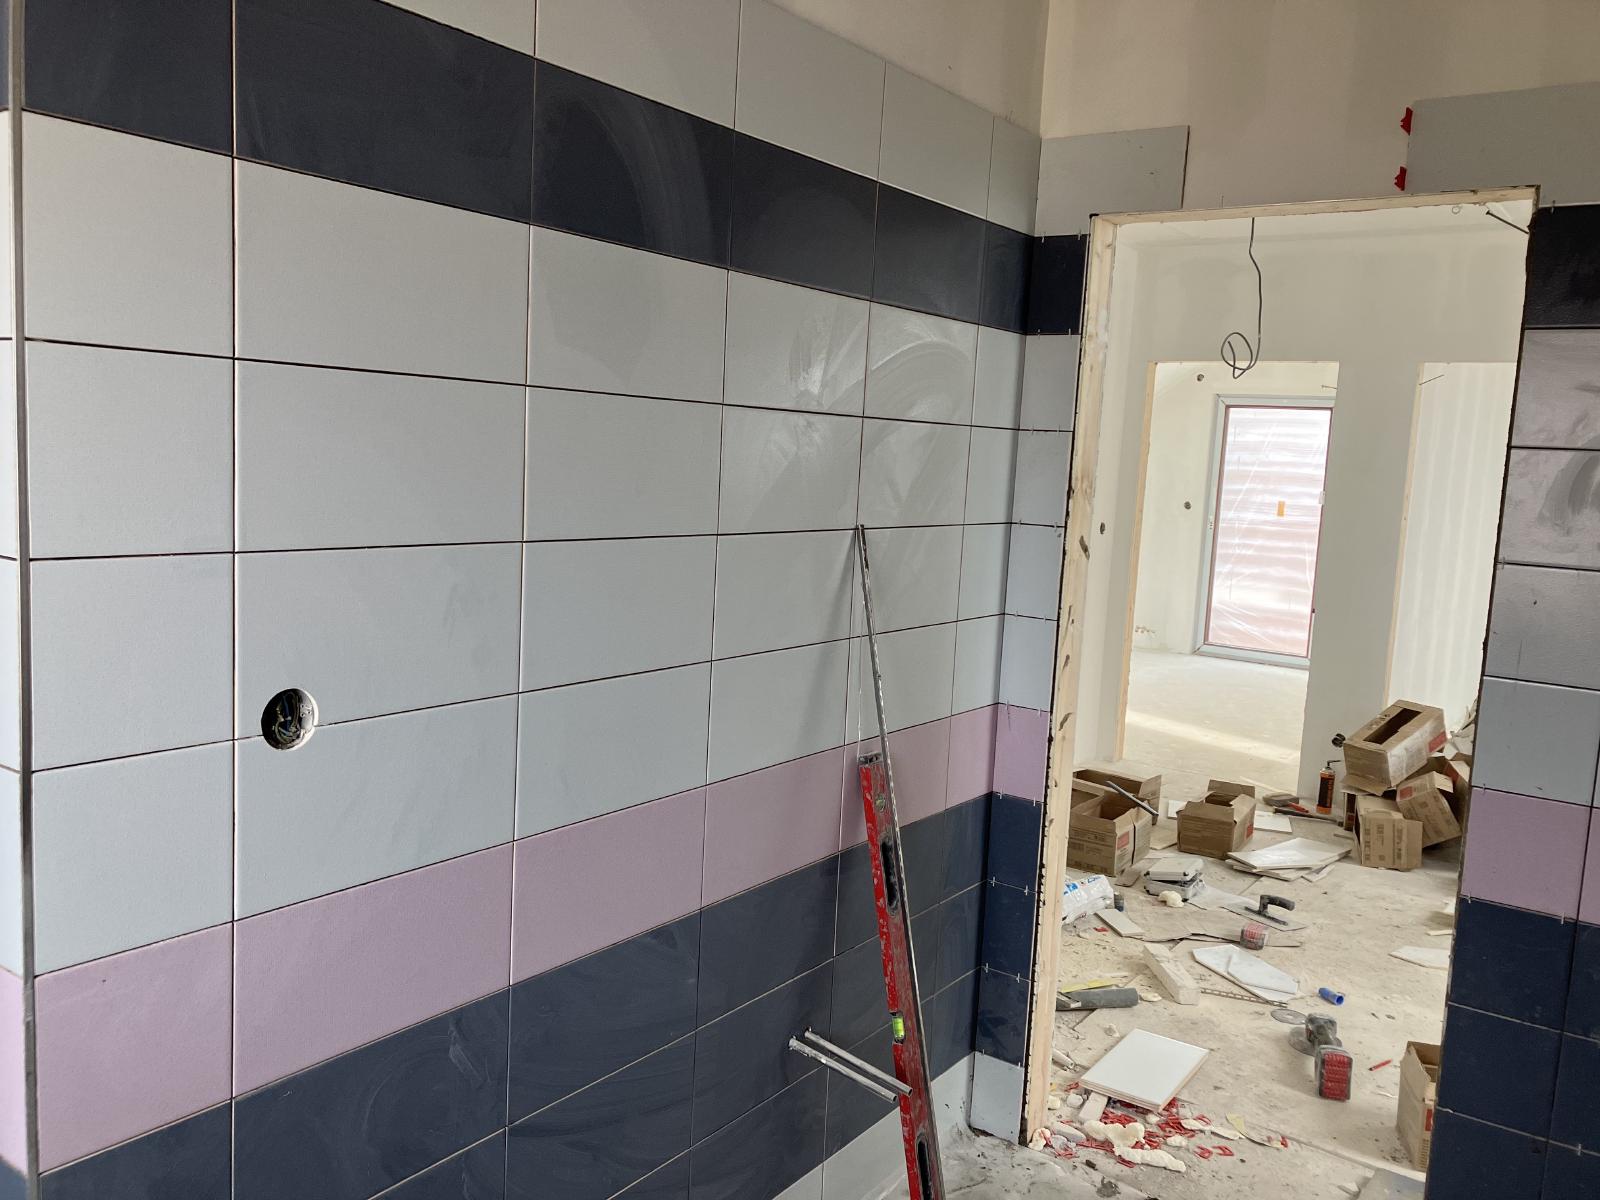
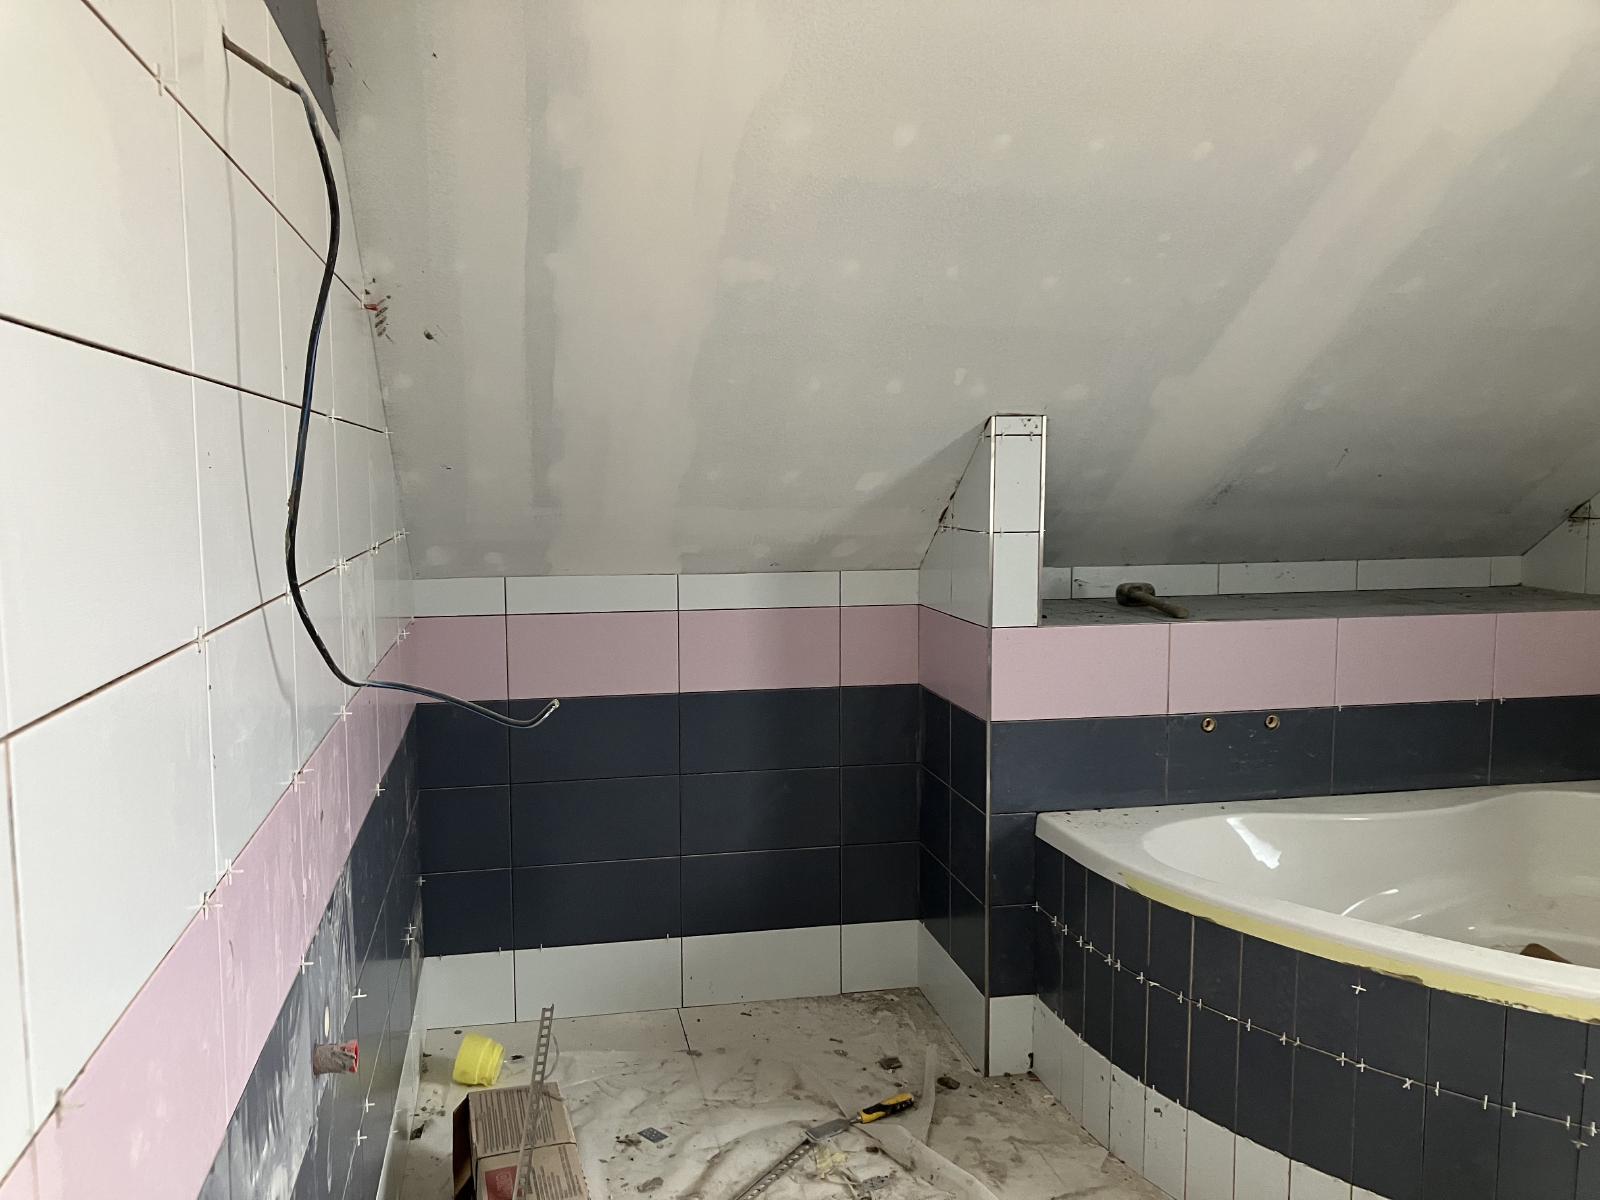
The final tile is installed.
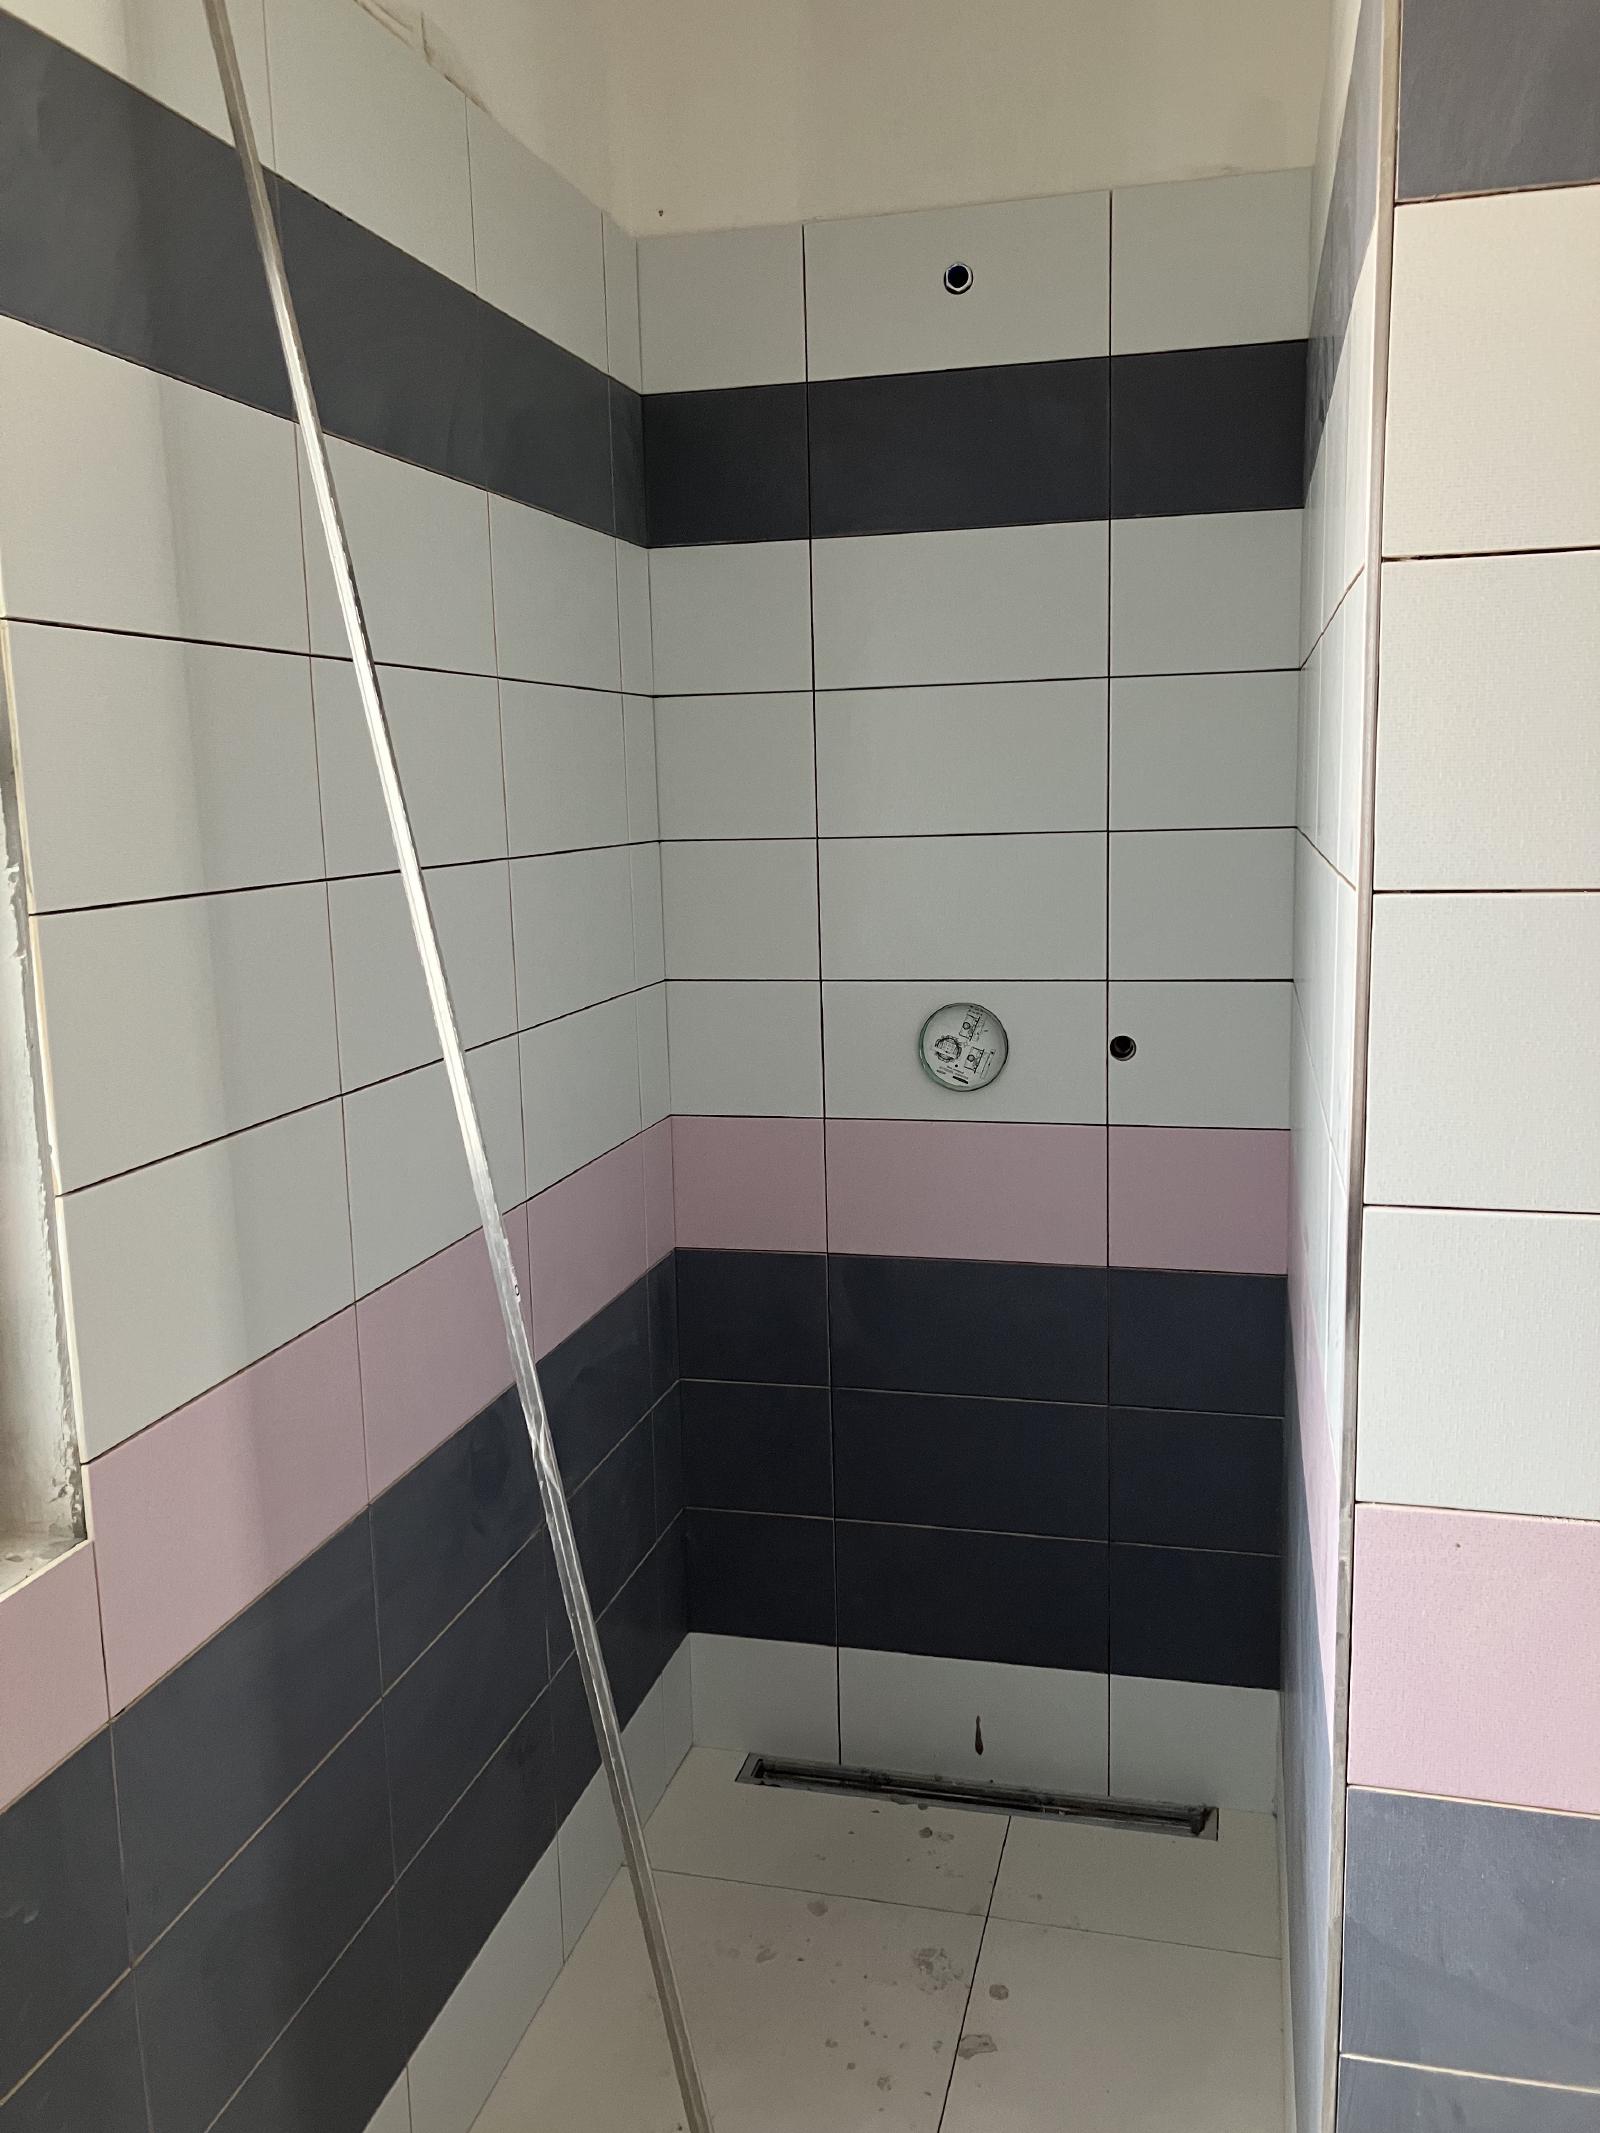
The shower stall is done. Overall, I like the bathrooms but I feel like the
floor tiles clash with the white/gray wall tiles. Otherwise, it is quirky but
looks great!